How To Create Custom GitHub Codespaces Template
Create a custom GitHub Codespaces template to get started with everything you need.

Introduction to GitHub Codespaces and templates ✨
GitHub Codespaces is a cloud-based development environment that allows developers to write, run, and debug code directly in their web browsers. With GitHub Codespaces, developers can quickly spin up a development environment in the cloud and start coding without the need to set up a local development environment on their machine.
GitHub Codespaces includes support for templates, which allow developers to quickly spin up a development environment with a pre-configured set of tools and dependencies. Templates can be used to create a development environment that is customized for a specific project or programming language and can include things like language-specific package managers, libraries, and frameworks.
To use a template in GitHub Codespaces, you can simply select the template when creating a new Codespace. GitHub provides some default templates that you can choose from, or you can create your custom template.
In this tutorial, you will be creating a custom template for ReactJs + Chakra UI + TypeScript.
Why you might want to create a custom template 🤔
here are several reasons why you might want to create a custom template for GitHub Codespaces:
Customization: Default templates provided by GitHub may not include all the tools and dependencies that you need for your specific project. By creating a custom template, you can ensure that your development environment includes everything you need to get started right away.
Efficiency: Setting up a development environment can be time-consuming, especially if you need to install multiple tools and dependencies. By creating a custom template, you can save time by pre-configuring the tools and dependencies that you need in a single, easy-to-use template.
Collaboration: If you are working on a team, a custom template can be a useful way to ensure that all team members are using the same development environment, which can make it easier to collaborate and troubleshoot problems.
Reproducibility: If you are working on a project that needs to be easily reproducible, a custom template can be a helpful way to ensure that the development environment is consistent across different machines and locations.
In summary, creating a custom template for GitHub Codespaces can help you customize your development environment, save time, collaborate with others, and ensure reproducibility.
Creating a custom template for ReactJs + Chakra UI + TypeScript ❤️
Create a project directory codespaces-react-chakra-ui.
mkdir codespaces-react-chakra-ui
Open the project directory in VsCode.
code codespaces-react-chakra-ui
Now, create the React app with Chakra UI and TypeScript by running the below command.
# TypeScript using npm
npx create-react-app . --template @chakra-ui/typescript
# TypeScript using yarn
yarn create react-app . --template @chakra-ui/typescript
That
.tells the create react app to create application files in the current directory.
Alright, you have the basic setup ready, now you have to create the configuration folder and files to make the codespaces-react-chakra-ui directory a GitHub Codespaces template.
Create a configuration file in the .devcontainer directory of your project called devcontainer.json
# Create the .devcontainer directory
mkdir .devcontainer && cd .devcontainer
touch devcontainer.json
Now add the below content to the devcontainer.json file.
{
  "image": "mcr.microsoft.com/devcontainers/universal:2",
  "hostRequirements": {
    "cpus": 4
  },
  "waitFor": "onCreateCommand",
  "updateContentCommand": "yarn install",
  "postCreateCommand": "",
  "postAttachCommand": {
    "server": "yarn start"
  },
  "customizations": {
    "codespaces": {
      "openFiles": ["src/App.tsx"]
    }
  },
  "portsAttributes": {
    "3000": {
      "label": "Application",
      "onAutoForward": "openPreview"
    }
  },
  "forwardPorts": [3000]
}
The "image" field specifies the Docker image to be used for the development environment, which in this case is "mcr.microsoft.com/devcontainers/universal:2".
The "hostRequirements" field specifies the hardware requirements for the host machine running the development environment. In this case, it specifies that the host machine should have at least 4 CPU cores.
The "waitFor" field specifies a command to wait for before executing the next command. In this case, it specifies "onCreateCommand", which means waiting until the container has been created before executing the next command.
The "updateContentCommand" field specifies a command to run in the container to update its contents. In this case, it specifies "yarn install", which means installing dependencies using the yarn package manager.
The "postCreateCommand" field specifies a command to run in the container after it has been created. In this case, it is an empty string, which means no command will be run.
The "postAttachCommand" field specifies a command to run in the container after it has been attached to the host machine. In this case, it specifies "yarn start", which means to start the development server using the yarn package manager.
The "customizations" field specifies customizations for the development environment. In this case, it specifies that the "codespaces" customization should open the "src/App.tsx" file when the development environment is opened.
The "portsAttributes" field specifies attributes for ports exposed by the container. In this case, it specifies that port 3000 should have the label "Application" and should trigger the "openPreview" command when it is automatically forwarded to the host machine.
The "forwardPorts" field specifies an array of ports to be automatically forwarded from the container to the host machine. In this case, it specifies that port 3000 should be automatically forwarded.
Alright, your devcontainer configuration is ready, now you have to create a configuration file for launching the template in the .vscode directory of your project called launch.json
# Create the .vscode directory
mkdir .vscode && cd .vscode
touch launch.json
Add the below content to the launch.json file.
{
  "version": "0.1.0",
  "configurations": [
    {
      "name": "Run application",
      "type": "node",
      "request": "launch",
      "cwd": "${workspaceFolder}",
      "console": "integratedTerminal",
      "runtimeExecutable": "yarn",
      "runtimeArgs": ["run-script", "start"],
      "skipFiles": ["<node_internals>/**"]
    }
  ]
}
The "version" field specifies the version of the configuration file.
The "configurations" field is an array of objects, each specifying a configuration for debugging a Node.js application. In this case, there is only one configuration object in the array.
The "name" field specifies the name of the configuration. In this case, the name is "Run application".
The "type" field specifies the type of the debug configuration. In this case, it is "node", which means the configuration is for debugging a Node.js application.
The "request" field specifies the type of debugging action to be performed. In this case, it is "launch", which means to launch the Node.js application in the debugger.
The "cwd" field specifies the current working directory for the debugger. In this case, it uses the "${workspaceFolder}" variable, which likely refers to the root folder of the workspace in the IDE.
The "console" field specifies the console to be used for the debugger. In this case, it is "integratedTerminal", which means to use the integrated terminal in the IDE.
The "runtimeExecutable" field specifies the runtime executable to be used for launching the Node.js application. In this case, it is "yarn", which means using the yarn package manager to launch the application.
The "runtimeArgs" field specifies the arguments to be passed to the runtime executable when launching the Node.js application. In this case, it specifies "run-script start", which likely means to run the "start" script specified in the project's package.json file.
The "skipFiles" field specifies a list of files and directories to be skipped by the debugger. In this case, it specifies "node_internals/**", which means to skip all files and directories inside the "node_internals" directory.
Congratulations 🥳, your custom GitHub Codespaces template is ready, now you have to create one repository codespaces-react-chakra-ui in the GitHub as a template repository and push all the template files into that.

git remote add origin https://github.com/<your_username>/codespaces-react-chakra-ui.git
git branch -M main
git push -u origin main
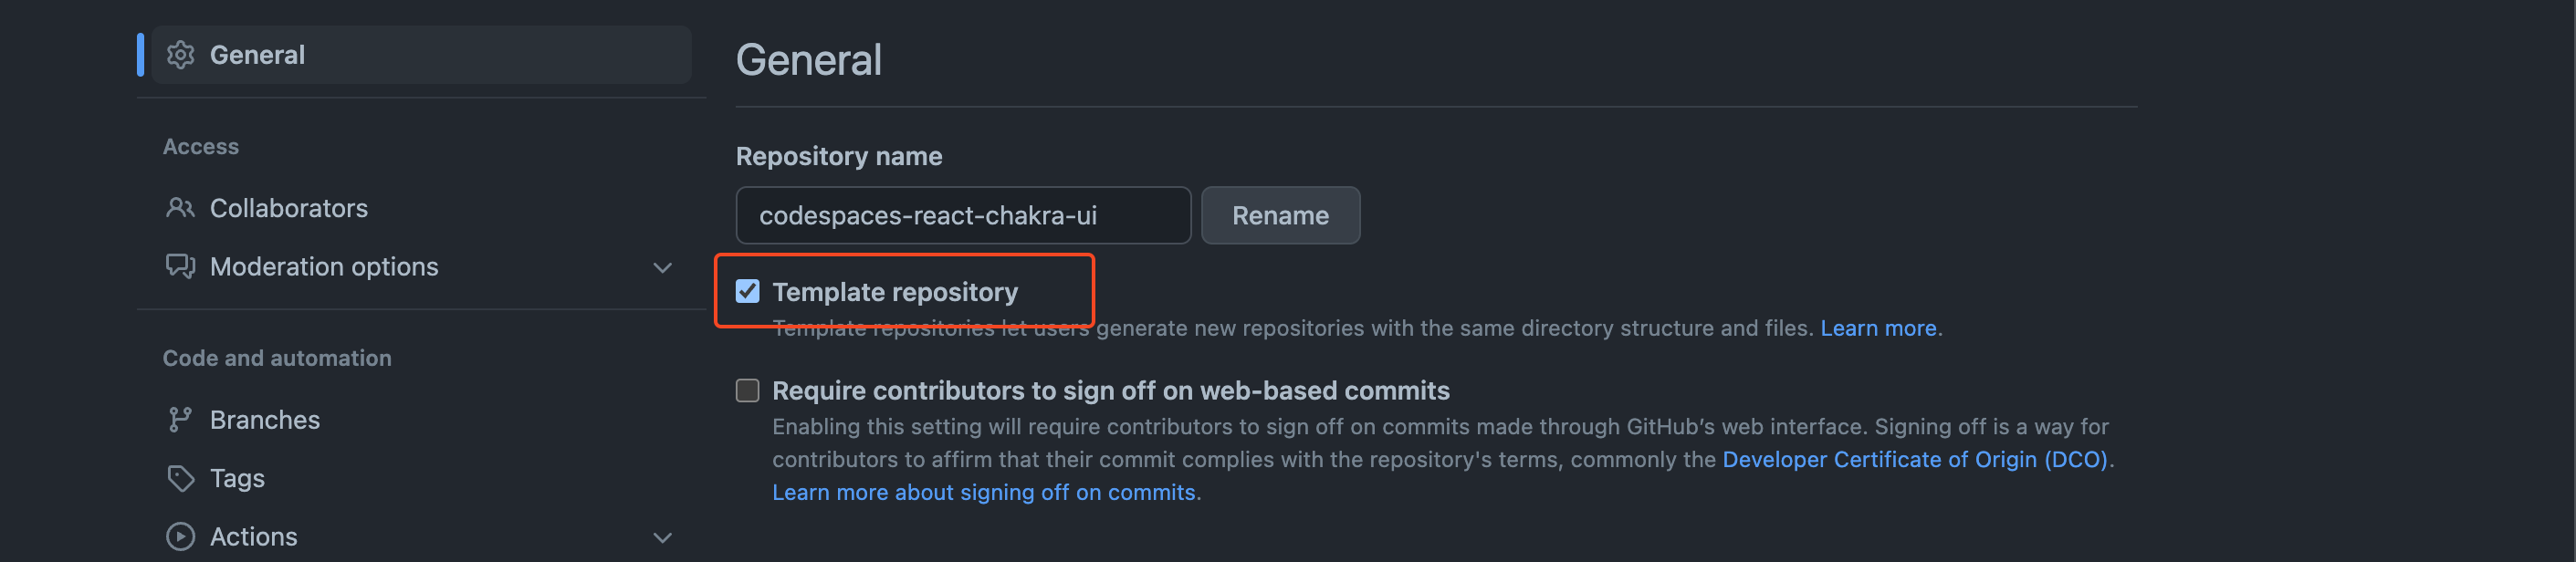
Now, navigate to settings and make your repository a template repository**.**
Alright, your template is ready to use for creating the new Codespace, let's create one in the next section.
Using your custom template to create a new Codespace
Click on the Use this template button and select the Open in a codespace option.
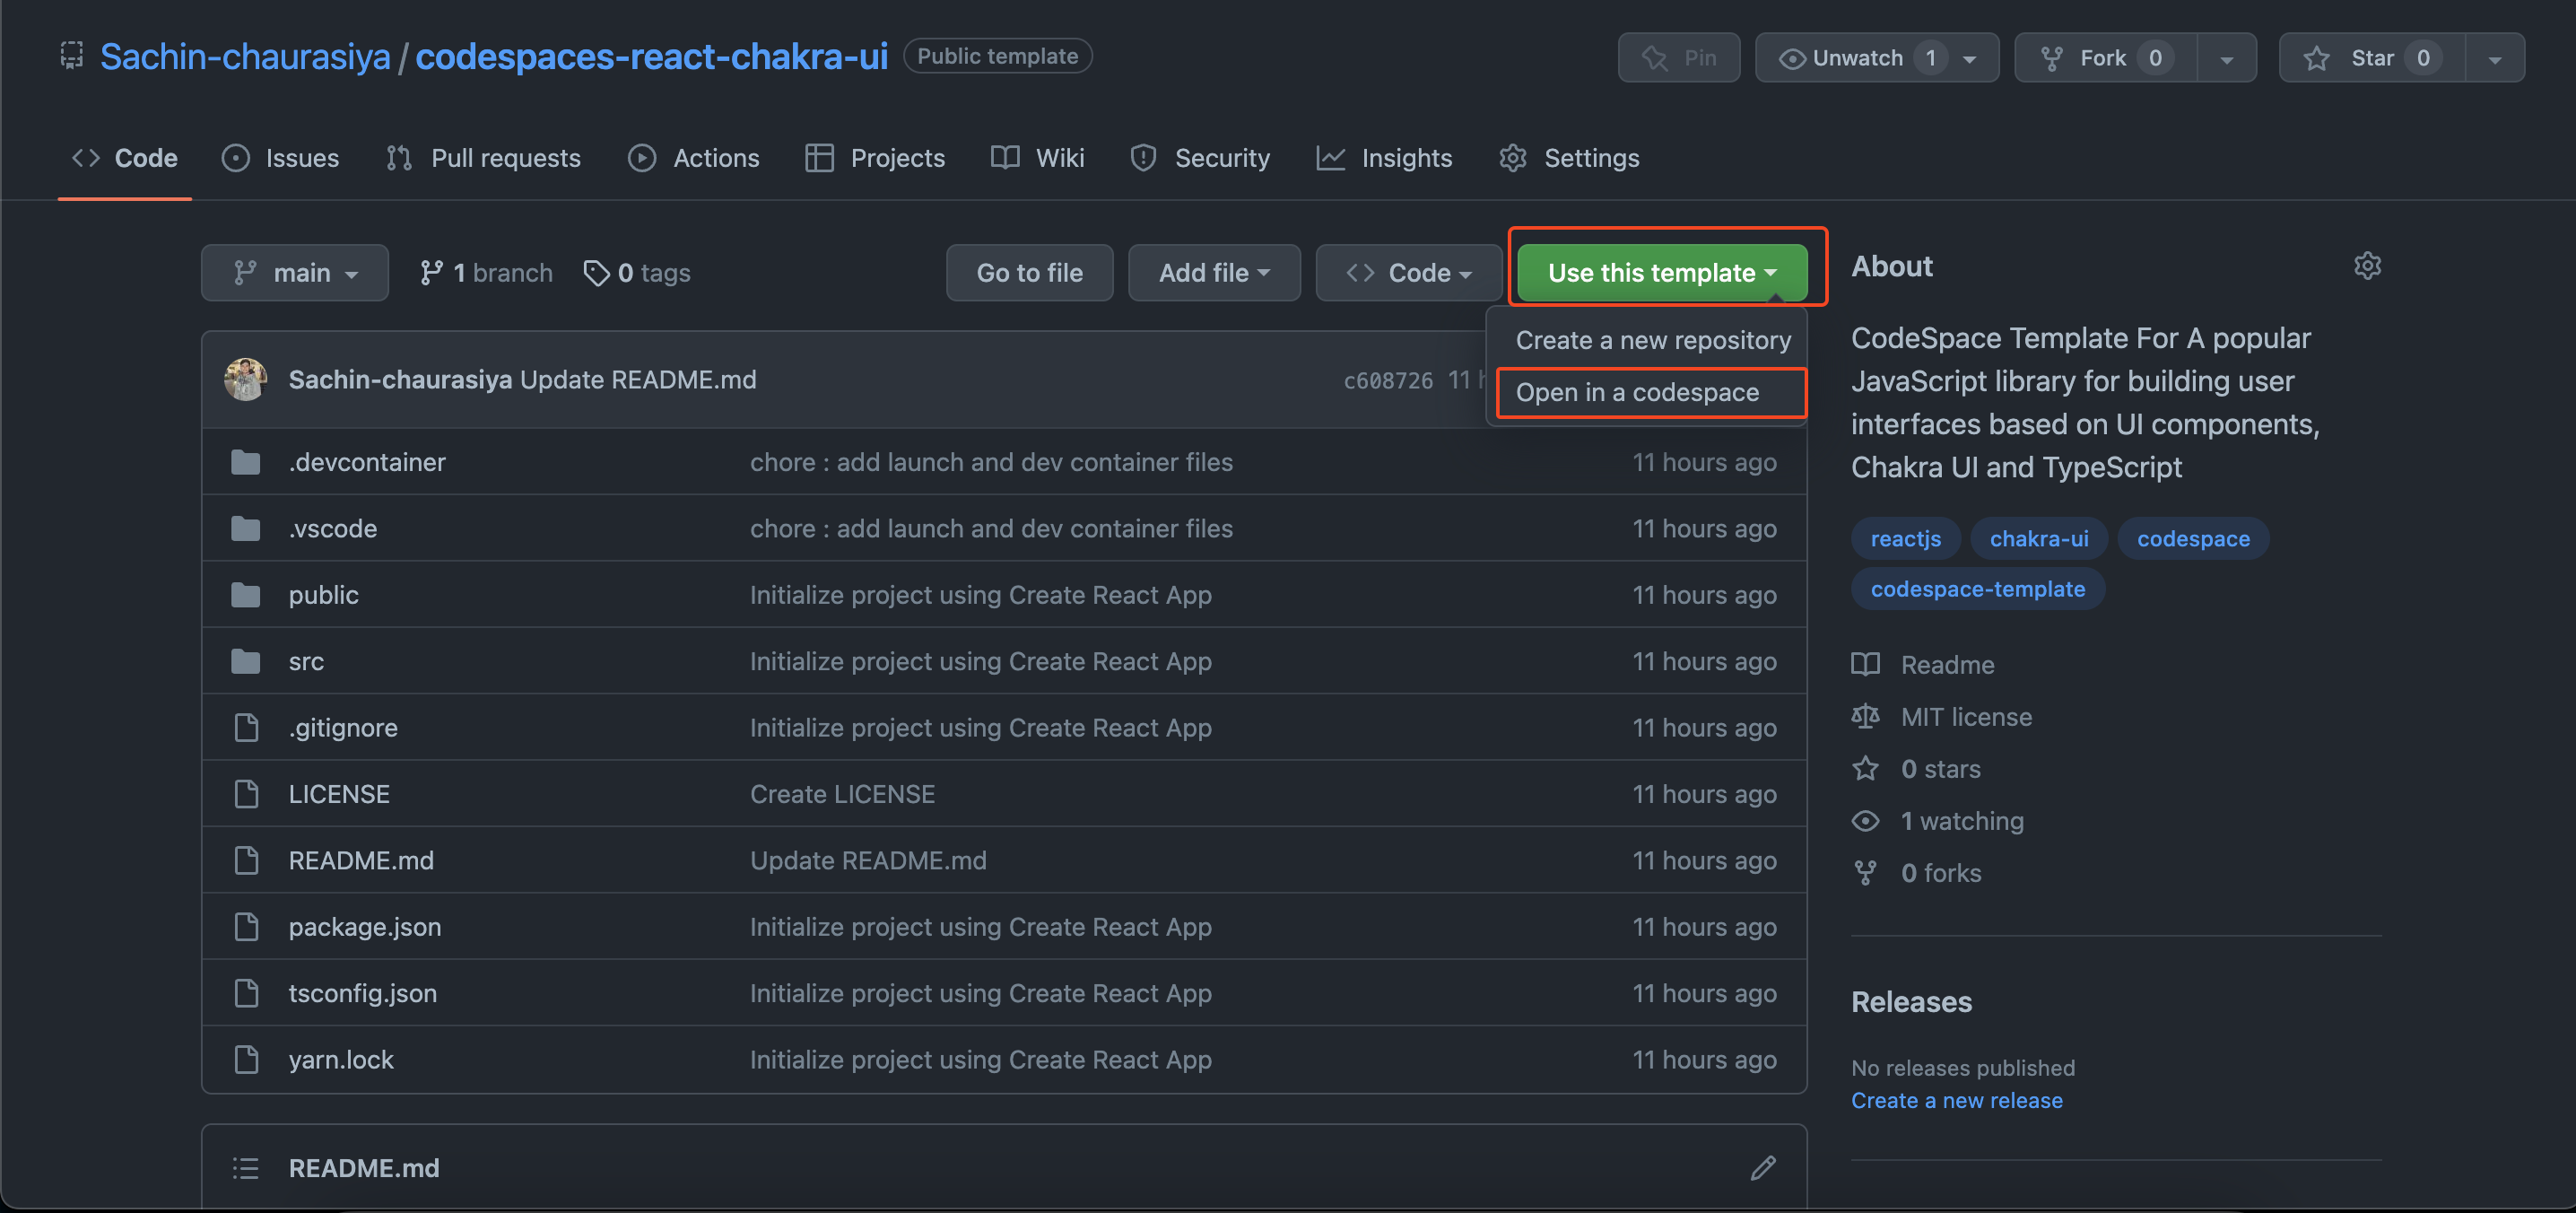
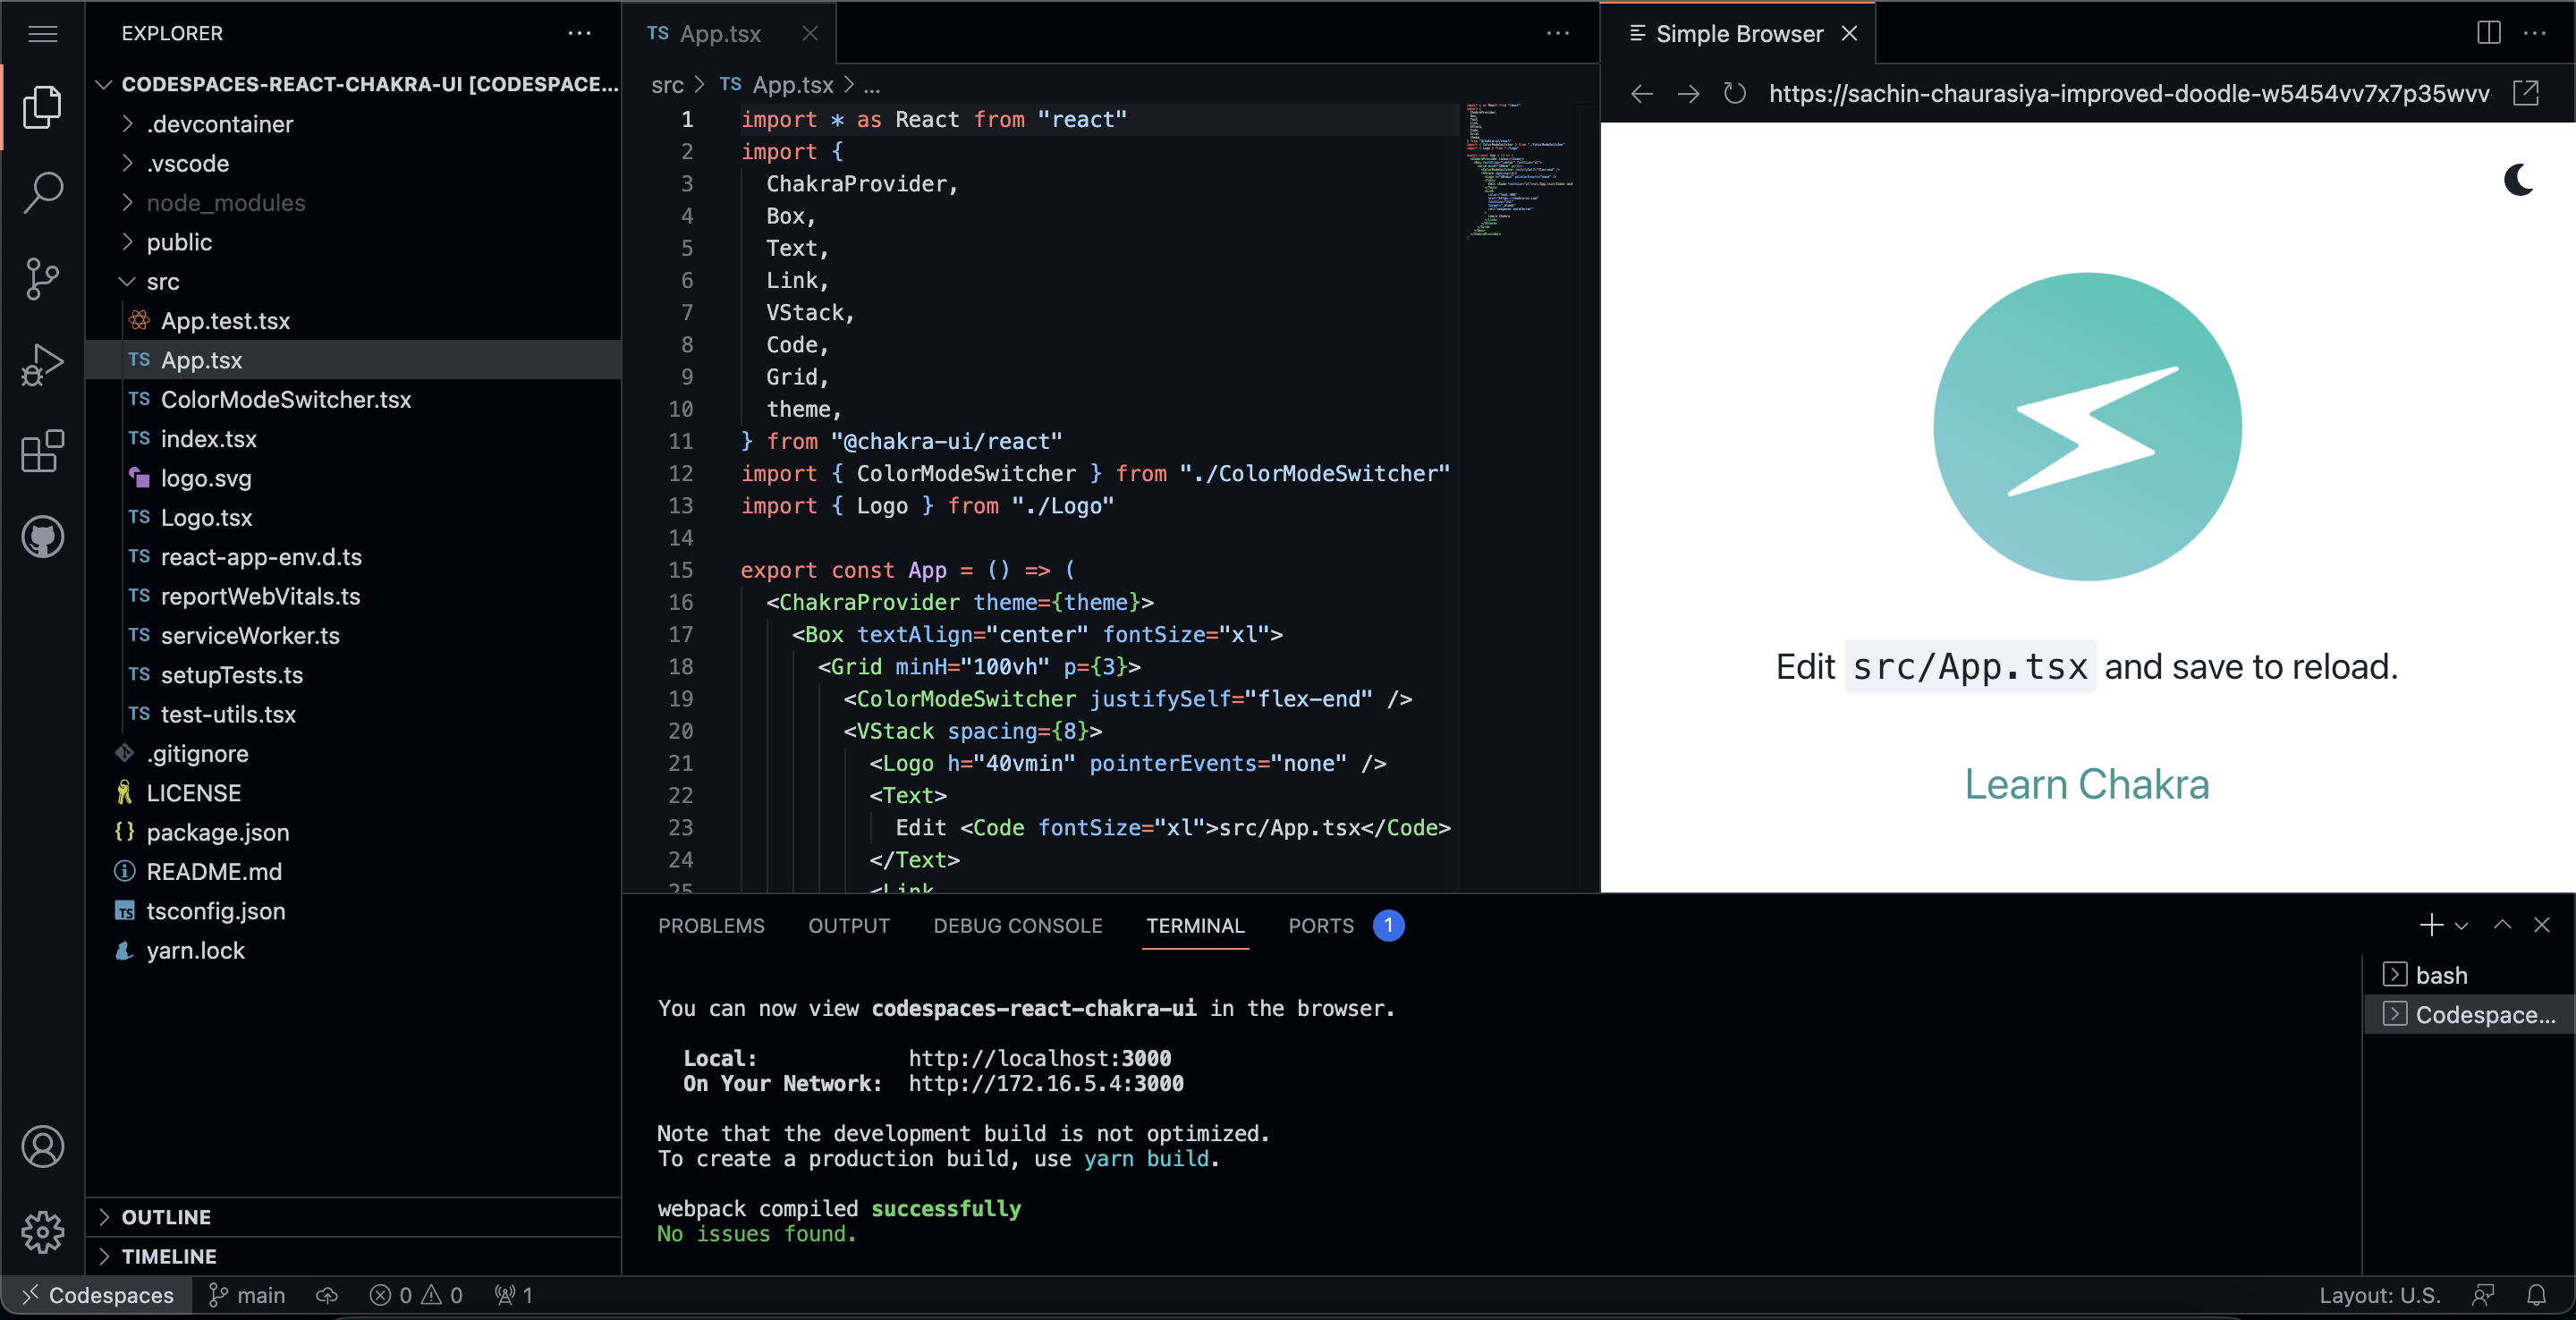
After that, it will start creating Codespace with the template and read the configuration file to install the required dependencies.
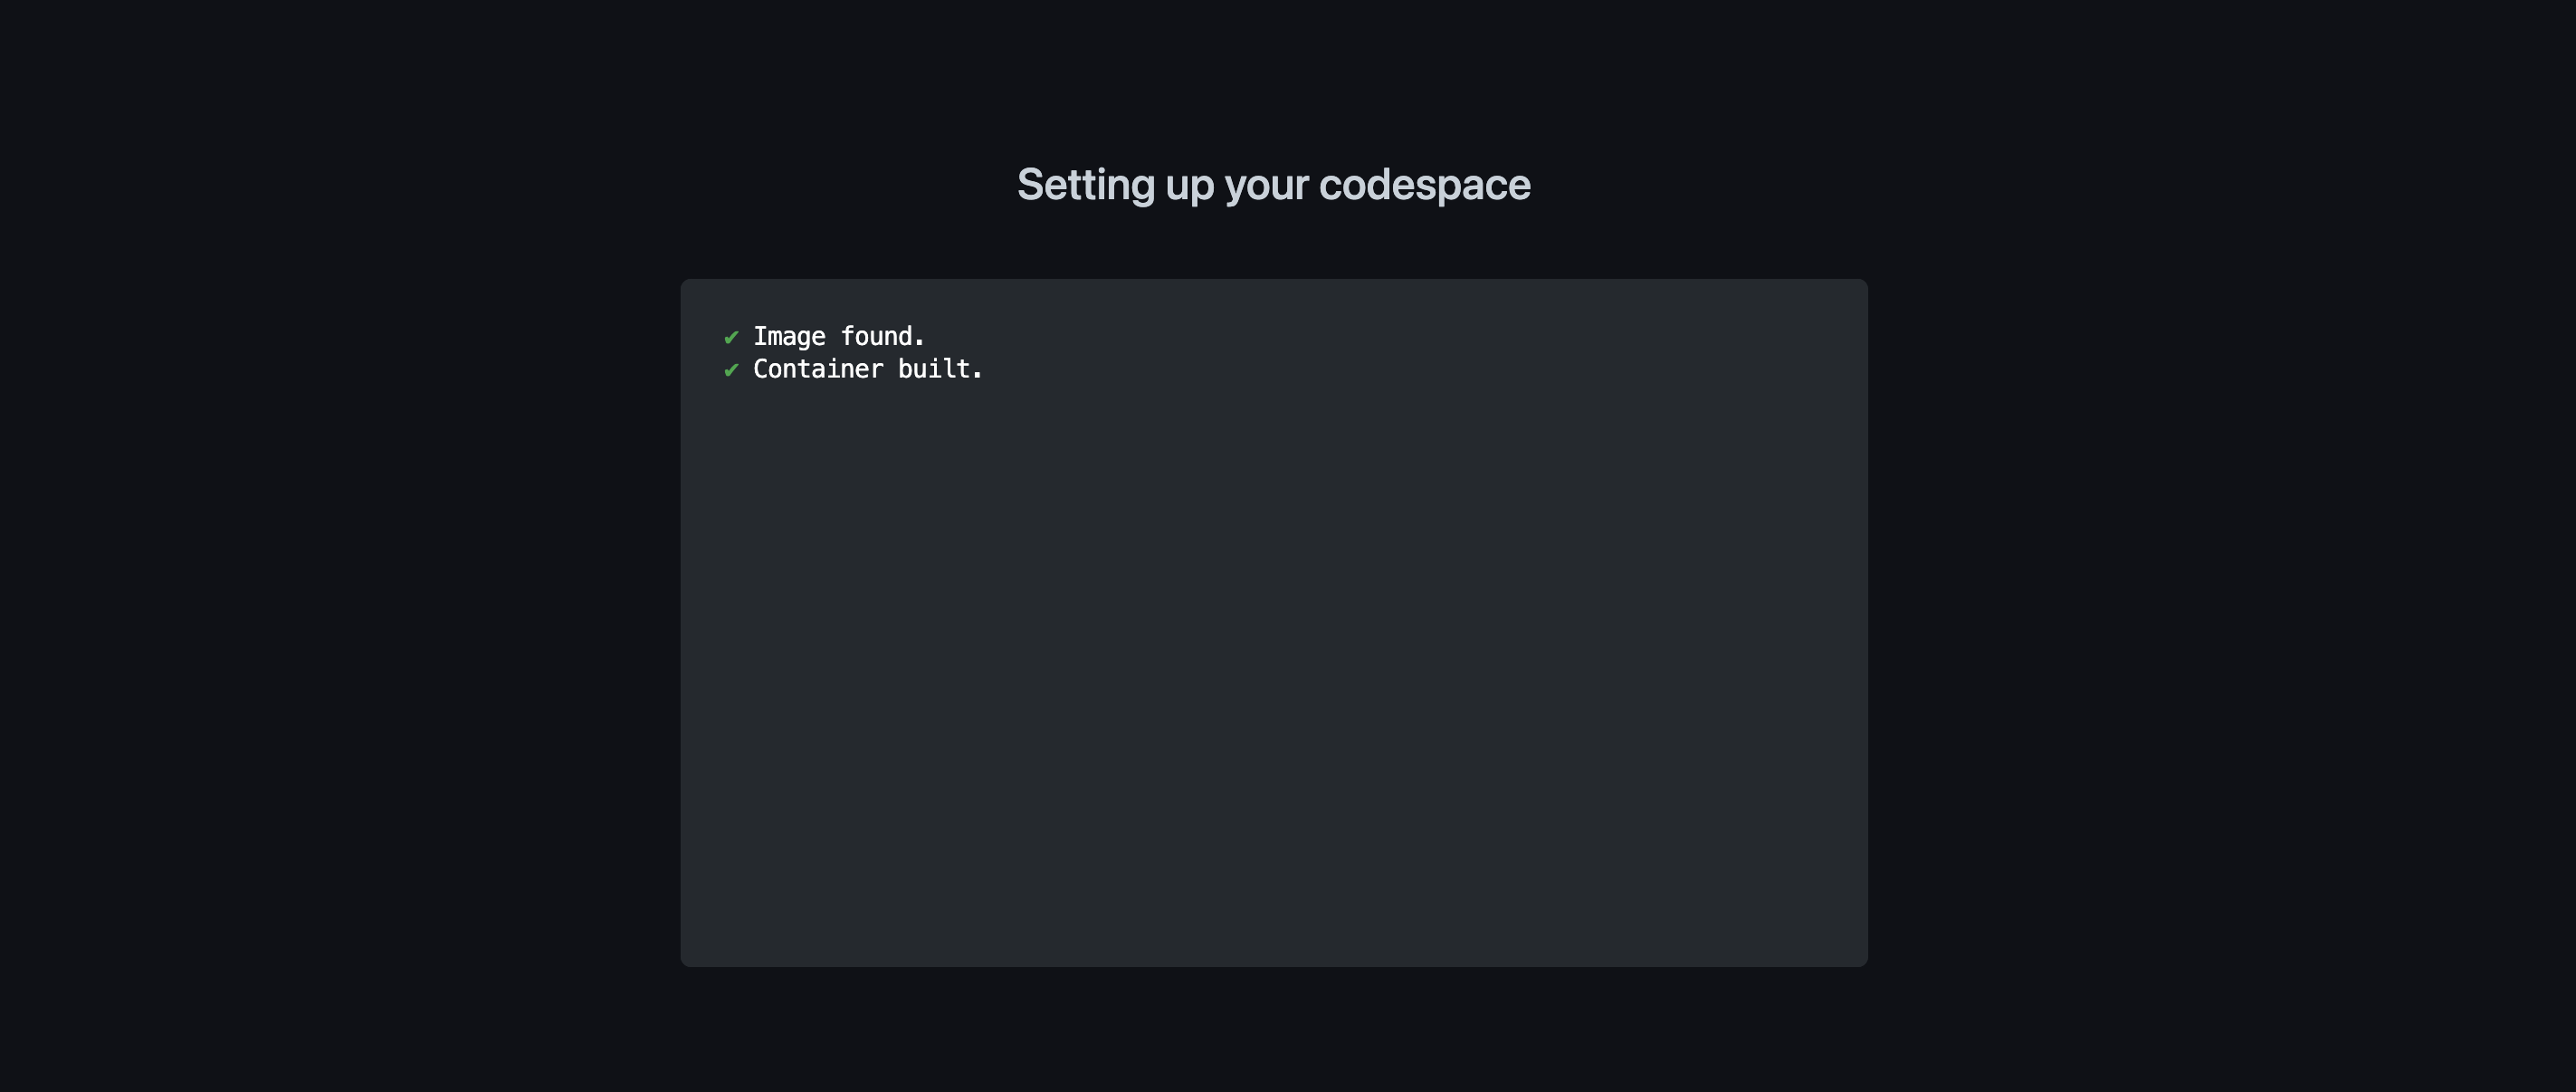
Once all the dependencies are installed it will execute the yarn start command and spin up the development server.
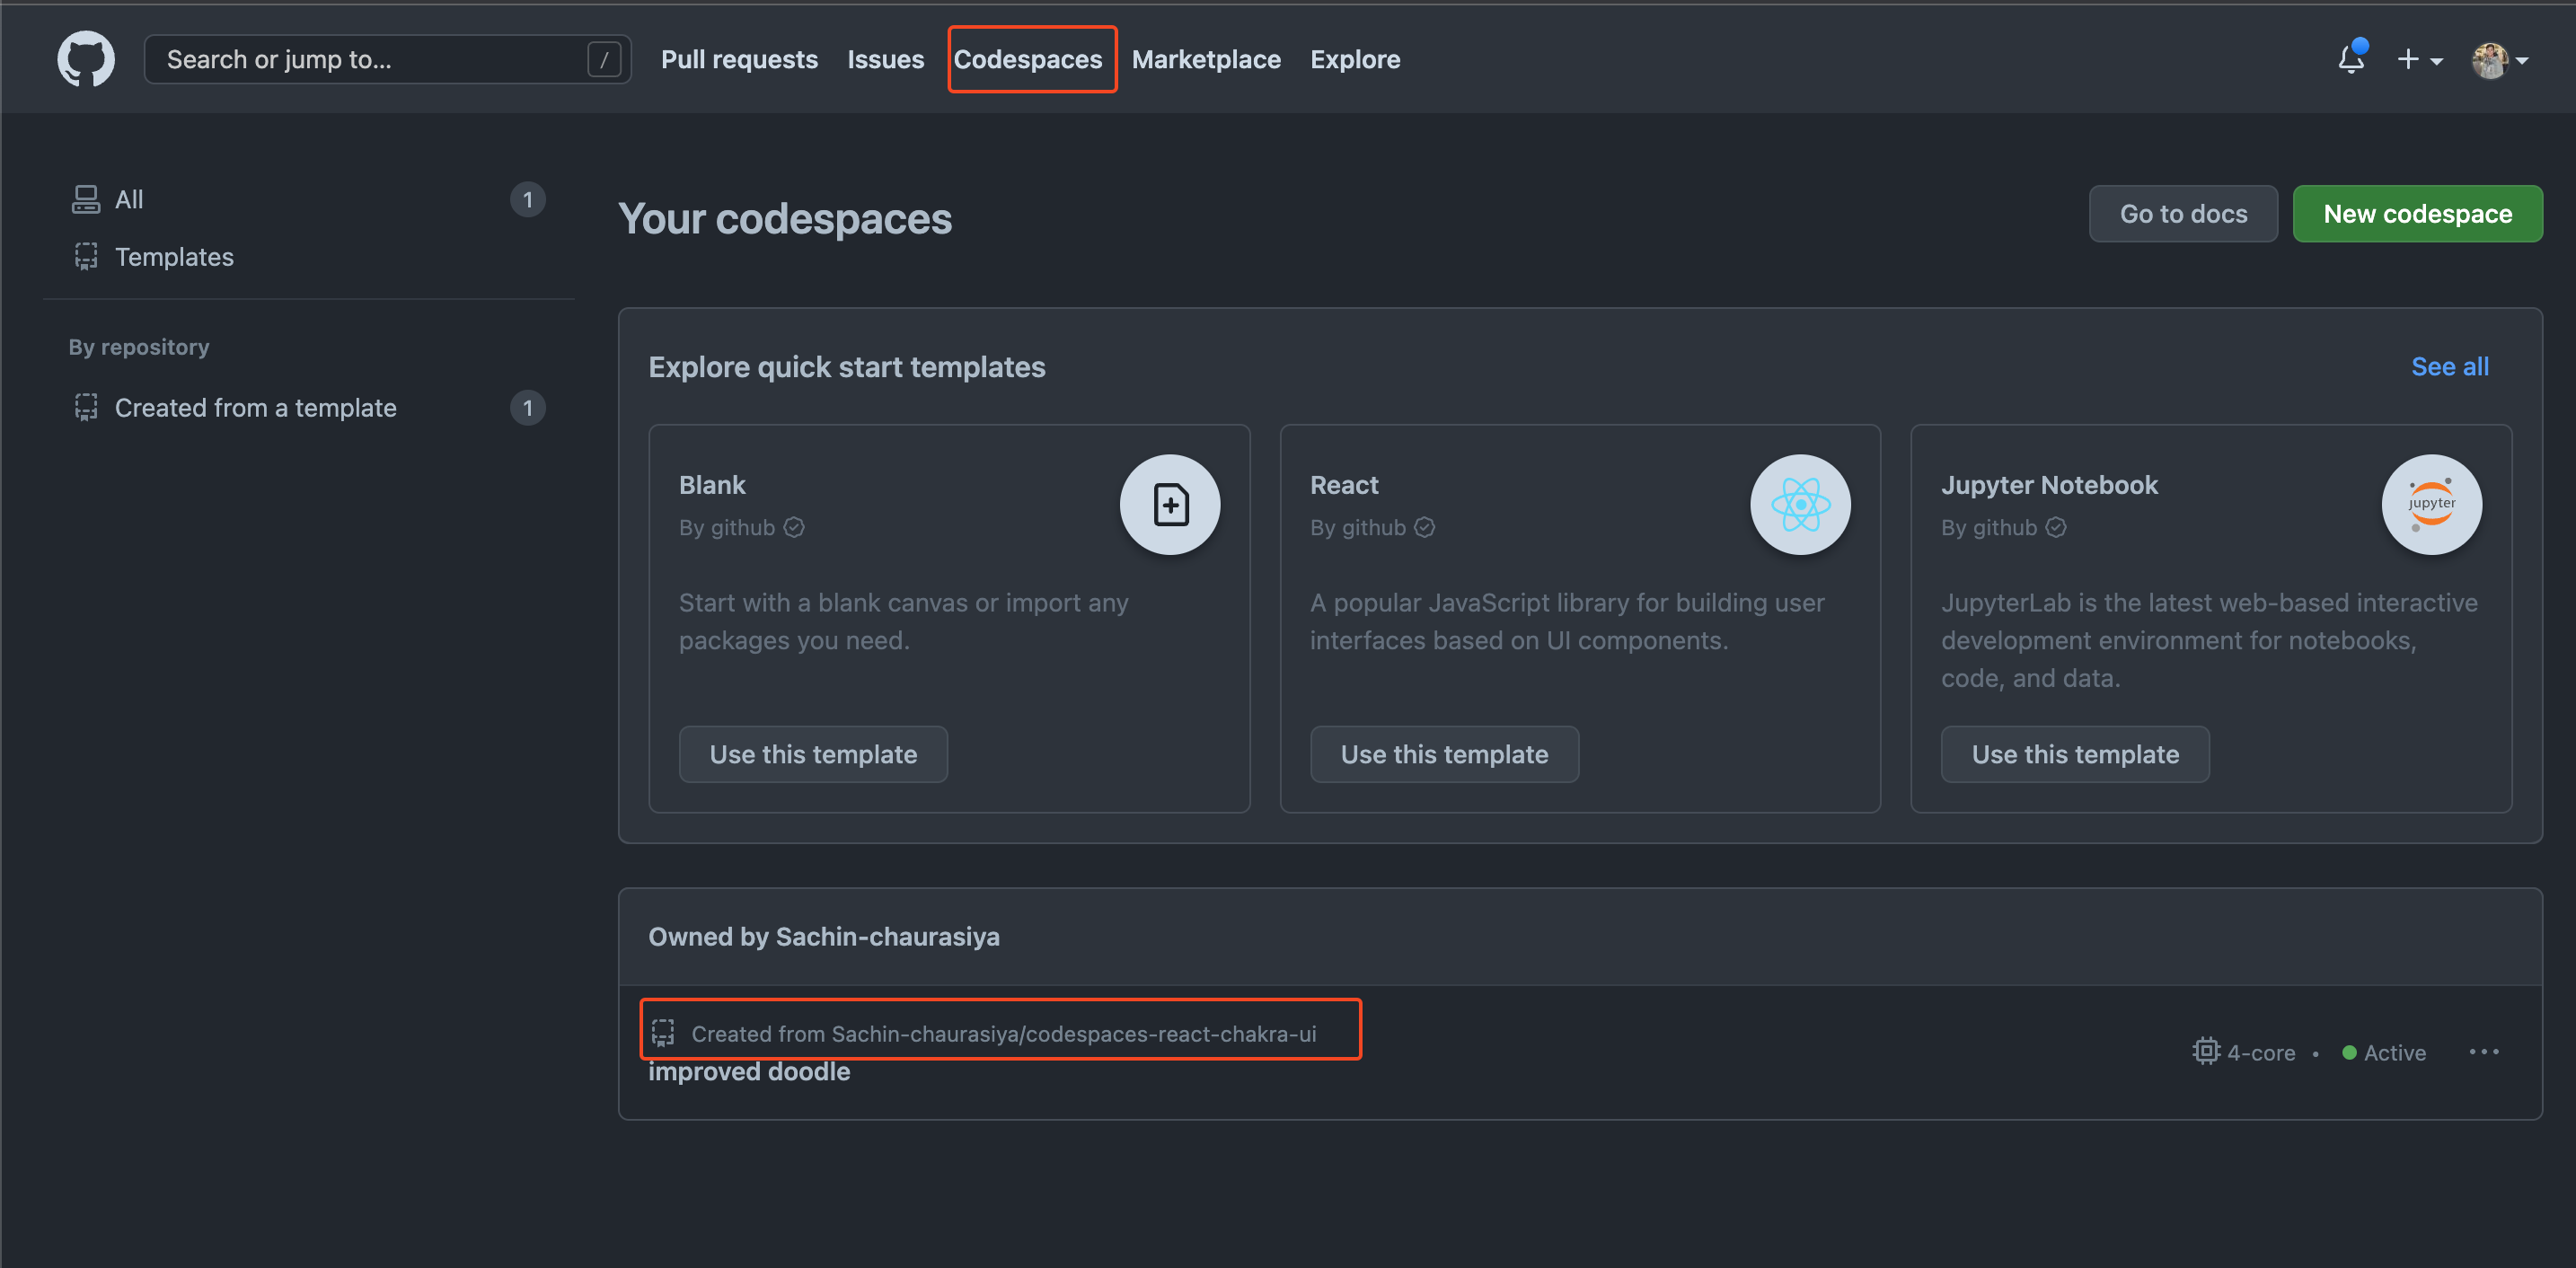
To verify that the codespace is created from your custom template you can navigate to codespaces and check the created codespace it will say something like Created from <template_name>.
Here is the final version of the custom GitHub Codespaces template for ReactJs + Chakra UI + TypeScript.
Conclusion 📝
In conclusion, GitHub Codespaces is a powerful and convenient tool for developers that allows you to spin up a development environment in the cloud quickly and easily. With the ability to create custom templates, you can customize your development environment to include the tools and dependencies that you need, and save time by pre-configuring your development environment in a single template.
If you want to learn more about GitHub Codespaces and custom templates, there are a few resources that you might find helpful:
The GitHub documentation provides a wealth of information about using GitHub Codespaces, including how to create and use custom templates.
The GitHub Codespaces community forum is a great place to ask questions and get help with any issues you might encounter when using GitHub Codespaces.
By using these resources and experimenting with GitHub Codespaces and custom templates, you can learn how to create a development environment that is tailored to your specific needs and workflow.
And that’s it for this topic. Thank you for reading.
If you found this article useful, please consider liking and sharing it with others. If you have any questions, feel free to comment, and I will do my best to respond.