How to change the WordPress admin login URL
Step-by-step guide on changing the WordPress admin login URL.
Hello people, hope you are doing great, welcome to WordPress Tips and Tricks series. this will be the first post for this series.
You might be wondering what if someone else has access to my WordPress site admin panel and how you can change the WordPress admin login URL?
Don't worry, today in this article I will provide you step by step guide on changing the WordPress admin login URL.
So let's get started.
Login into the WordPress dashboard

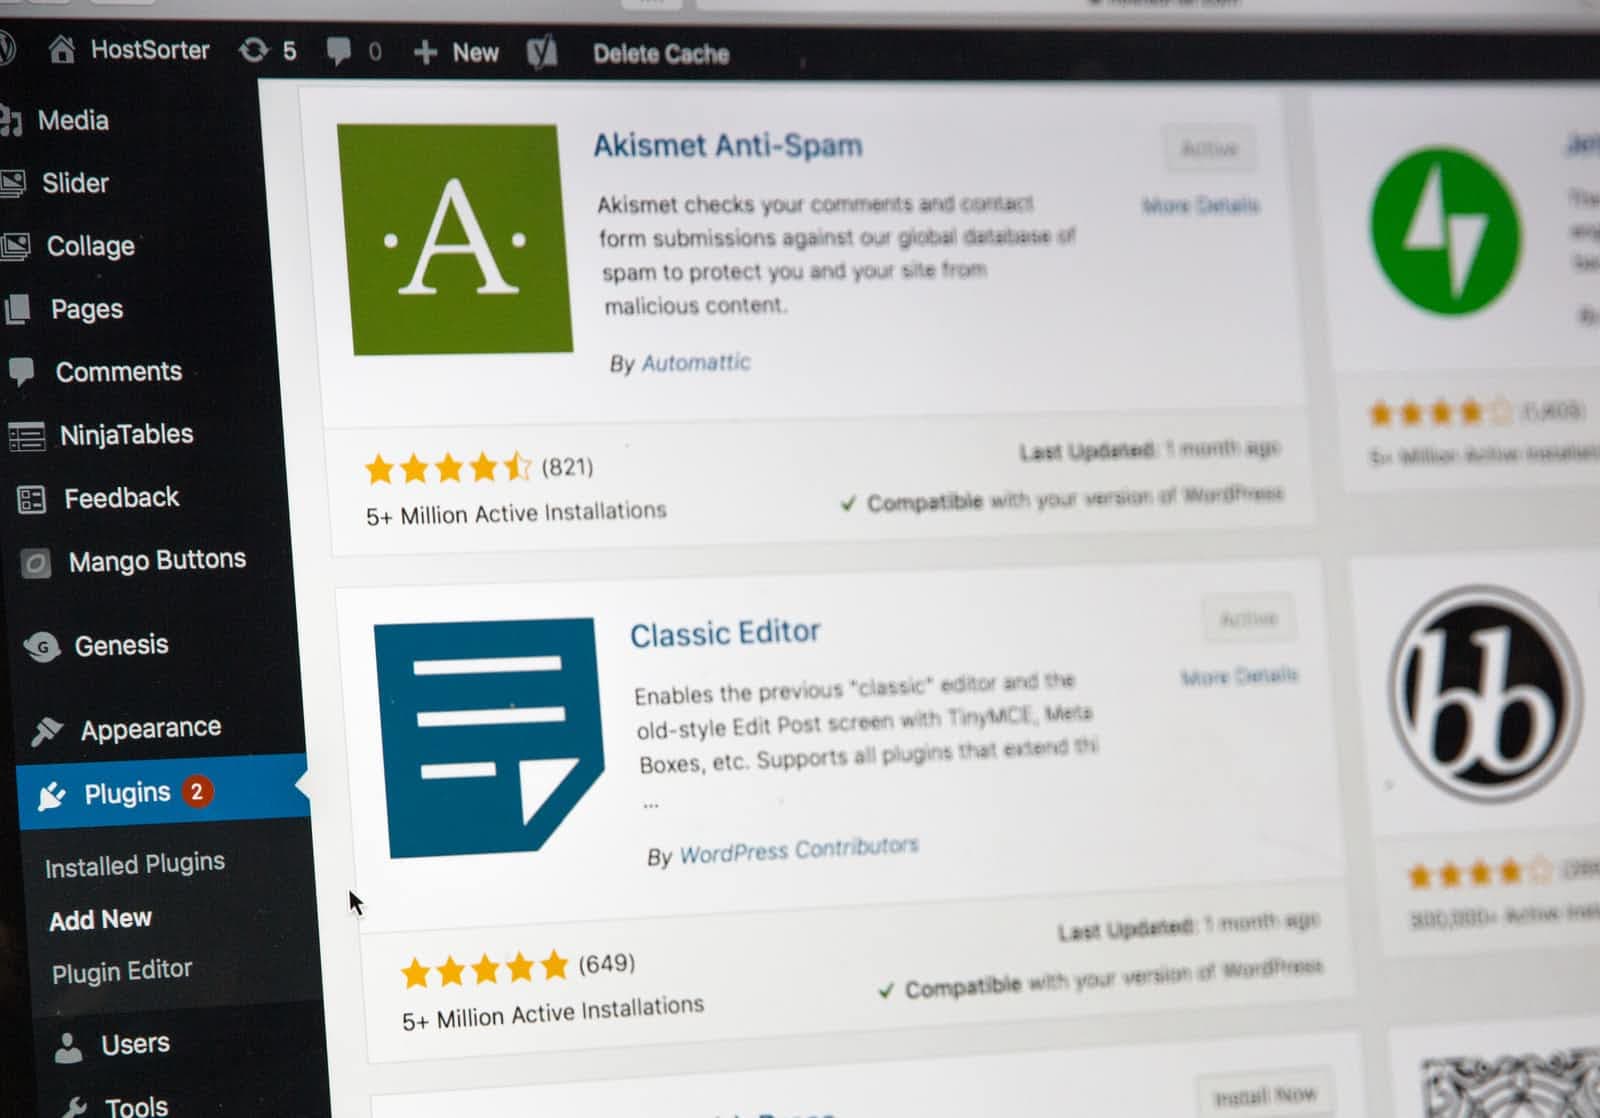
Install the plugin
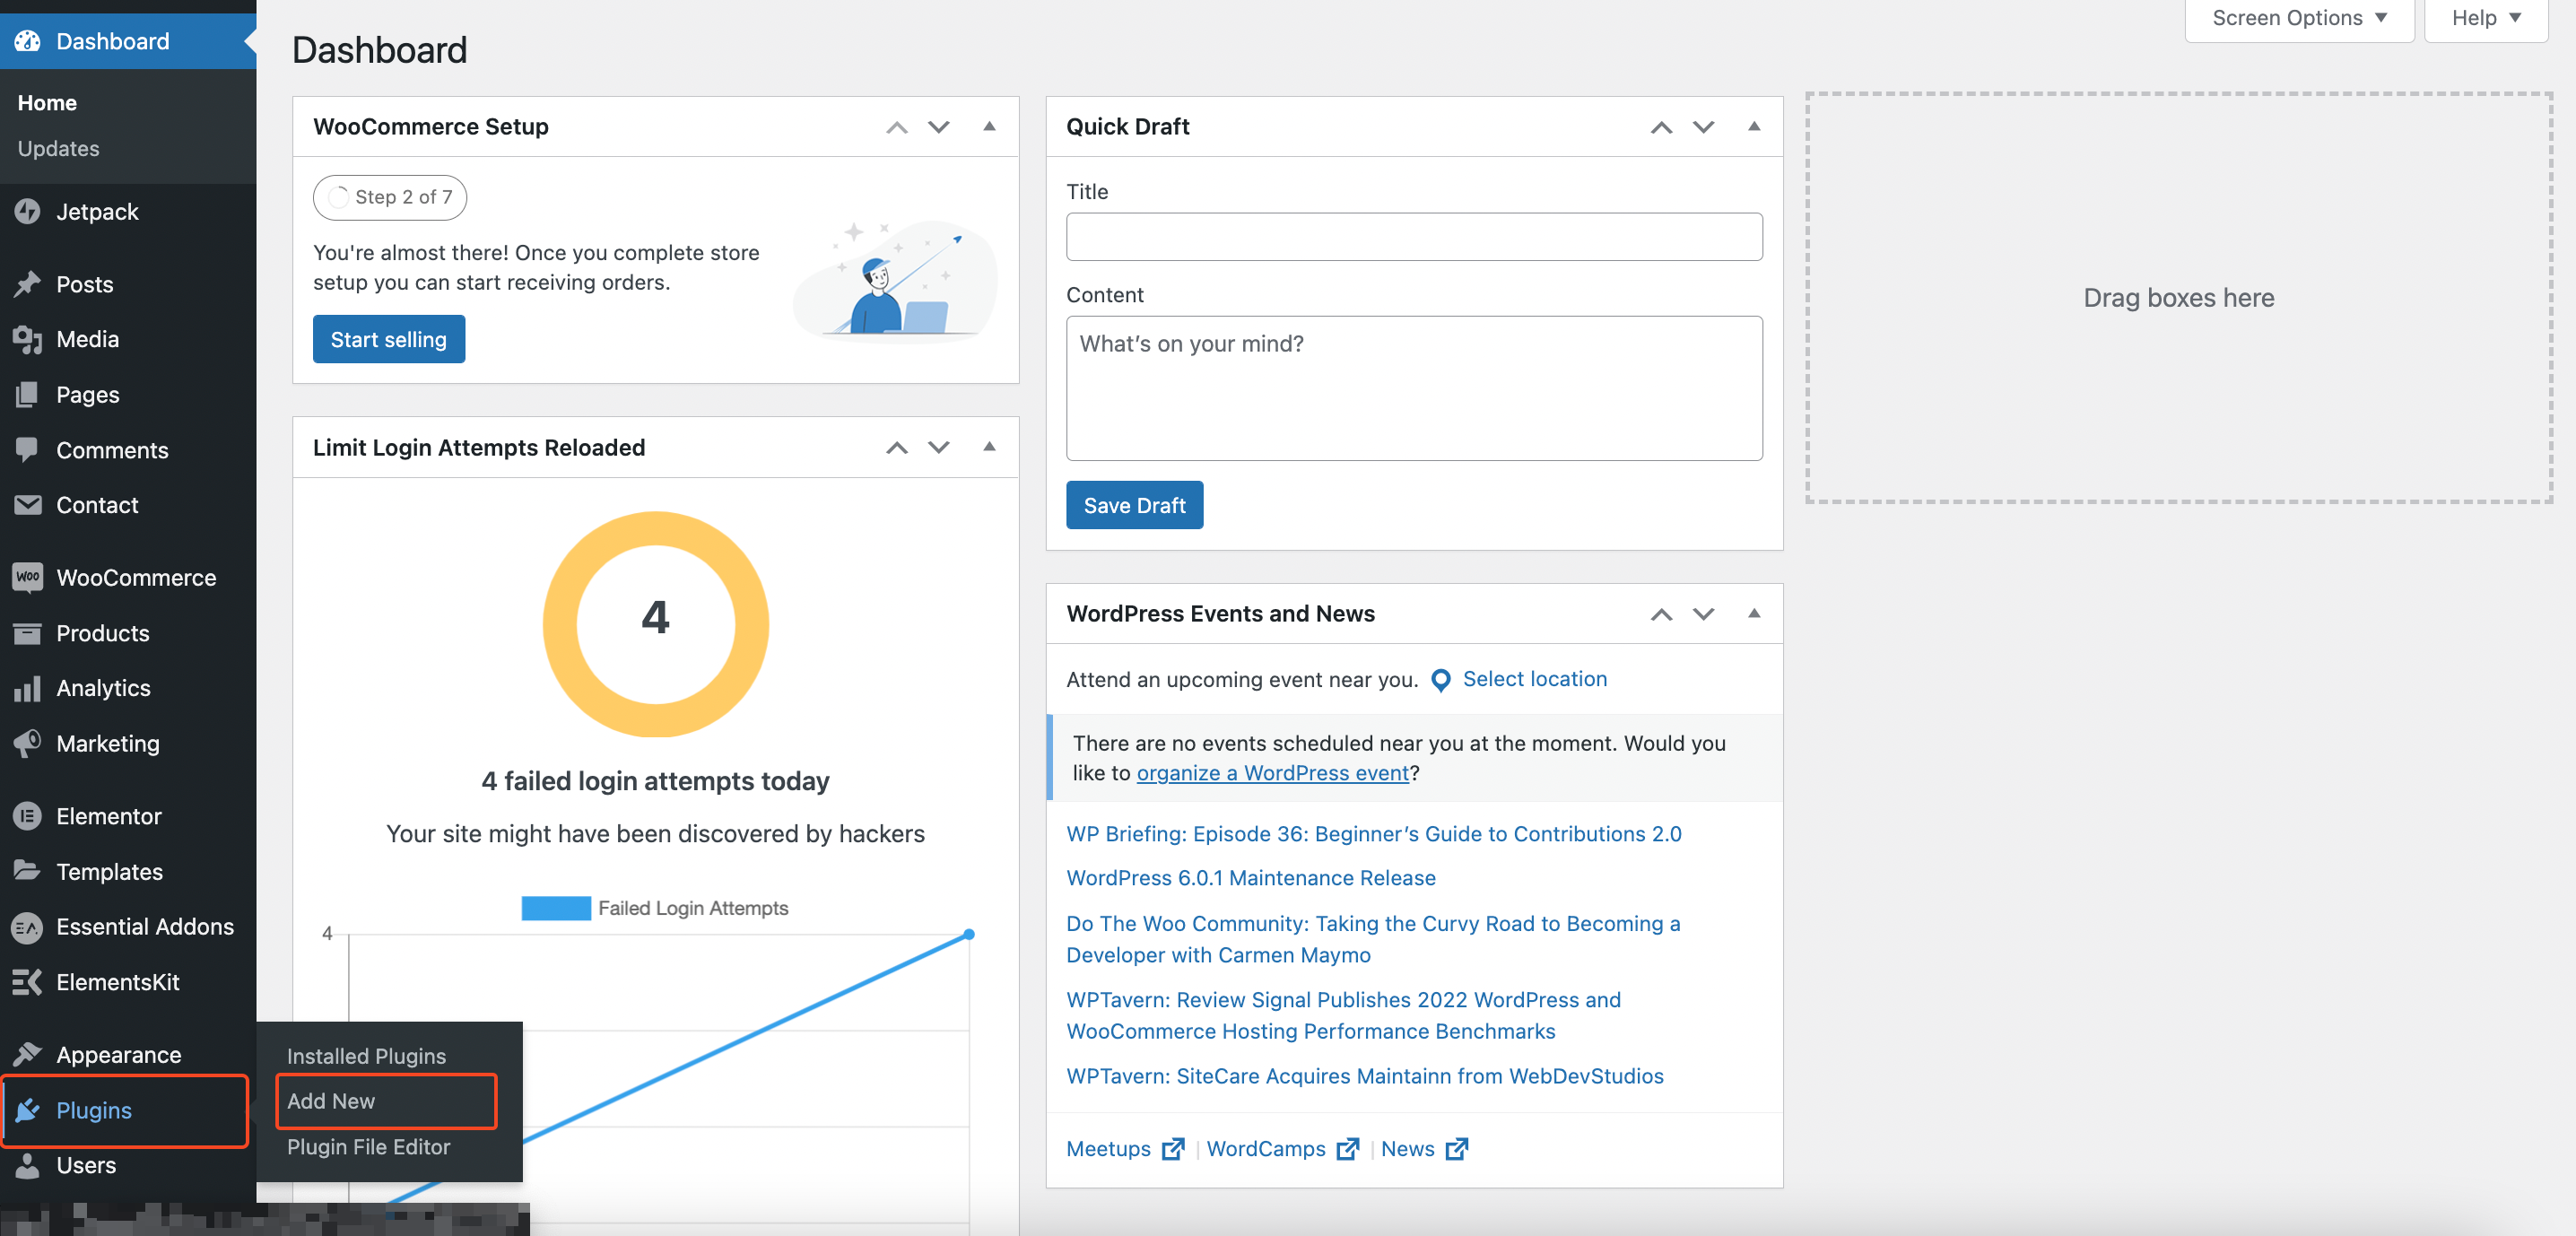
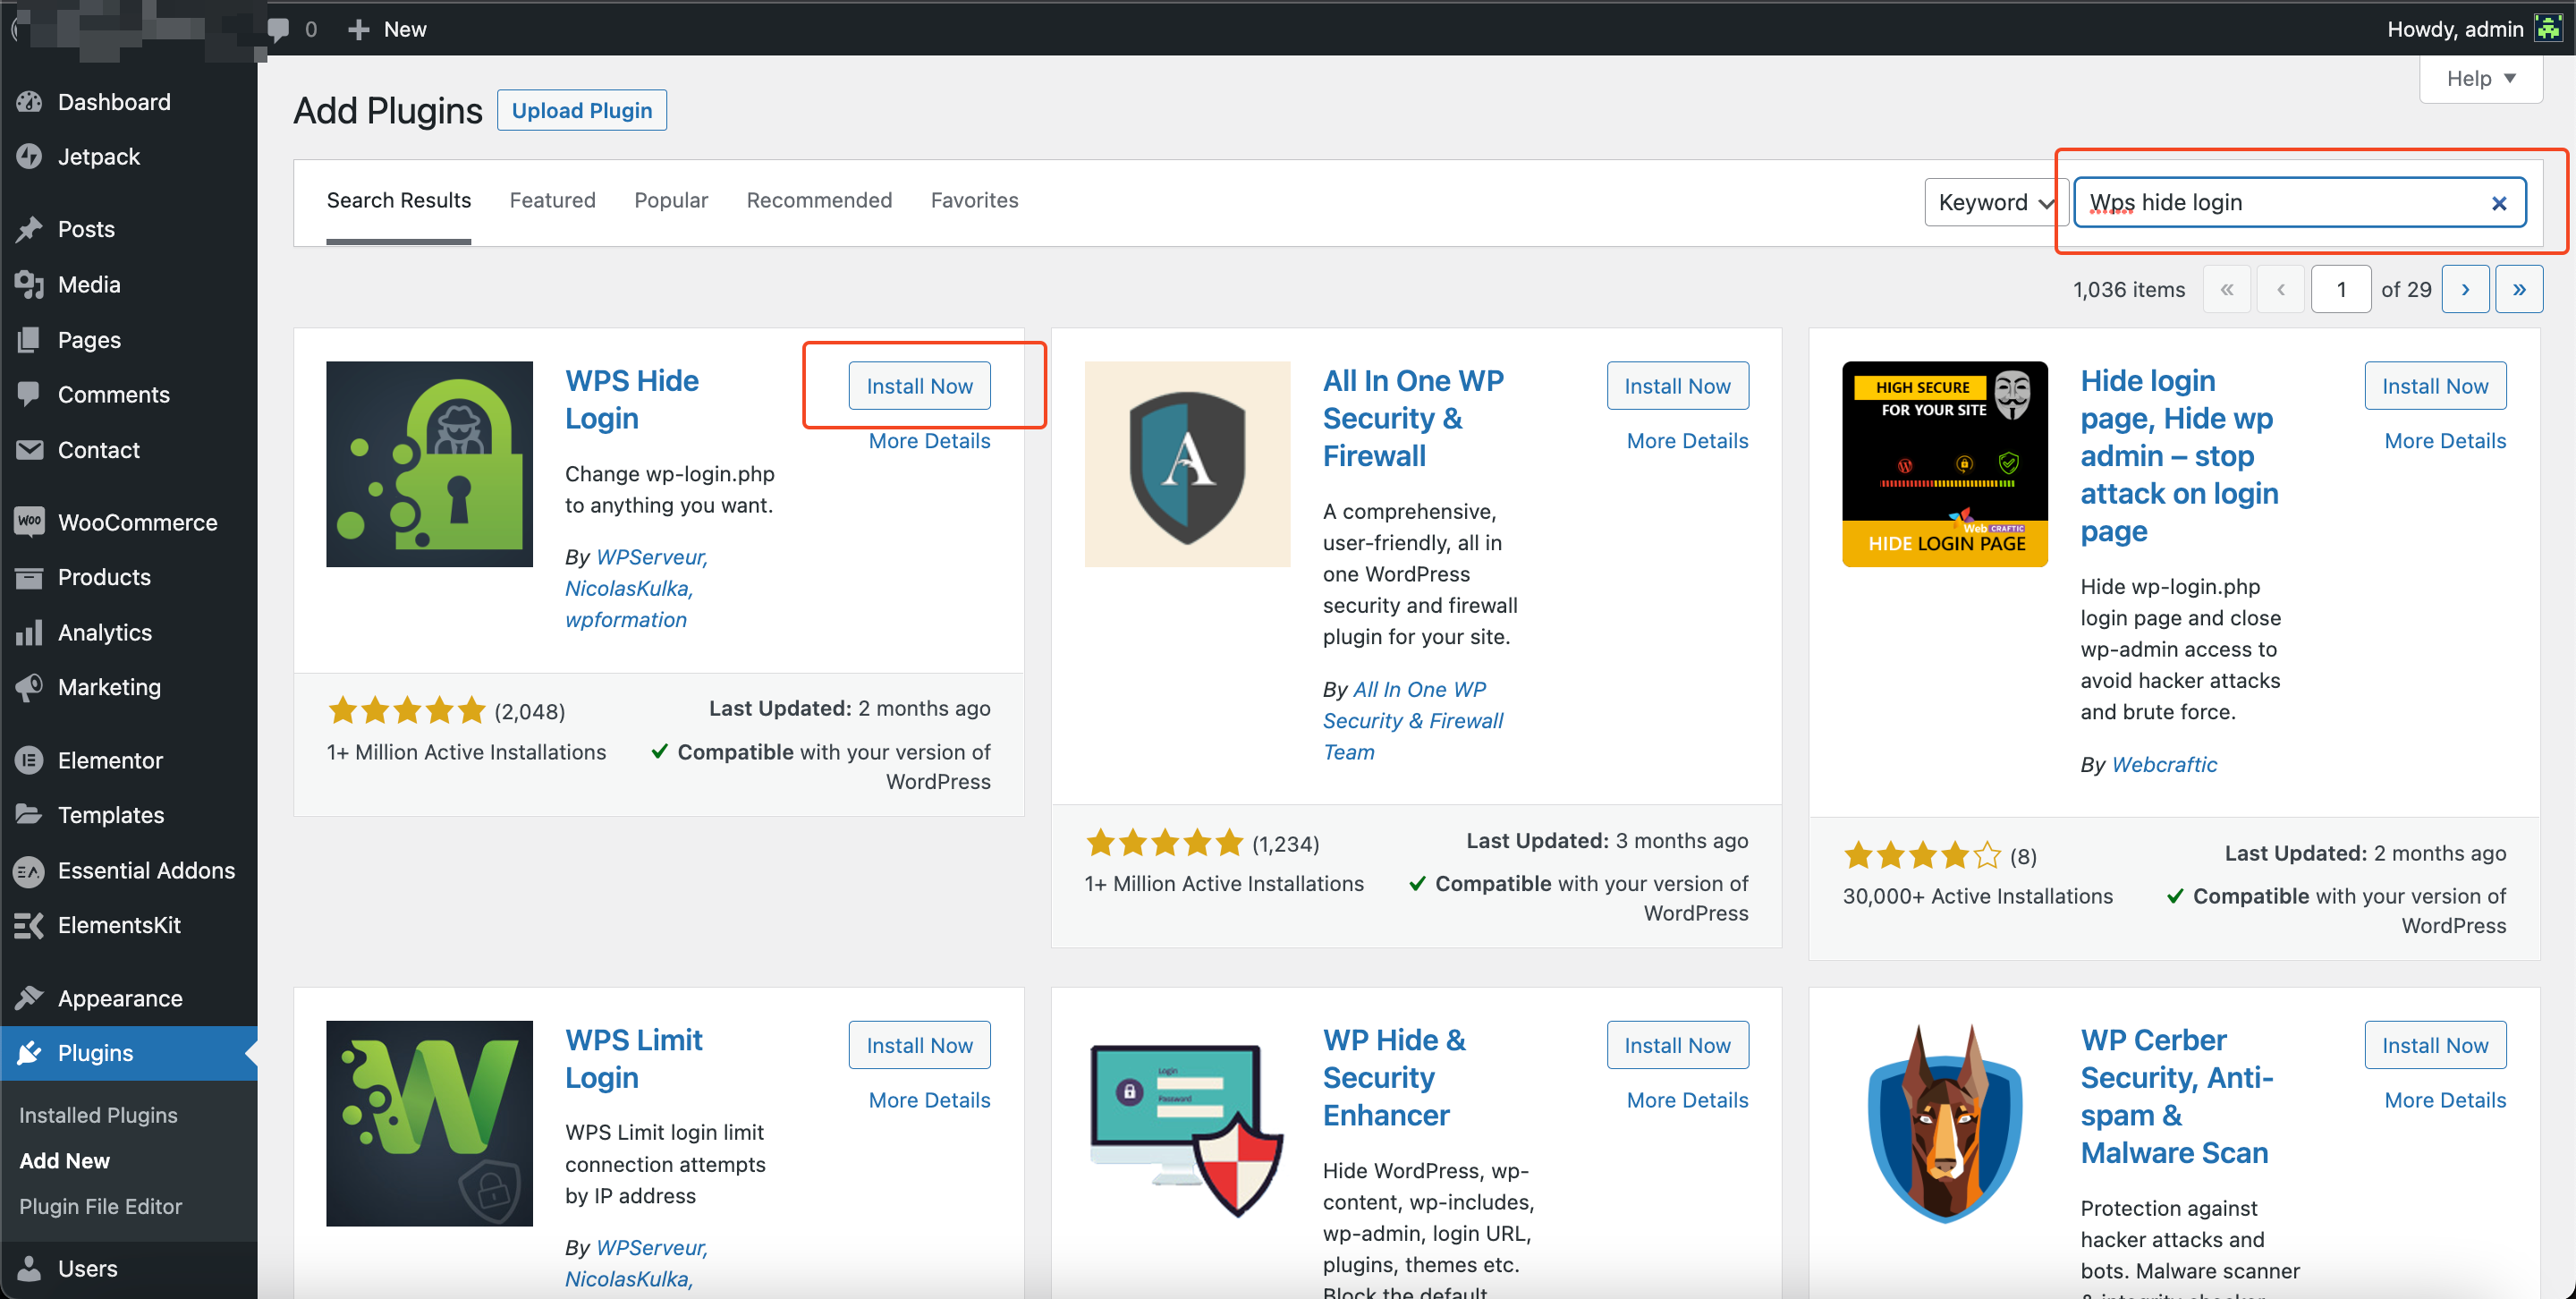
From the left panel click on Plugins, then click on Add new and It will take you to the Add Plugins page.
Now Search for WPS hide login and click on the install button to install the plugin.
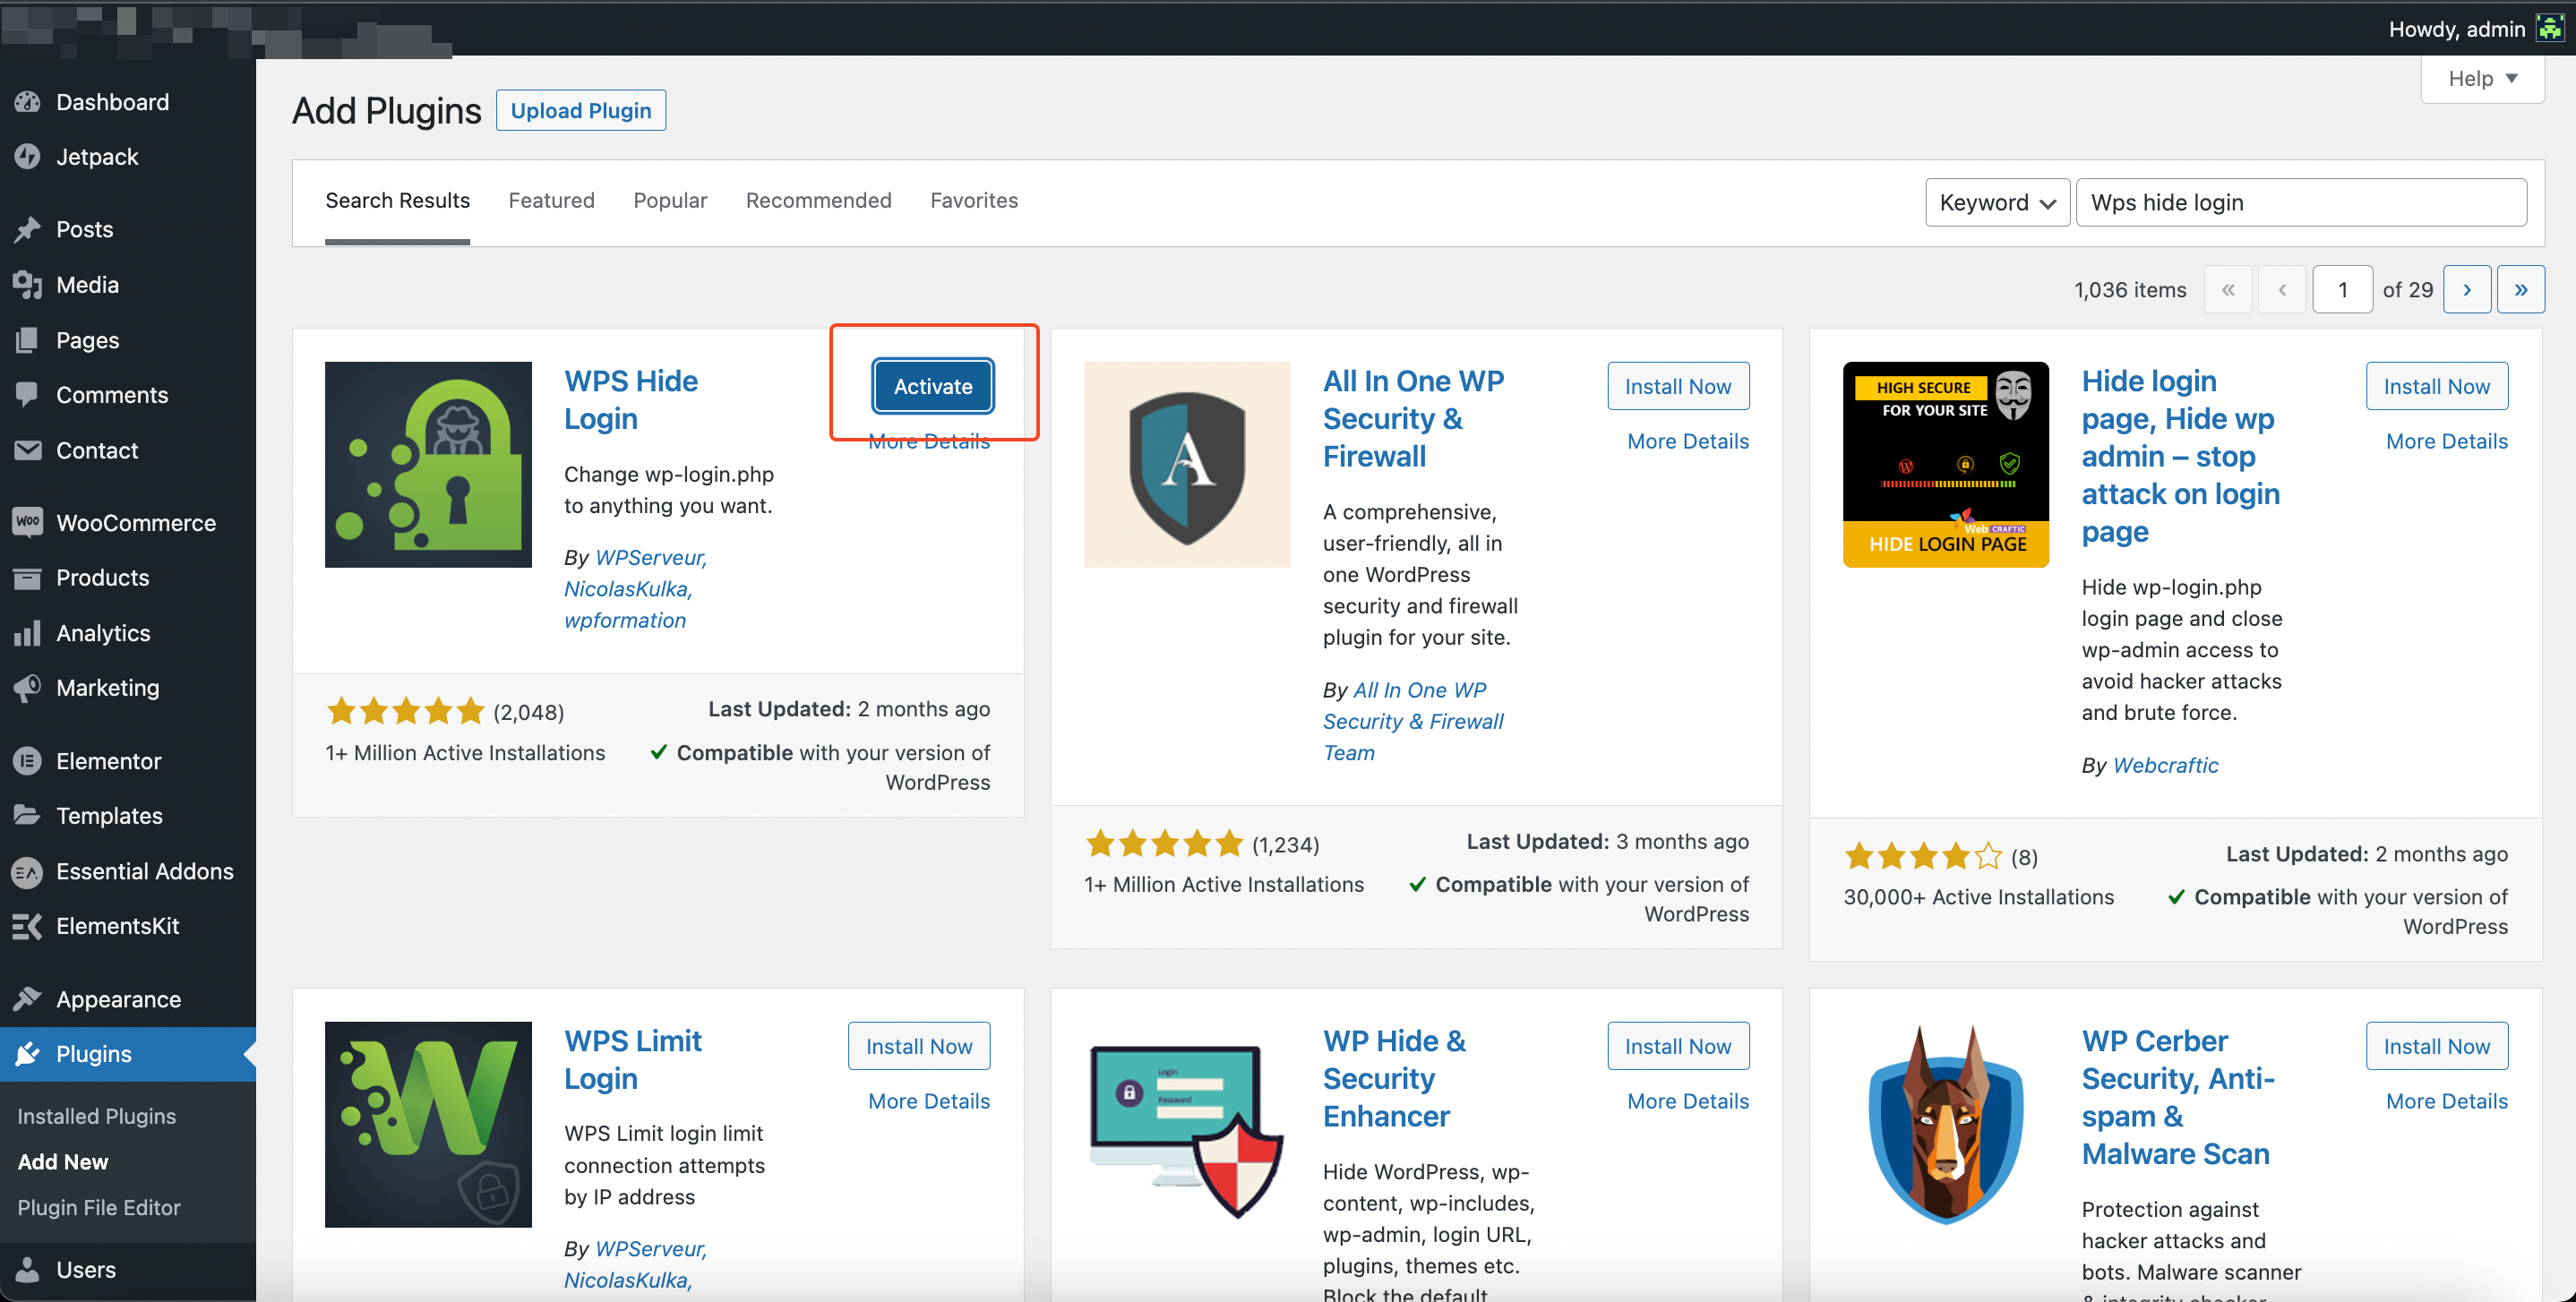
After Installation is done, click on the Activate button to activate the plugin.
Configure the plugin
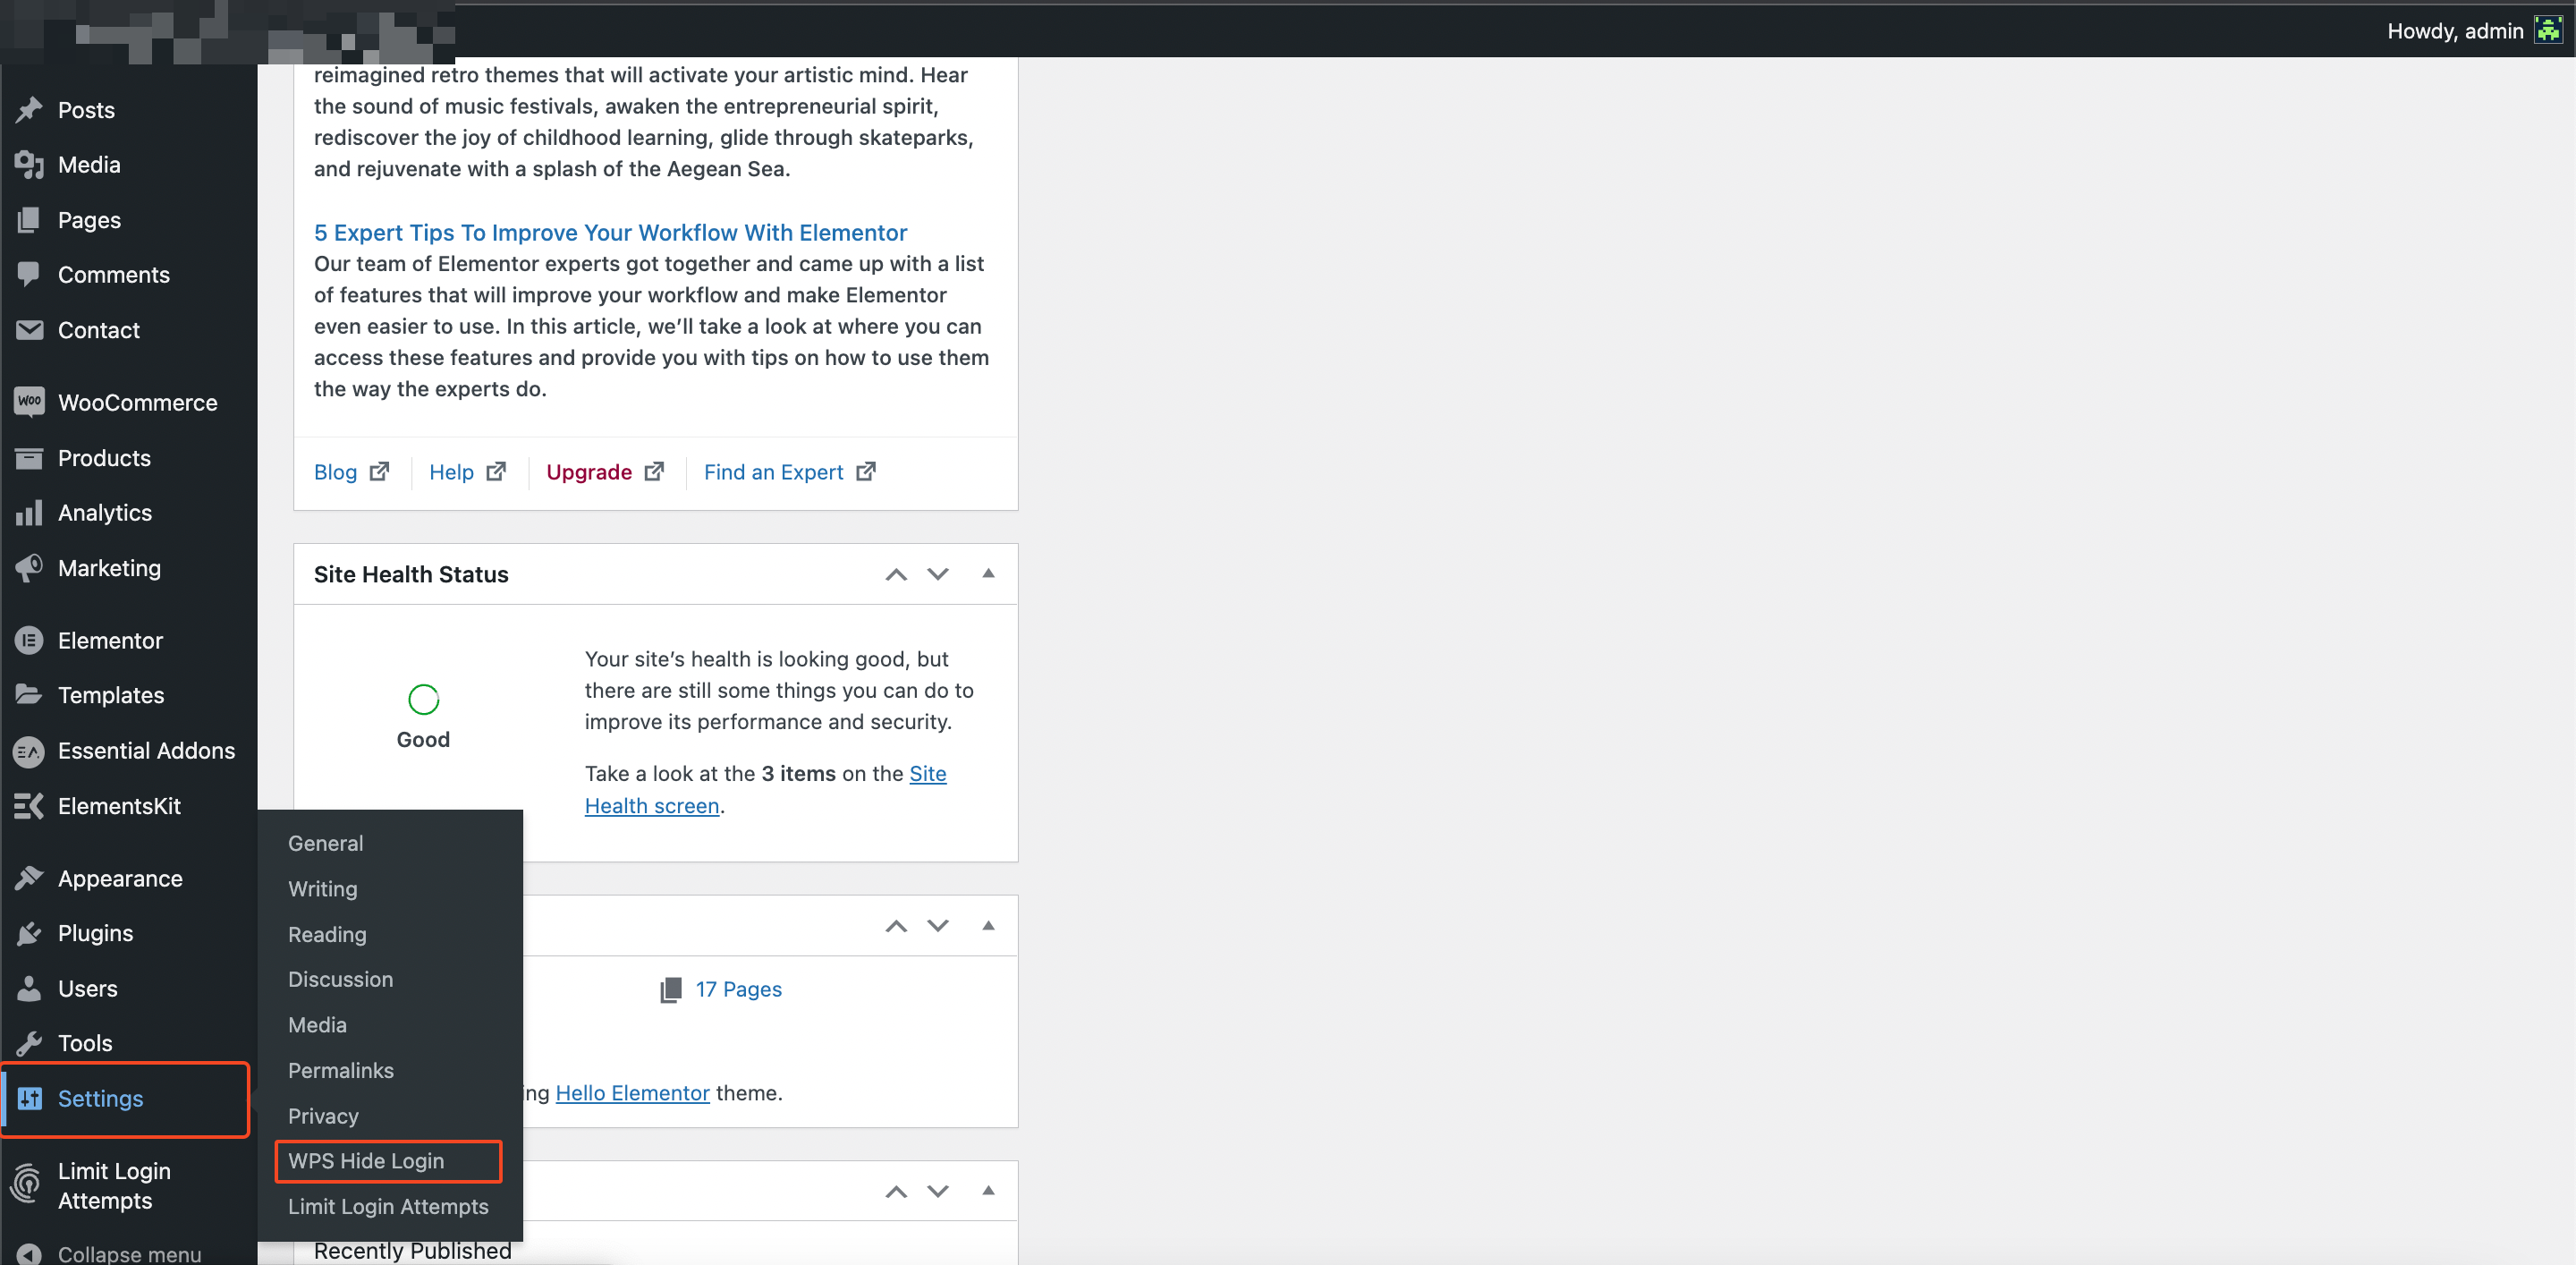
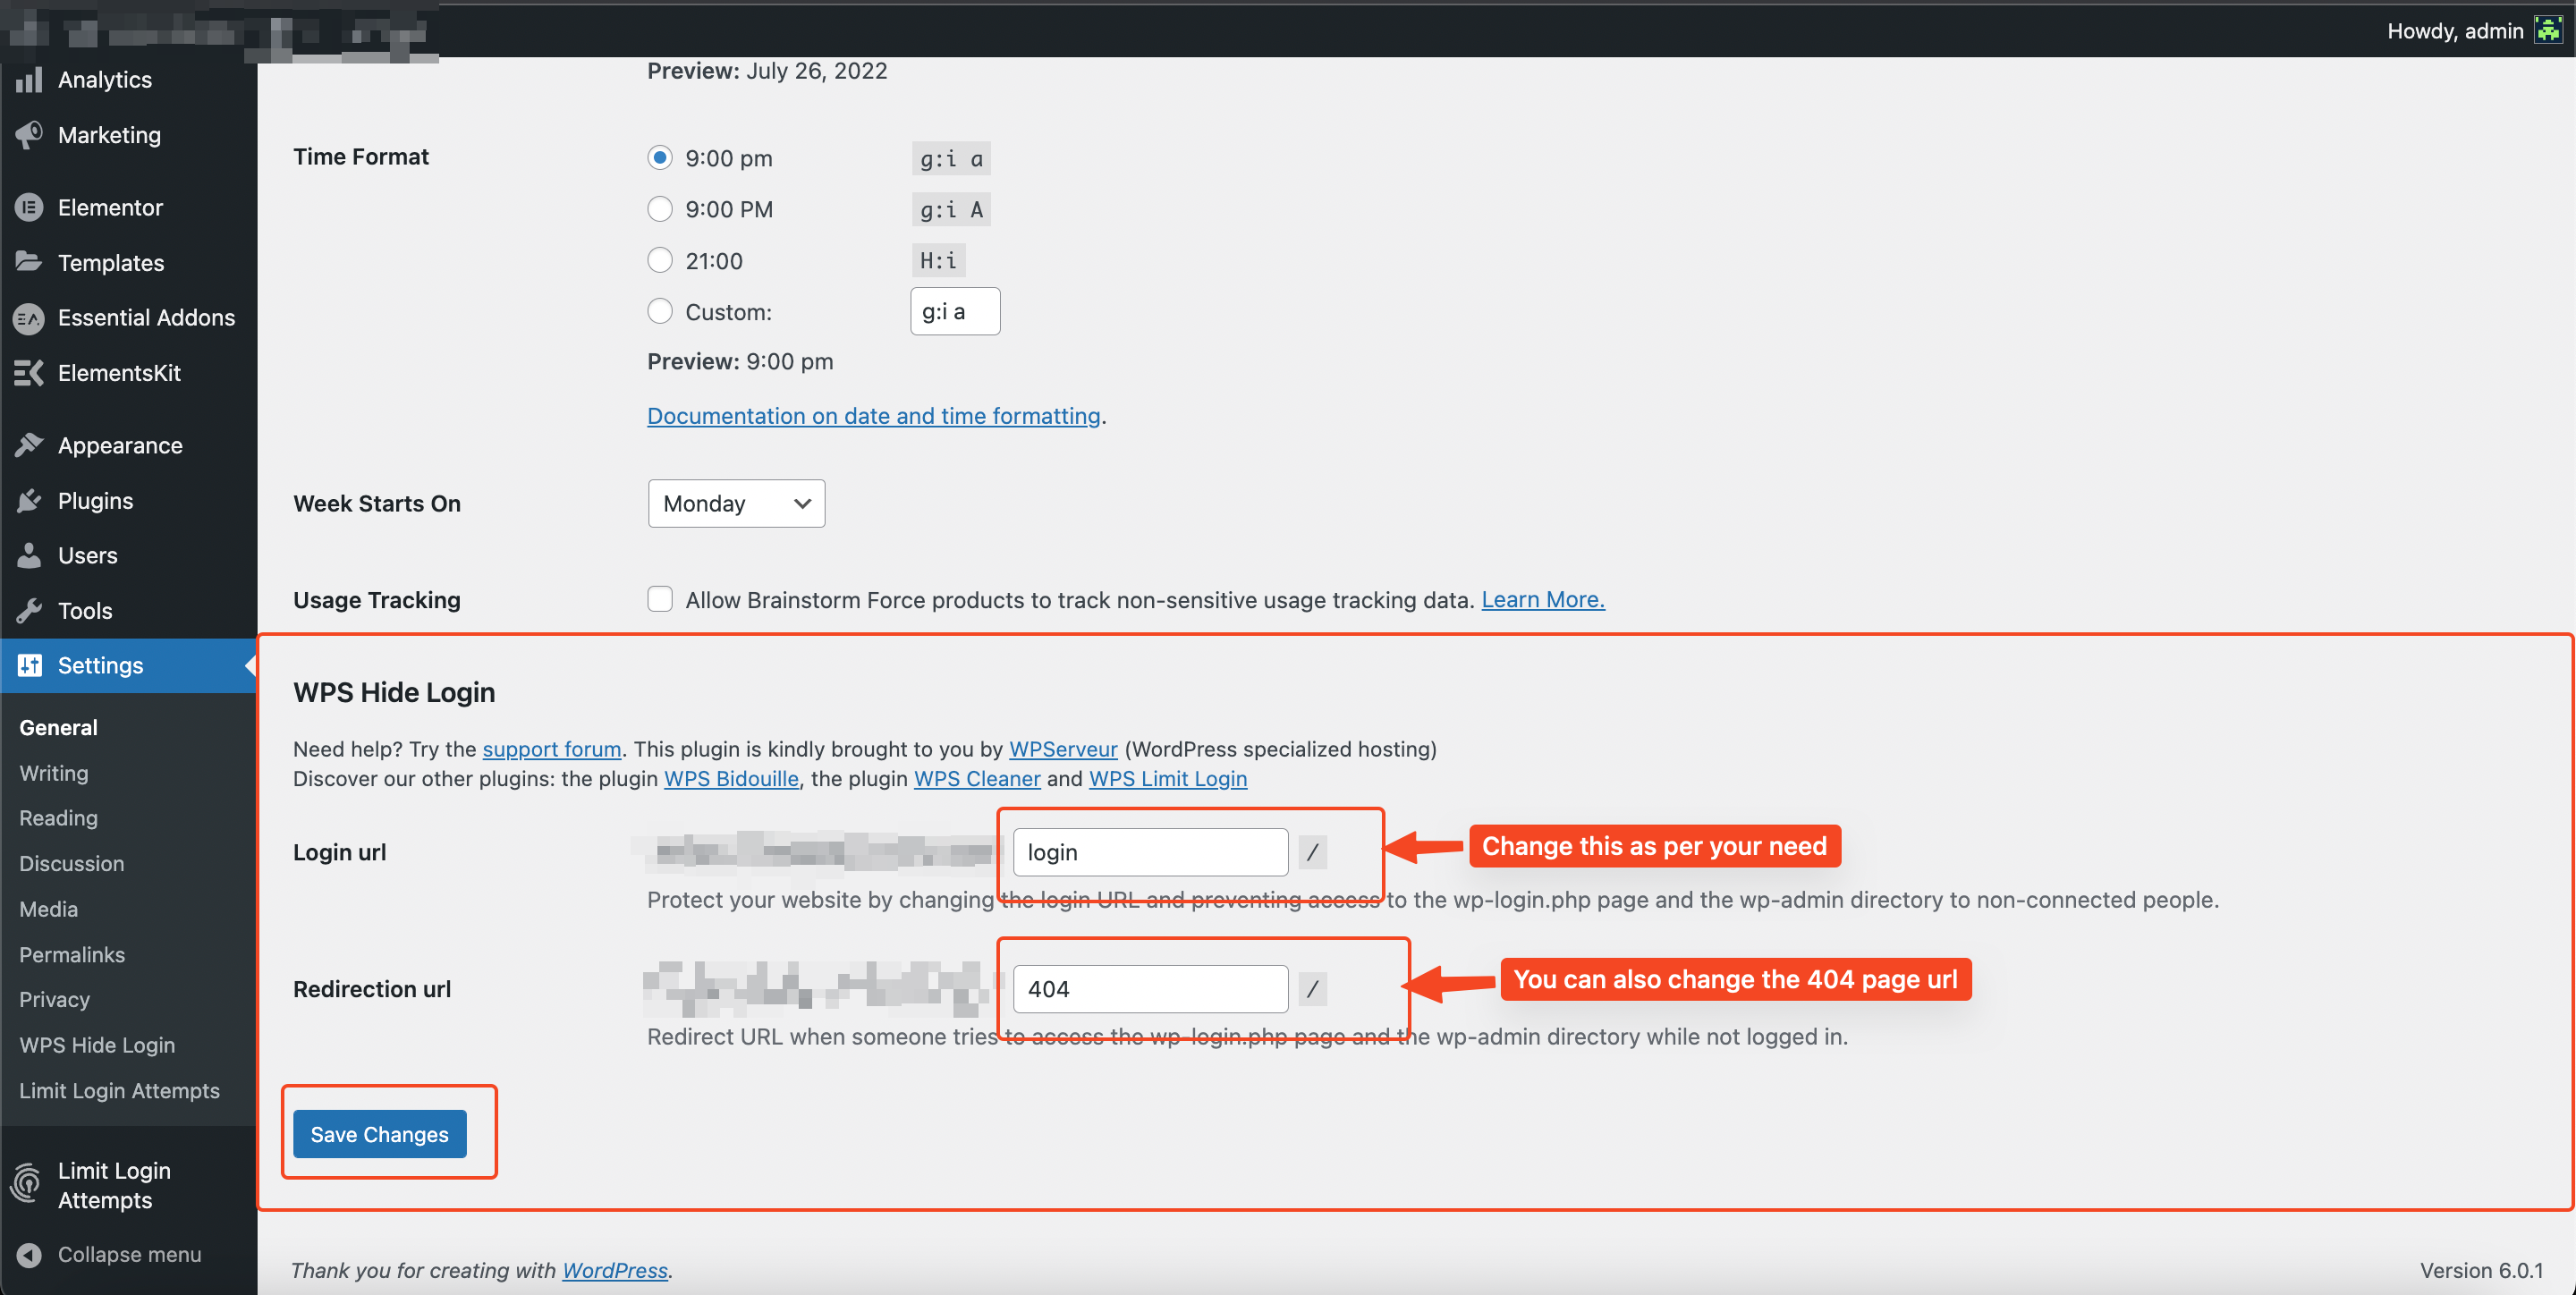
From the left panel click on Settings, then click on WPS Hide Login and It will take you to the WPS Hide Login section on the settings page.
In the WPS Hide Login section you will have two options one is for Login url and the second one is for Redirection url.
Change the login URL as per your need.
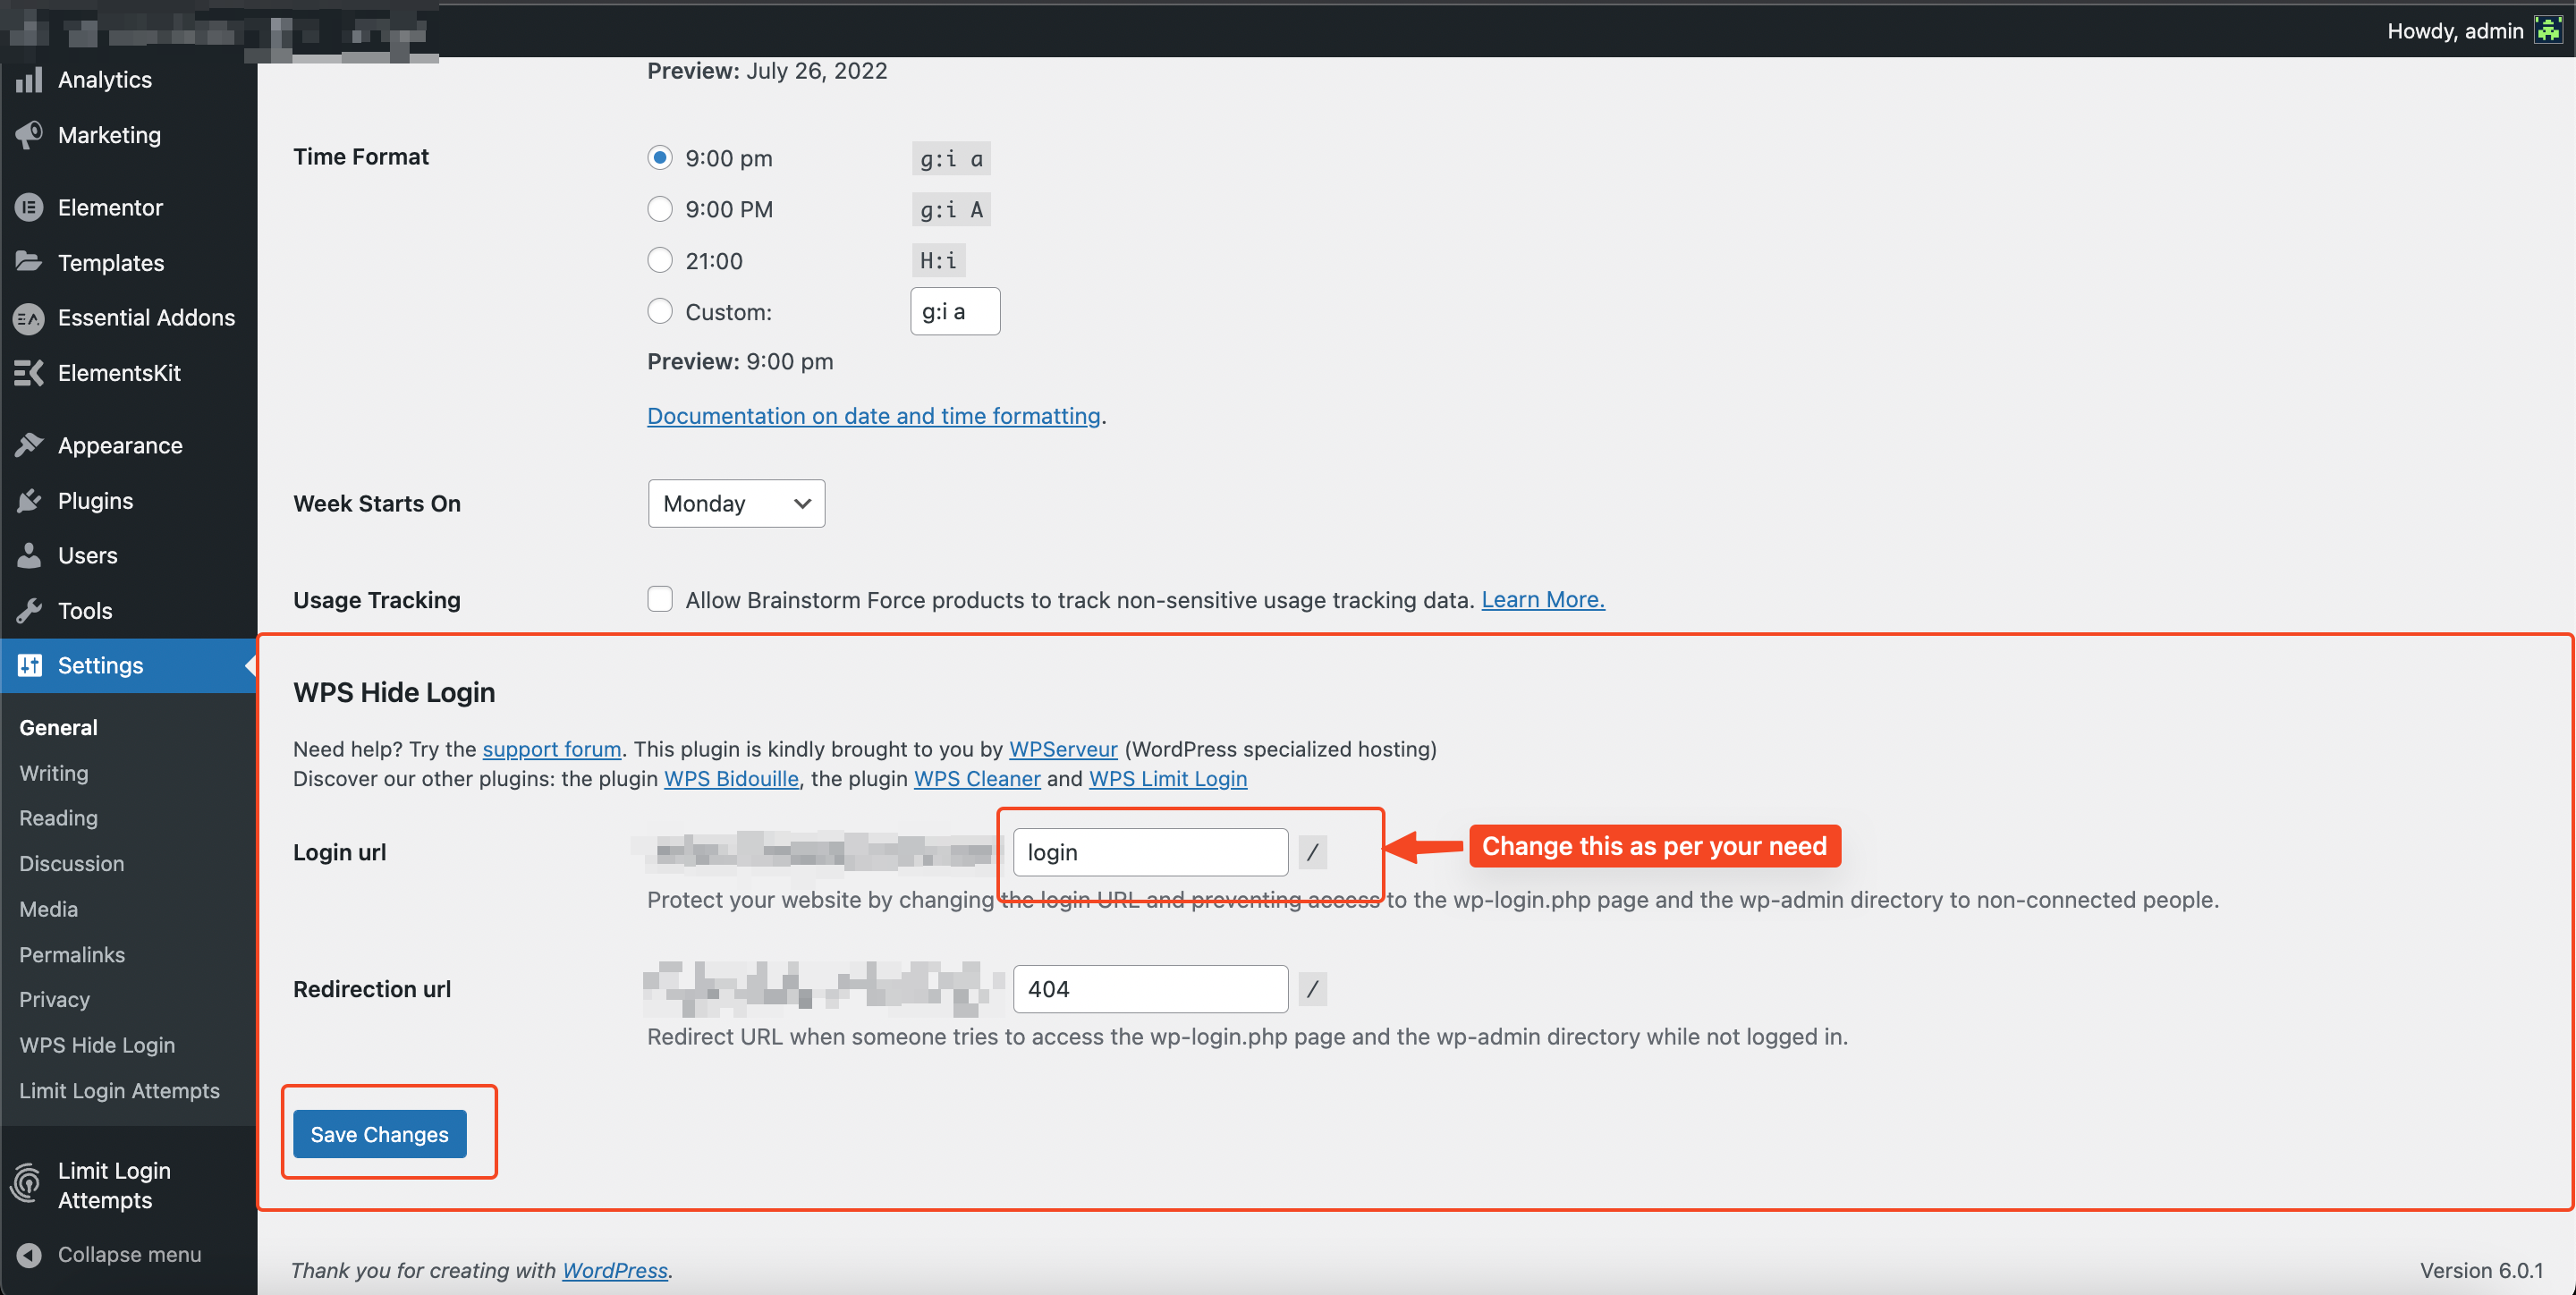
In the redirect URL, you can give the custom 404-page URL. So if some user tries to access a page that does not exist or they don't have sufficient permission to access that page then they will be redirected to the given URL.
And that’s it for this topic. Thank you for reading.
Connect with me
Subscribe to my newsletter to get my latest post in your inbox directly.