How to Add Calendly to Your ReactJS Project
A Step-by-Step Guide on how to Integrate Calendly with ReactJS.
What is calendly 🤔
Calendly is a scheduling and appointment scheduling software that helps individuals and organizations schedule and manages appointments and meetings with clients and colleagues.
It allows users to create customizable scheduling links that can be shared with others, allowing them to easily schedule appointments or meetings with the user at a time that works for both parties.
Calendly integrates with various calendar and email platforms, including Google Calendar, Outlook, and Office 365, and offers features such as automated email and calendar event notifications, as well as the ability to set up recurring appointments and meetings.
Calendly is useful for a wide range of professionals, including consultants, salespeople, coaches, and therapists, as it helps to streamline the scheduling process and reduce the time spent coordinating appointments.
How to integrate calendly with ReactJs 👨🏻💻
If you are working on a ReactJS project and want to incorporate Calendly into your project, you can use the react-calendly library.
Here are the steps you can follow to add Calendly to your ReactJS project:
- Install
react-calendlyusing npm or yarn:
npm install react-calendly
# OR
yarn add react-calendly
- Add a calendly widget to your ReactJs application.
Calendly provides 2 widget options to choose from, you can choose which Calendly widget you want to use in your project.
Let's see all of them one by one.
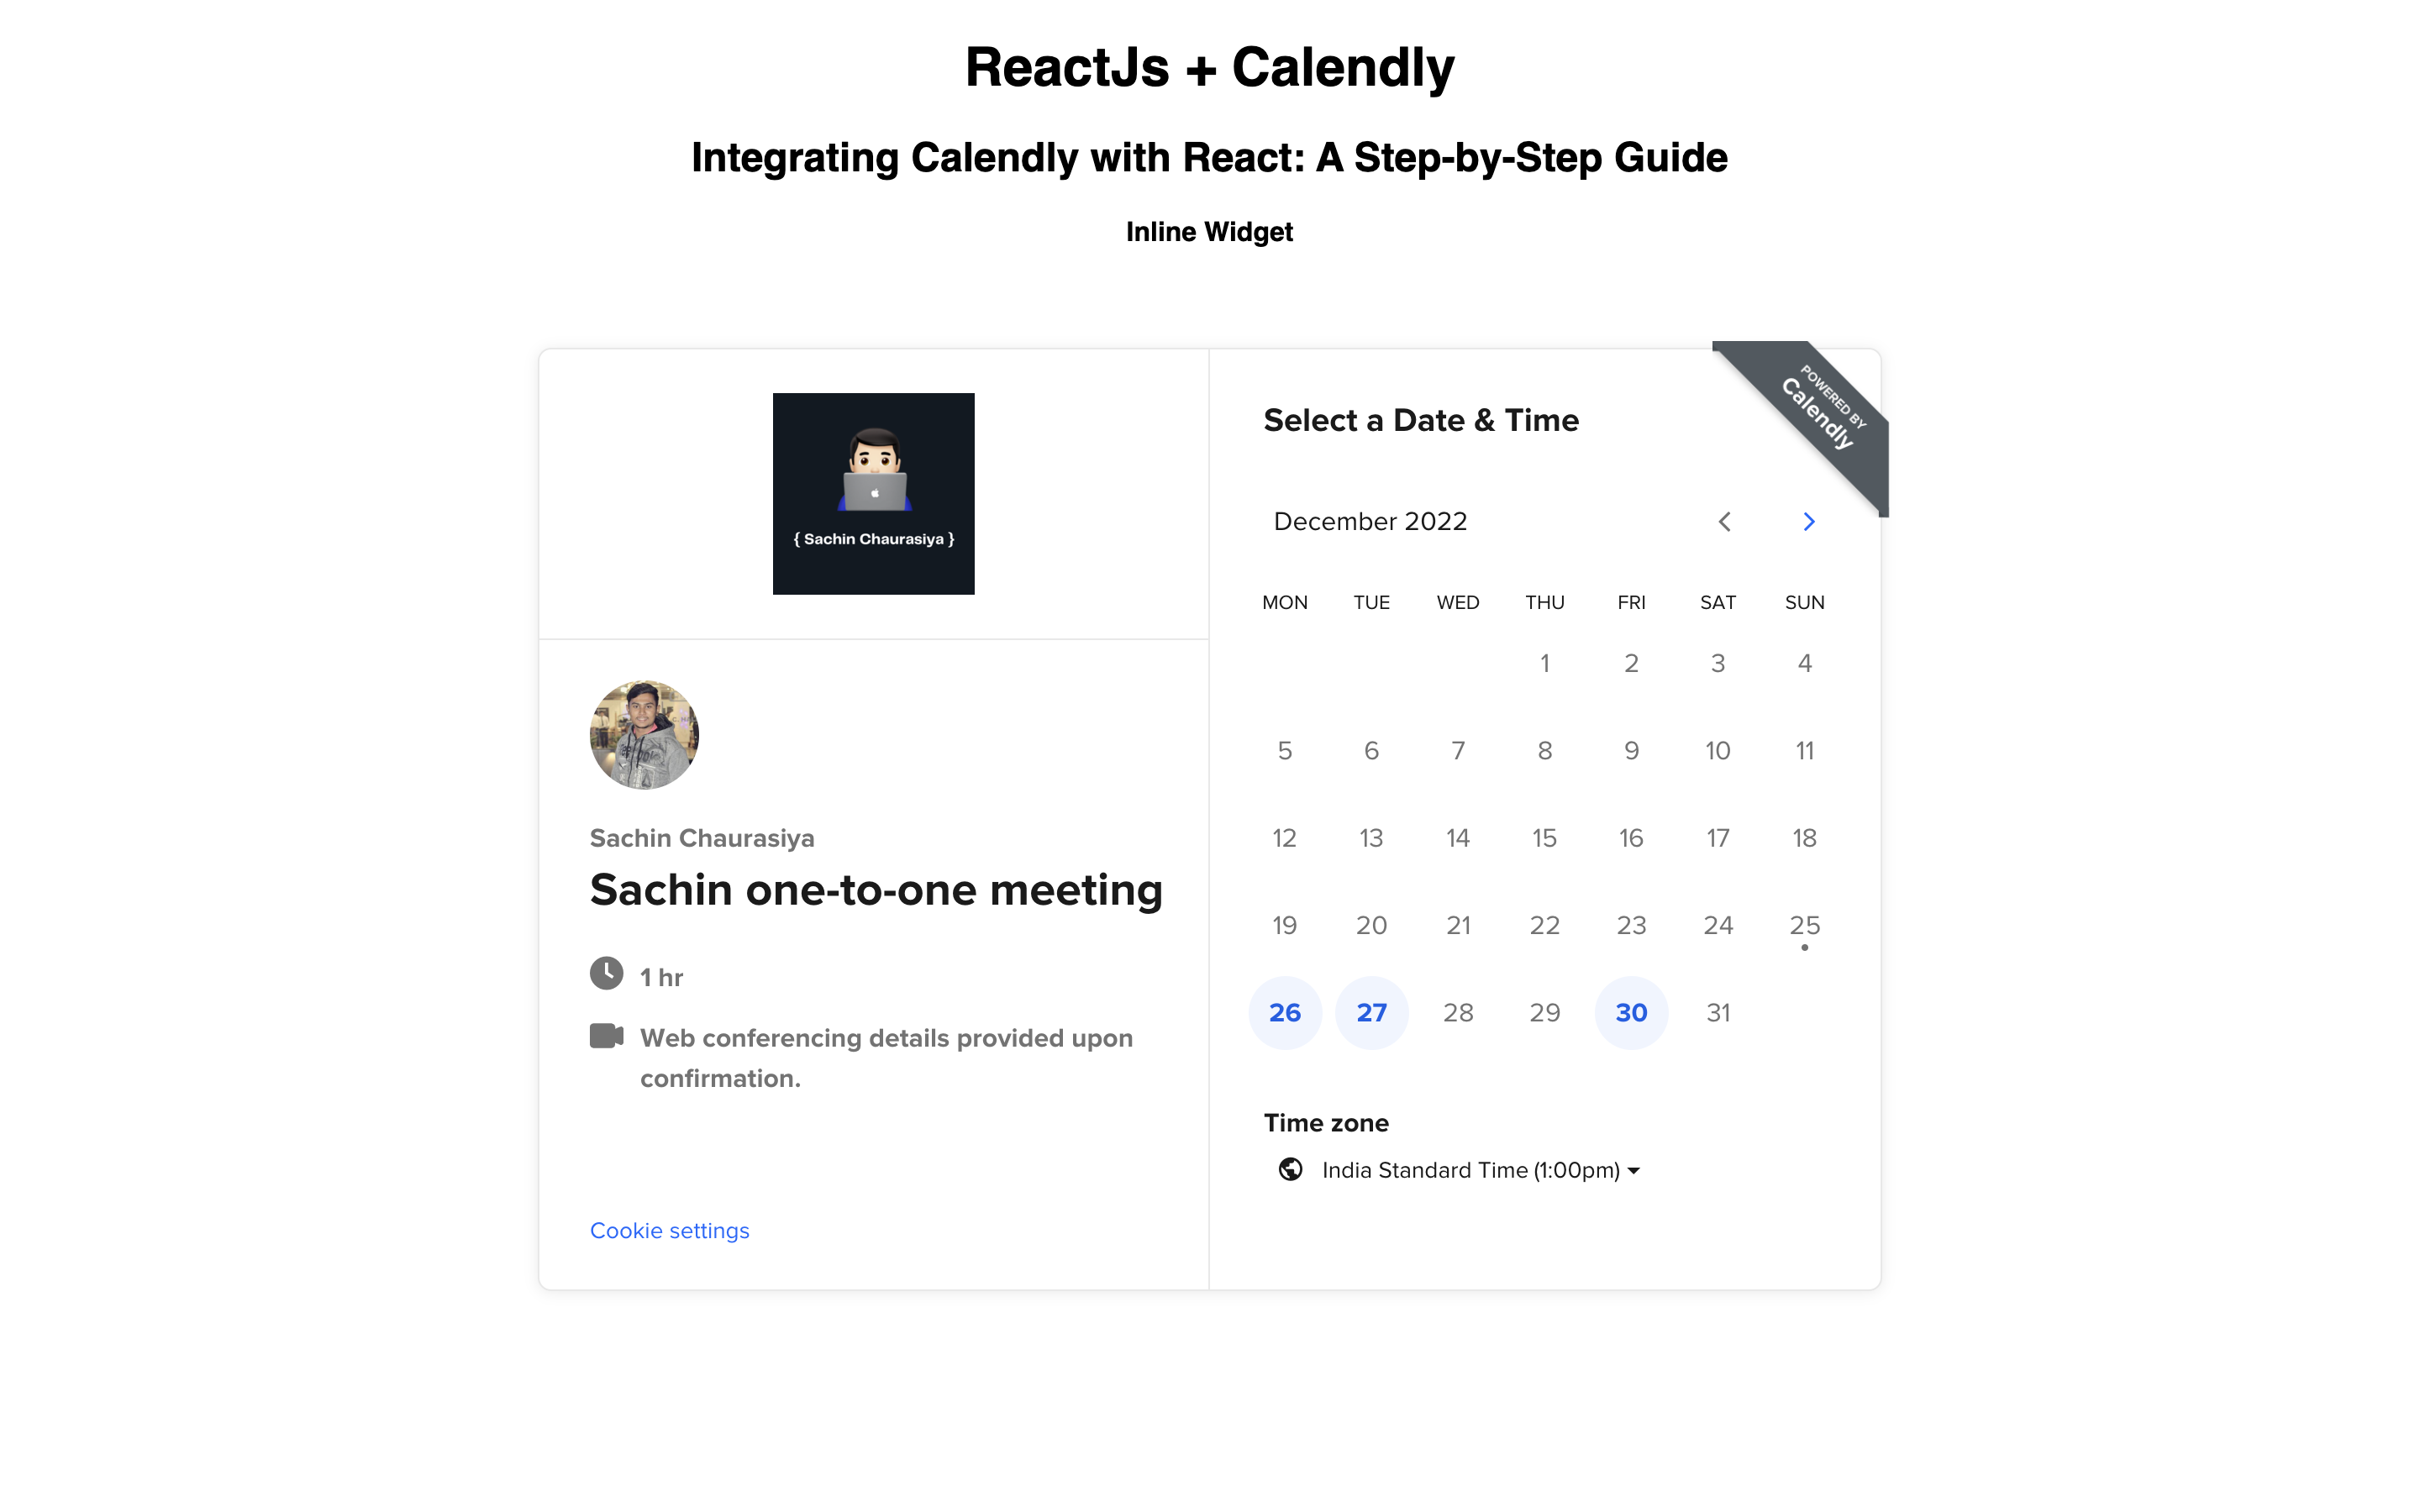
InlineWidget
This widget displays the Calendly scheduling form directly on the page.
import React from 'react';
import { InlineWidget } from 'react-calendly';

const InlineComponent = () => {
  return (
    <div className="inline-widget">
      <InlineWidget url="https://calendly.com/your-calendly-url" />
    </div>
  );
};

export default InlineComponent;
Make sure to replace
https://calendly.com/your-calendly-urlwith the actual URL of your Calendly schedule.
(Optional) You can also customize the appearance of the Calendly widget by passing a styles object to the InlineWidget component. The styles object should contain CSS properties and values in camelCase, such as width and height.
PopupWidget
This widget displays the Calendly scheduling form in a popup window.
import React from 'react';
import { PopupWidget } from 'react-calendly';

const PopupComponent = () => {
  return (
    <div className="popup-widget">
      <PopupWidget
        url="https://calendly.com/your-calendly-url"
        rootElement={document.getElementById('root')}
        text="Schedule Time with me"
        textColor="#ffffff"
        color="#319795"
      />
    </div>
  );
};

export default PopupComponent;
PopupWidget accepts the rootElement prop to specify the root element where you want to render the popup. it also accepts styling props like textColor, color, and text.
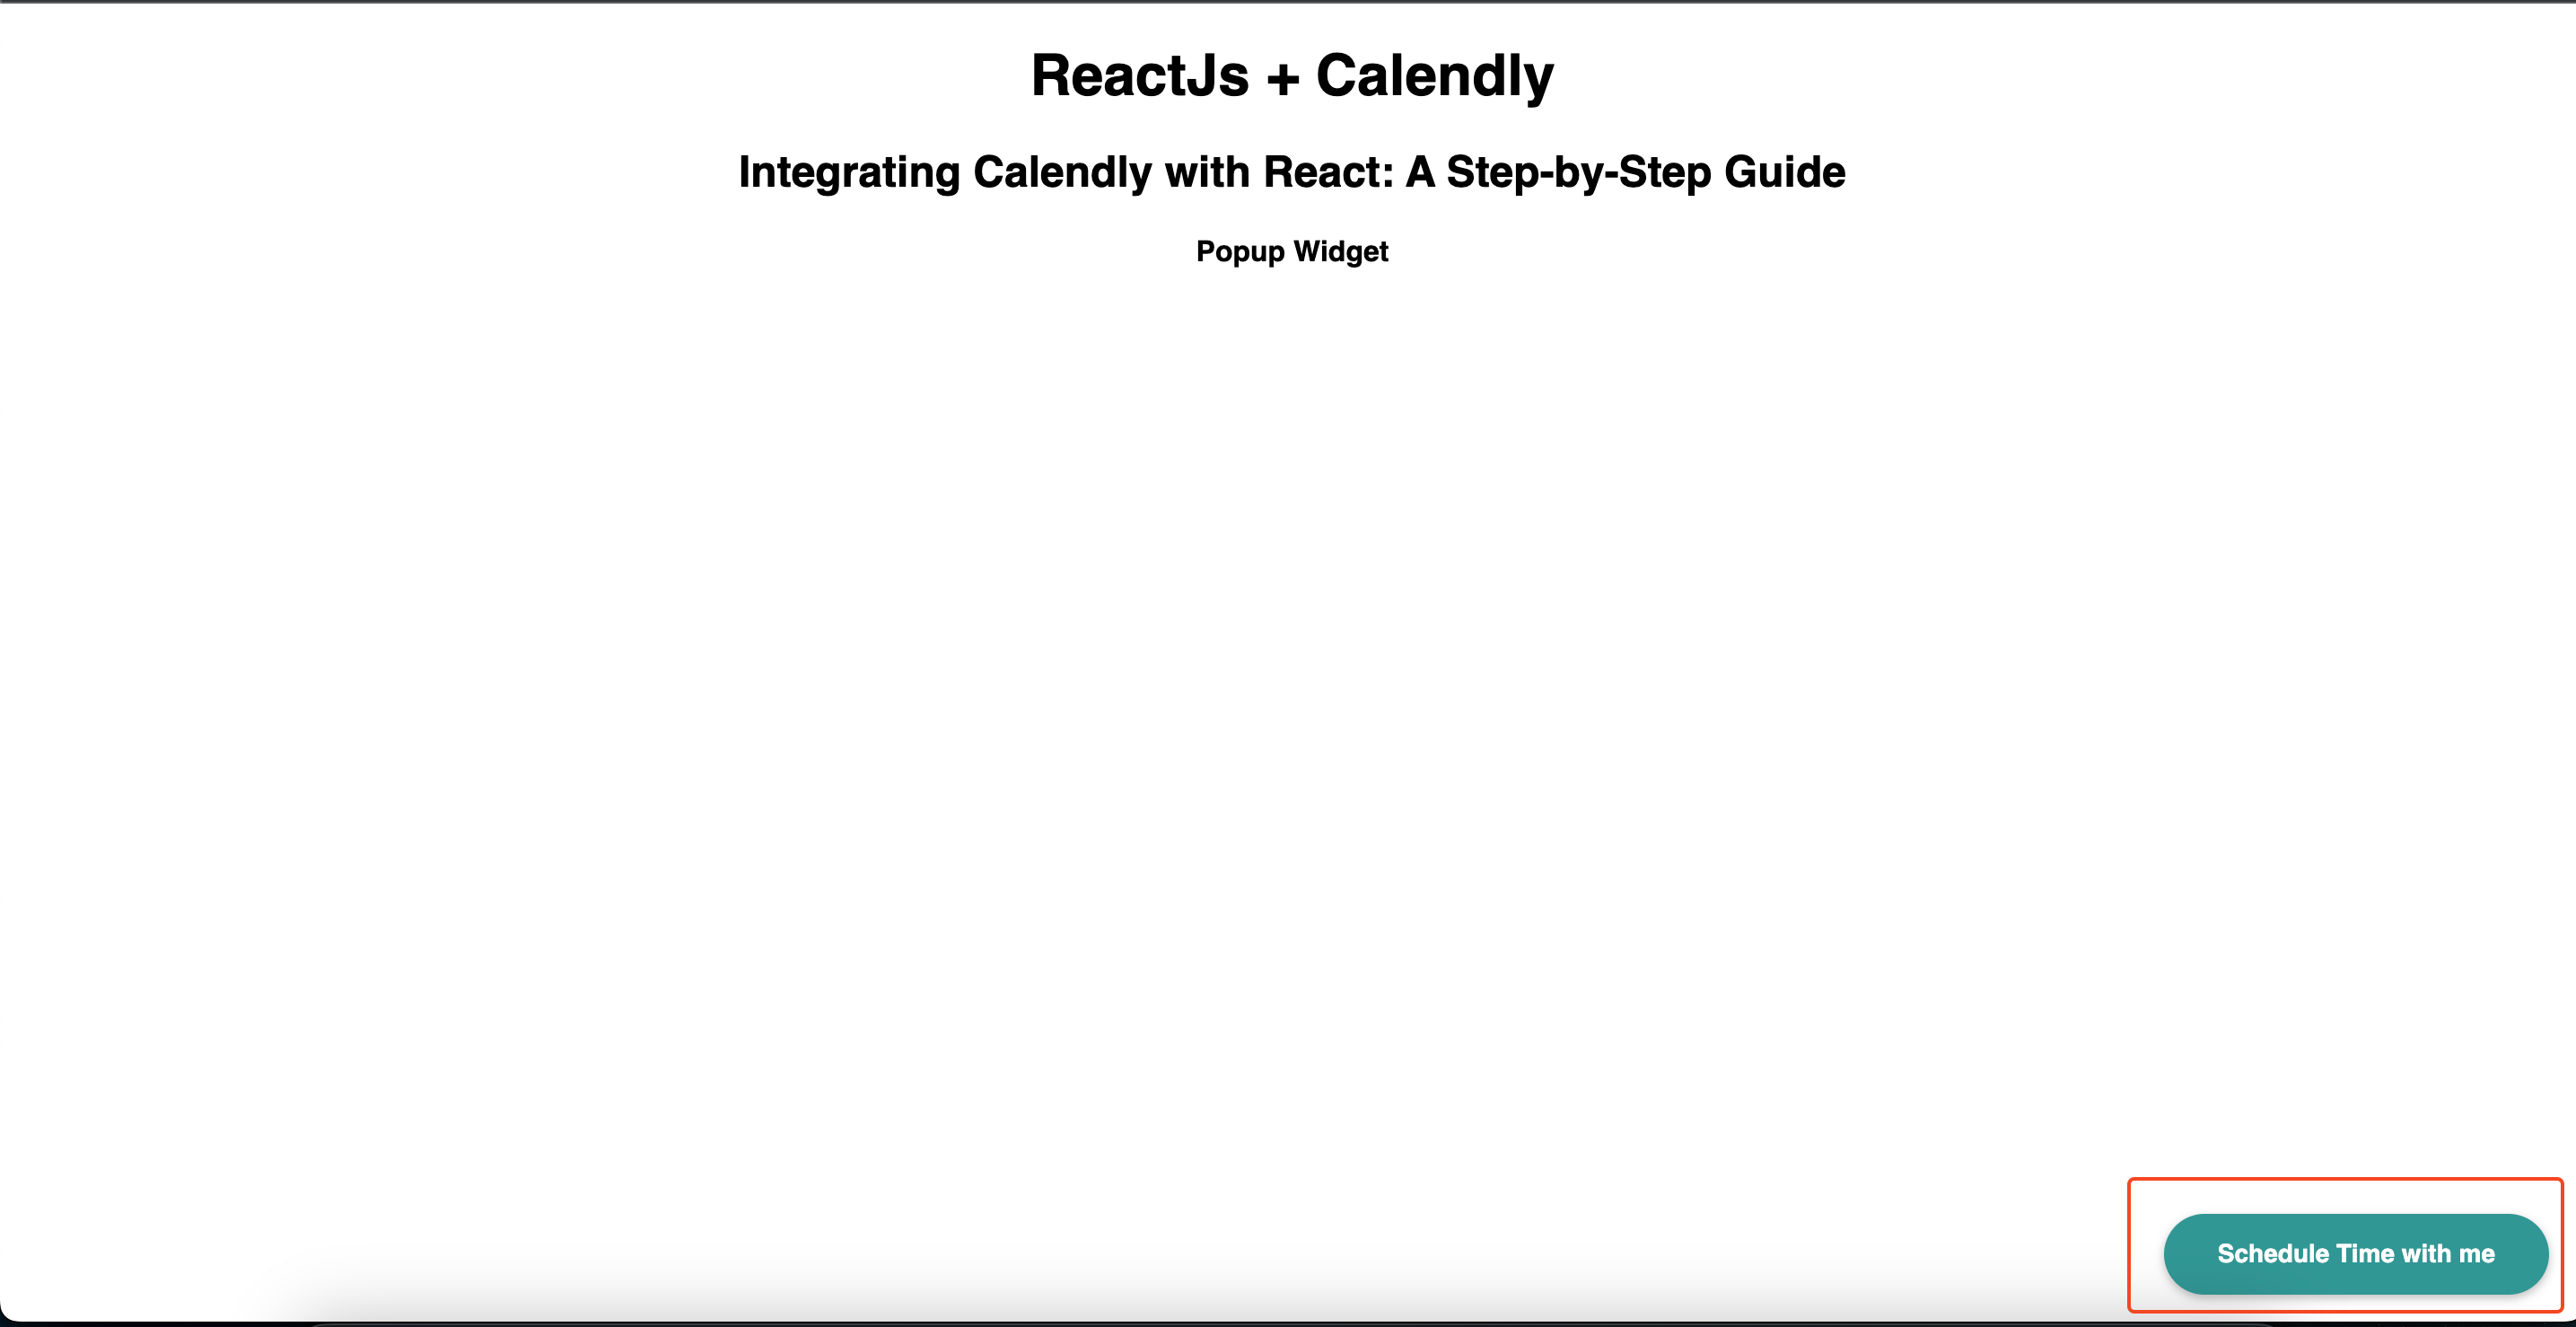
Once you add this component to your app it will render the popup button with the text Schedule Time with me
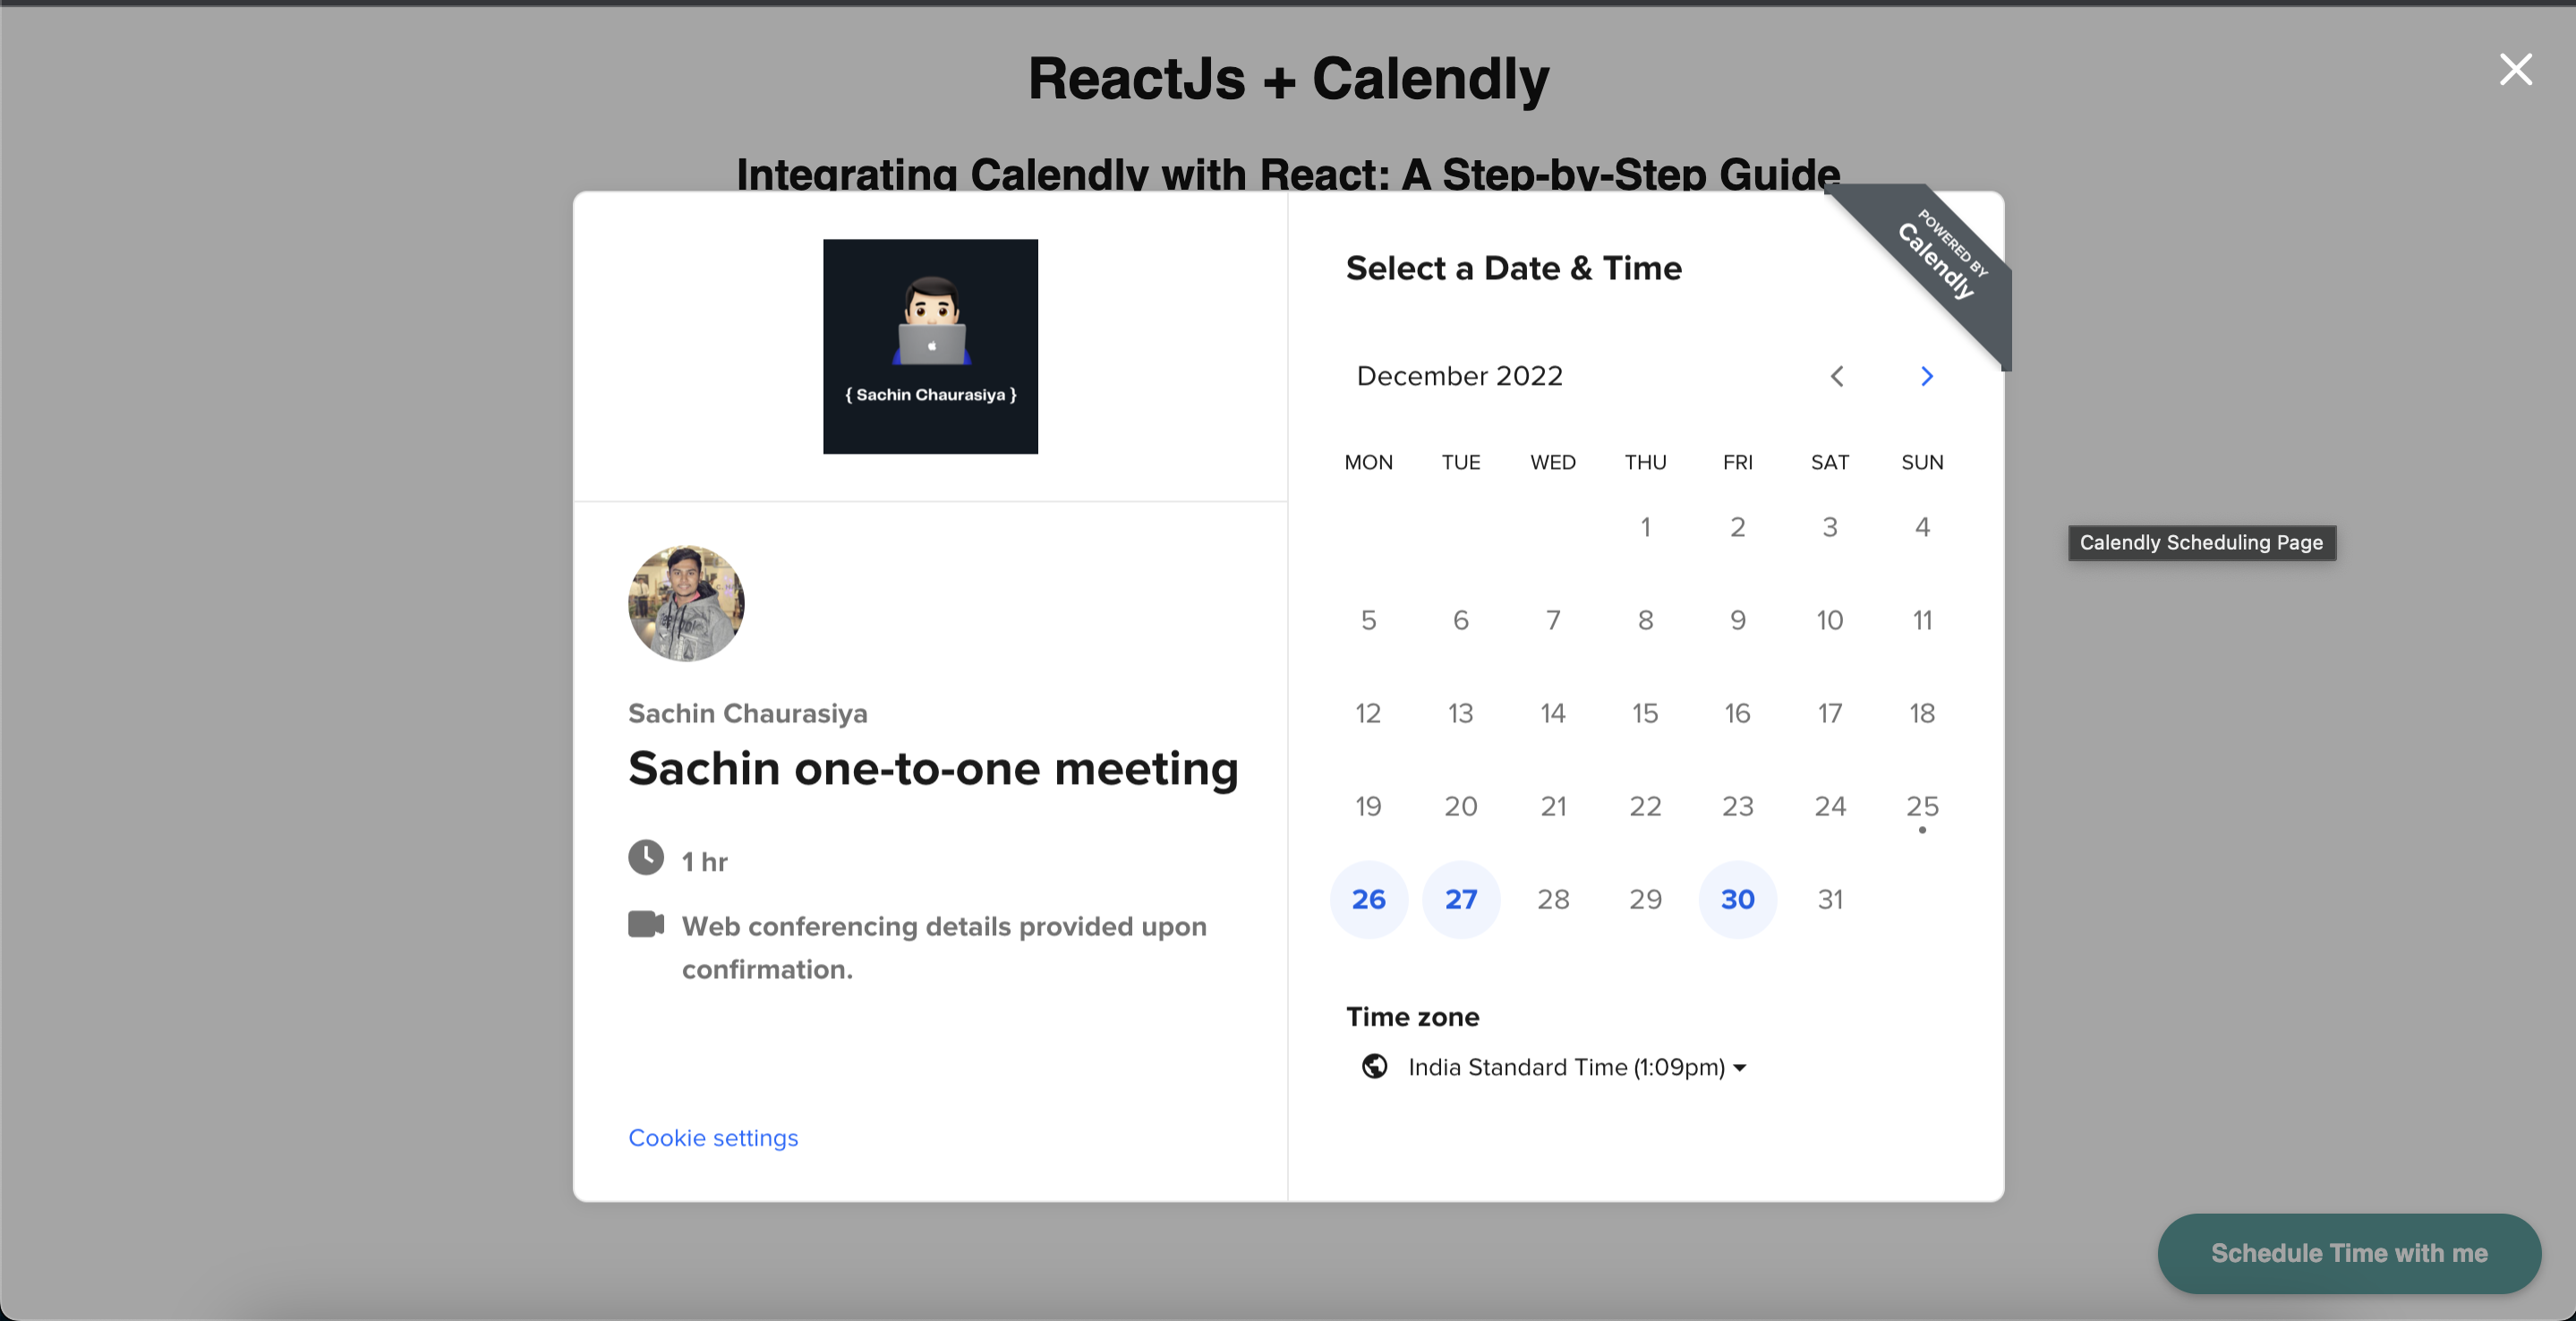
Click on the button and it will open the popup modal with your calendly page like below.
Listen for events in the widget 👂
You can also use the useCalendlyEventListener hook to listen for events in the Calendly widget, such as when a user schedules an appointment or cancels an appointment.
To use the hook, import it from react-calendly and add it to your component like this:
import React from 'react';
import { InlineWidget, useCalendlyEventListener } from 'react-calendly';

const InlineComponent = () => {

useCalendlyEventListener({
    onEventScheduled: (e) => console.log(e.data.payload)
  });

  return (
    <div className="inline-widget">
      <InlineWidget url="https://calendly.com/your-calendly-url" />
    </div>
  );
};

export default InlineComponent;
In the above component, we are listening to schedule events. so, when the user schedule an event you can listen to that and do something.
Conclusion 📝
That's all you need to do to add Calendly to your ReactJS project using react-calendly! Whether you want to display the Calendly form directly on the page, in a popup window, or with a customizable button, the react-calendly library has you covered. You can also use the useCalendlyEventListener hook to listen to events and take actions based on them.
And that’s it for this topic. Thank you for reading.
If you found this article useful, please consider liking and sharing it with others. If you have any questions, feel free to comment, and I will do my best to respond.