

How to Self Host your own Website Analytics With Umami
Self-host your own website analytics with Umami.


When we talk about website analytics, the first thing that comes to mind is Google Analytics. However, we all know that Google Analytics captures all of your users' information, so there is no privacy or control over the data.
Google Analytics capture so many different metrics that even we don't need and the most important fact is that to understand the metrics you will need a PhD 😁, jokes apart but honestly it's not easy to understand the google analytics metrics.
Lately, I was looking for an analytics solution for my portfolio website and some of the people suggested google analytics, but I wanted full control of my website analytics and easy-to-understand metrics with the simple friendly dashboard. So, I started searching for google analytics alternatives and I found a few interesting ones like plausible.io and umami.is.
After a few days of research, I concluded that Umami will be the best fit for my use case because it is Open-source and focuses on privacy, it provides you with a powerful web analytics solution that respects your users' privacy. the best part is that you will have complete control over your data when you self-host Umami.
So In this article, I will be discussing how to self-host your own Website Analytics With Umami on Heroku.
Let's get started.
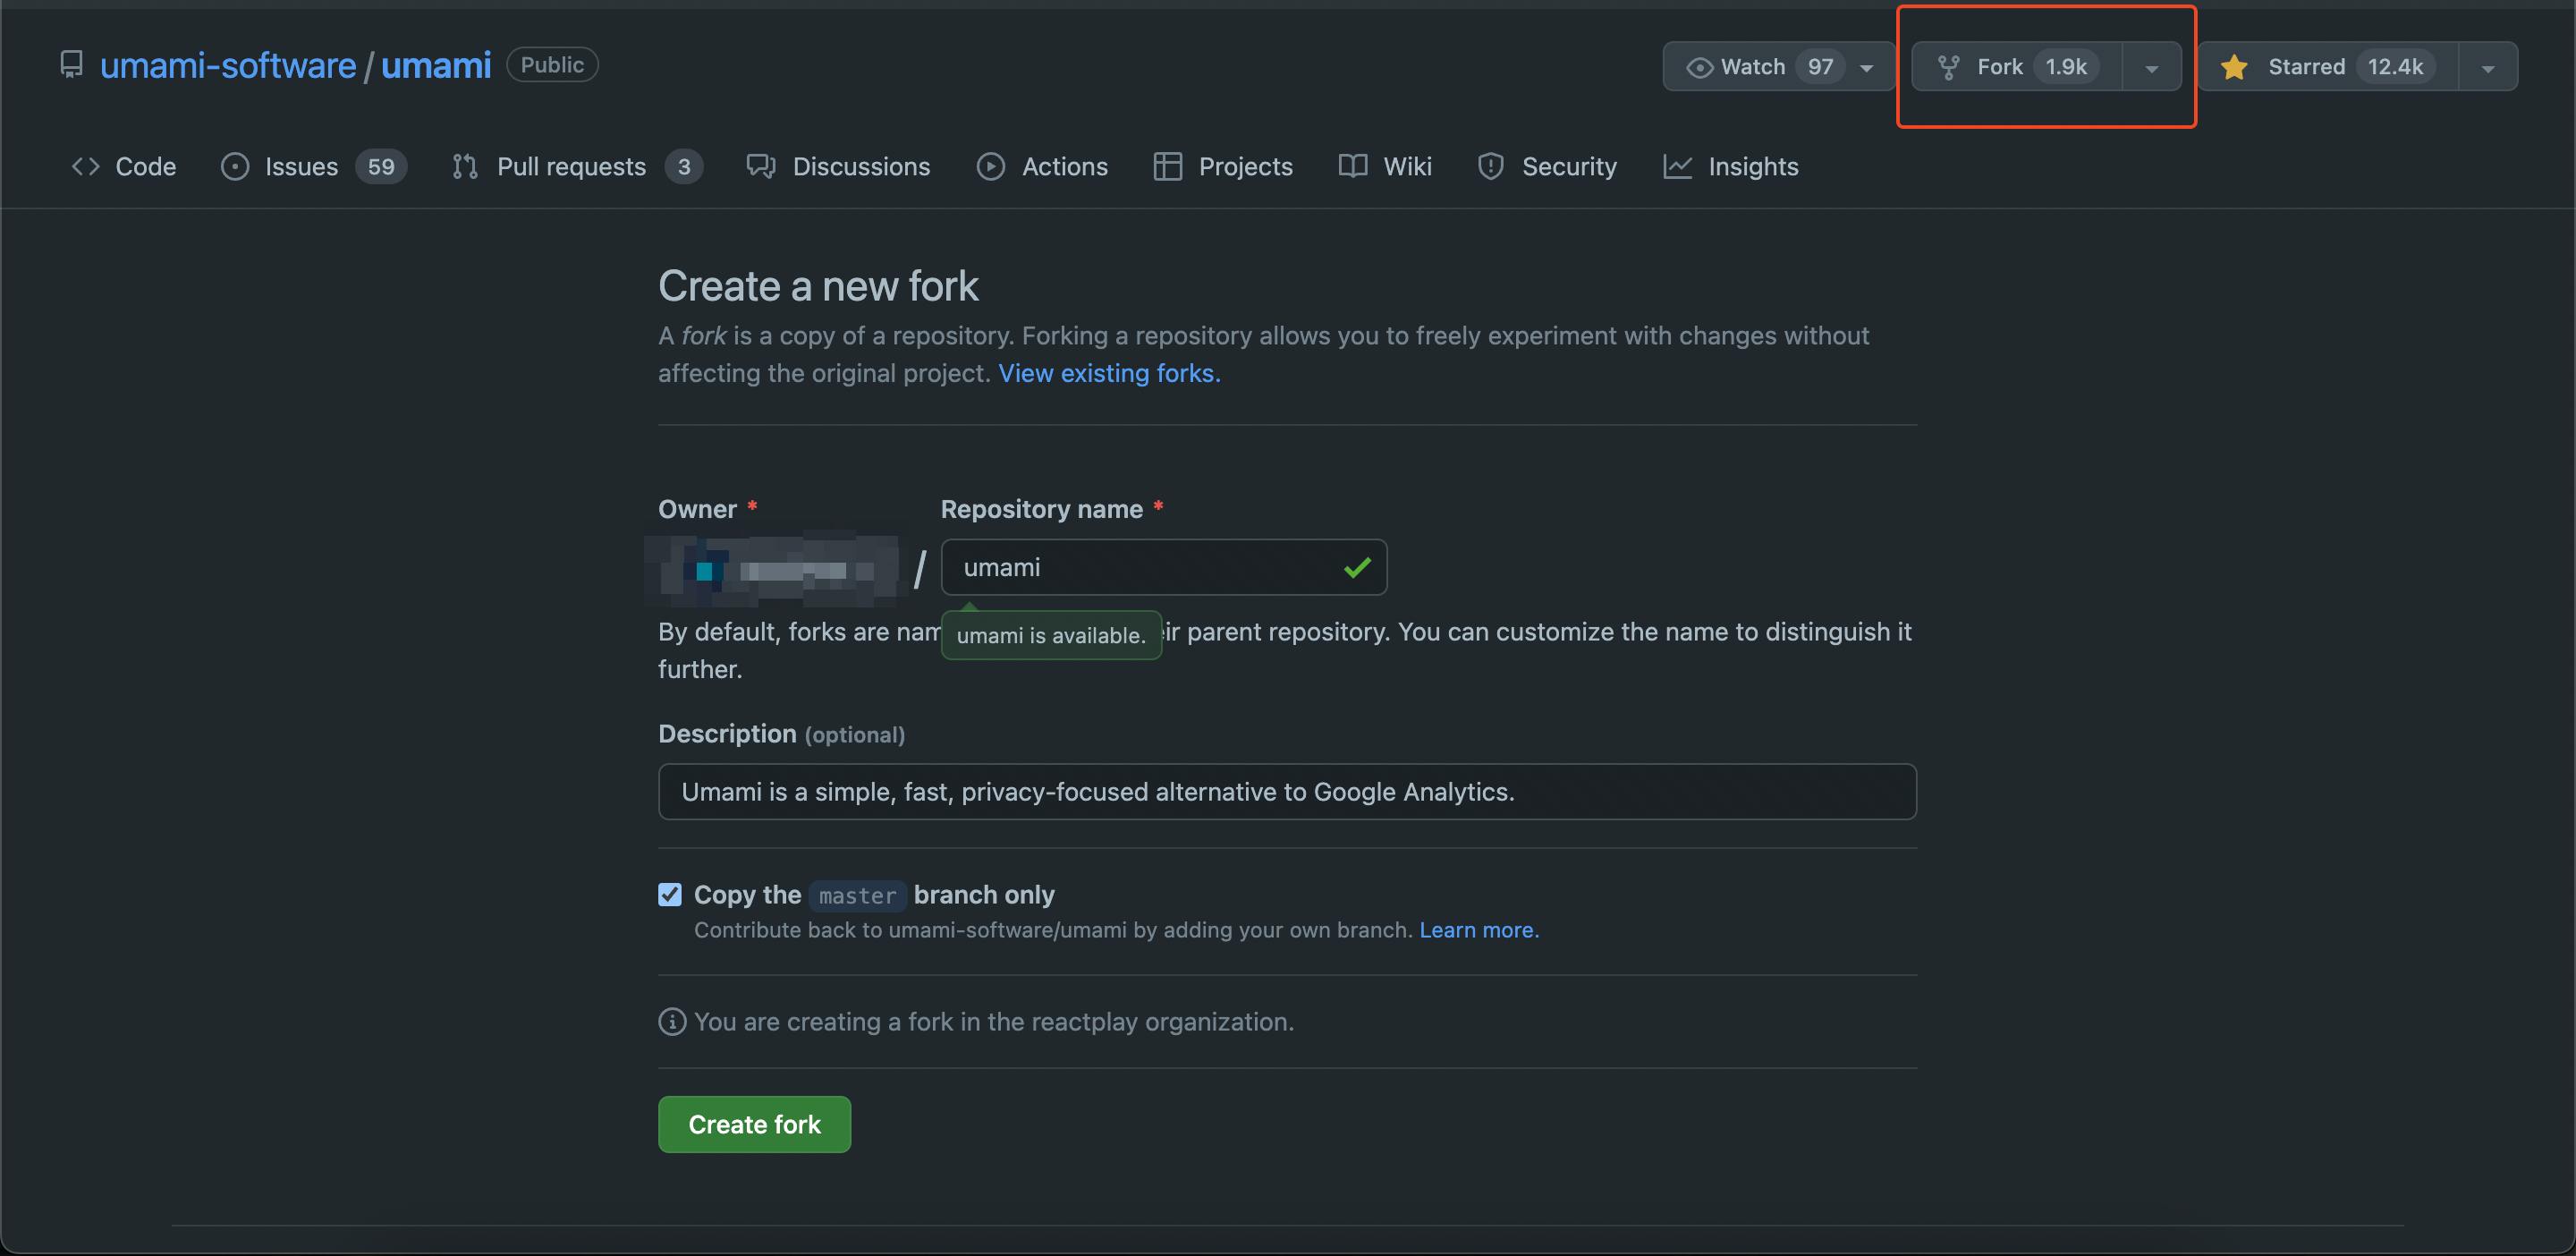
Fork the umami repository
Visit https://github.com/umami-software/umami and fork the repository.
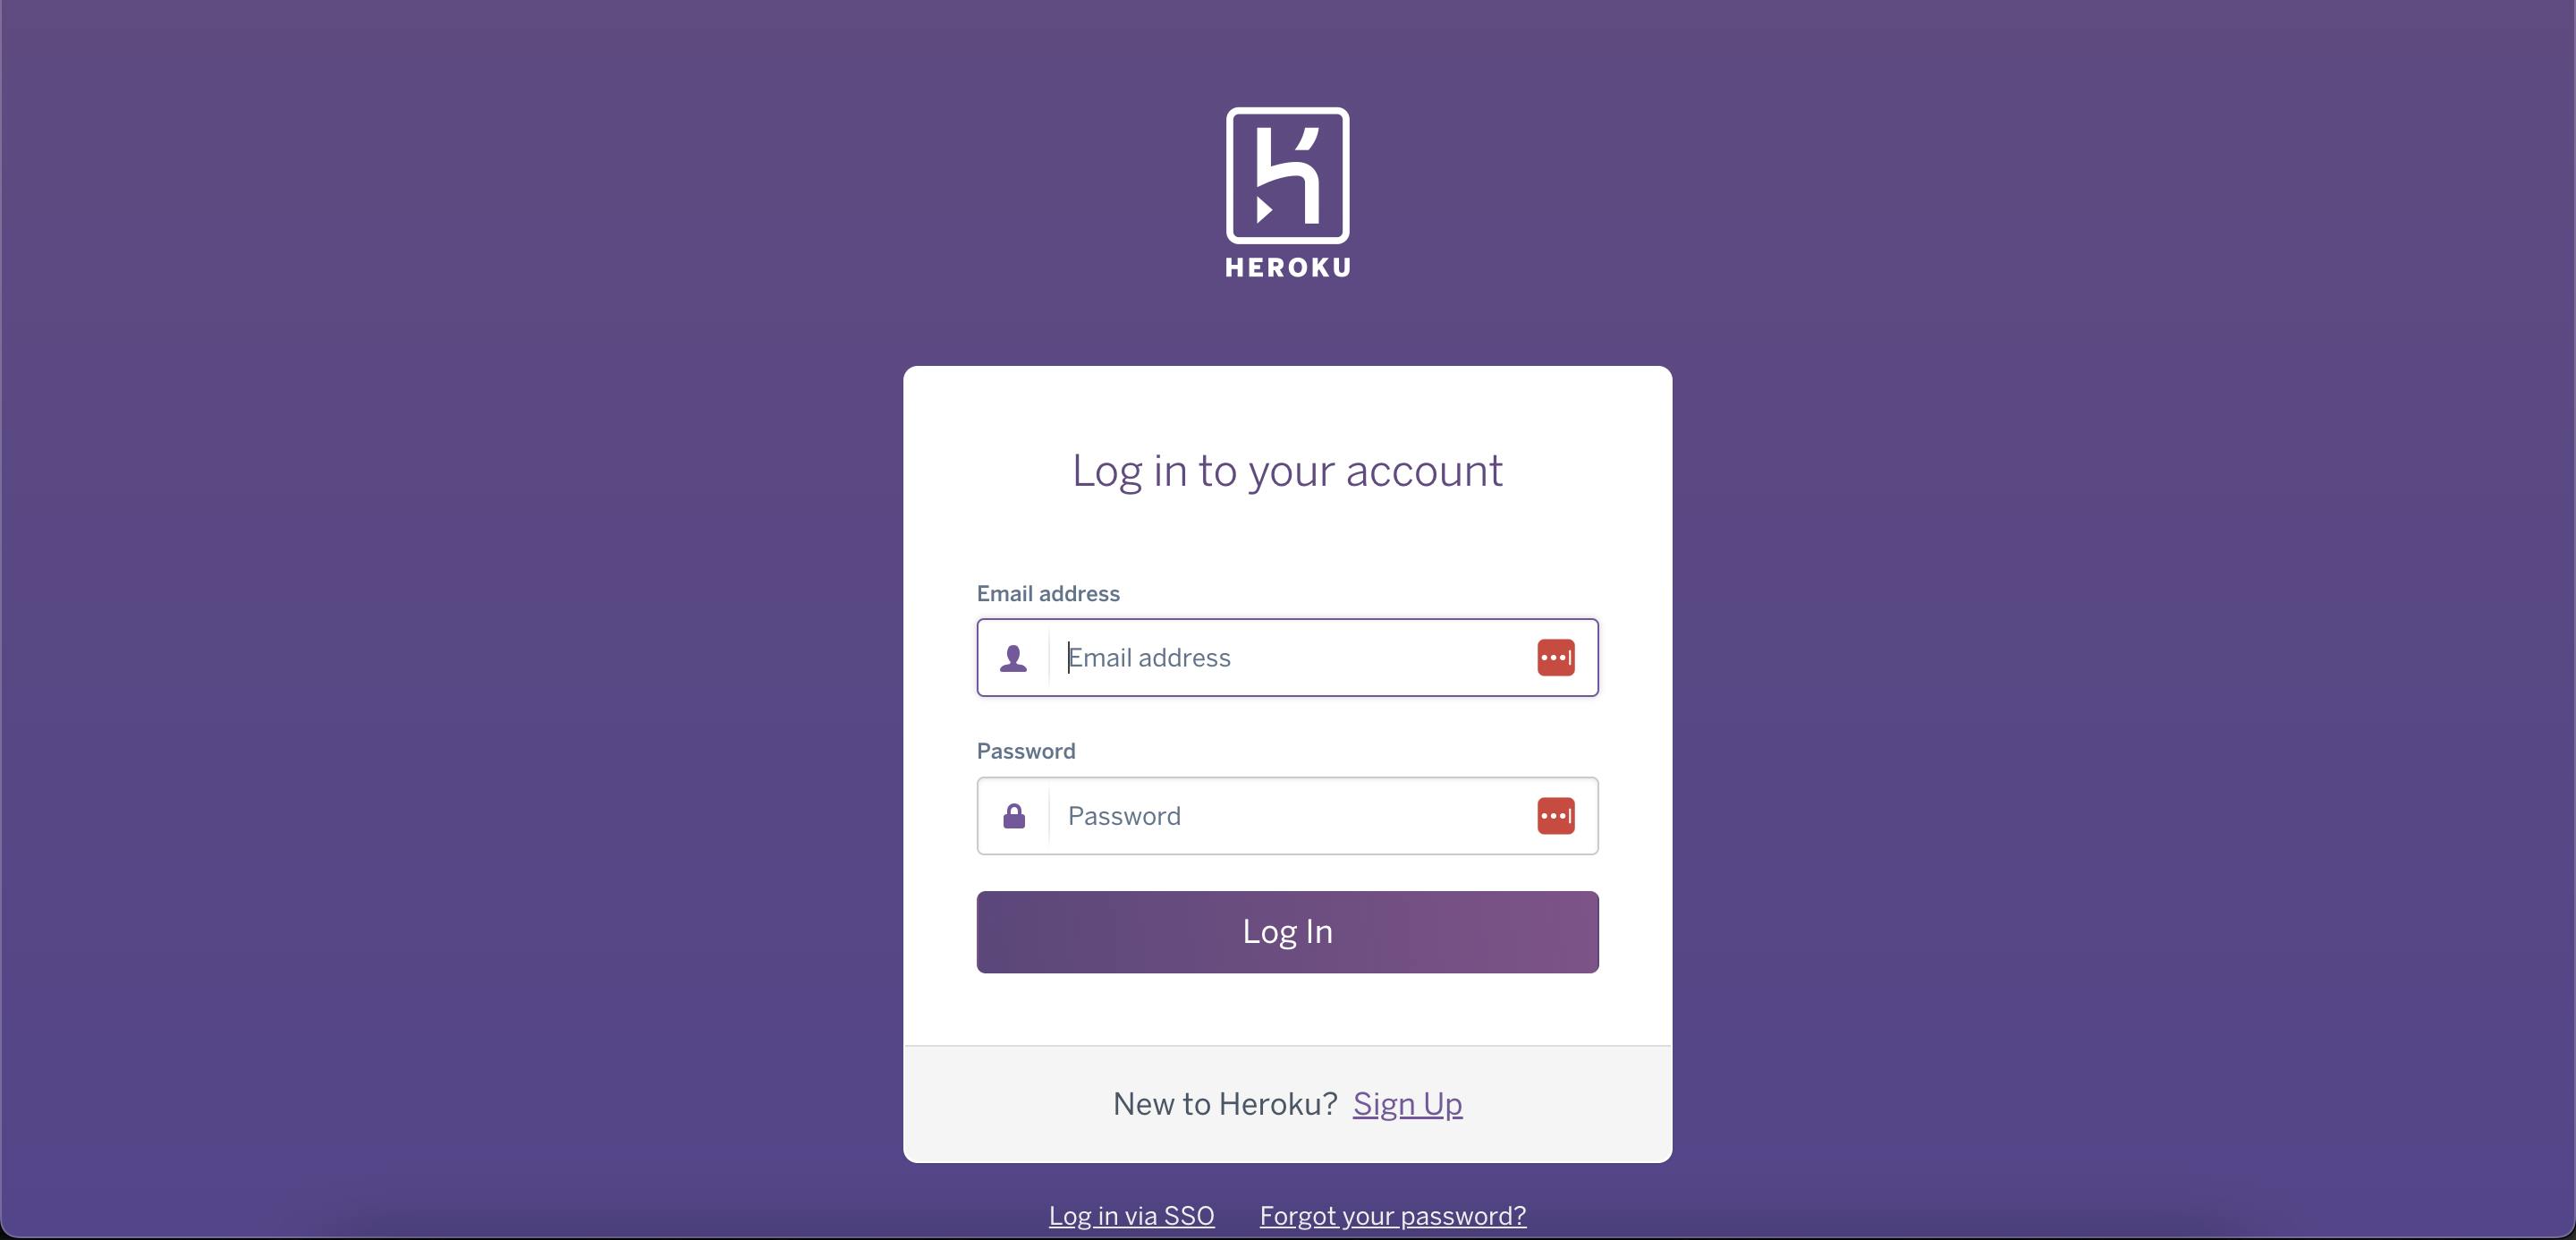
Create or login to the Heroku account
Go to the Heroku website and login into your Heroku account, if you don't have an account then click on signup to create one.
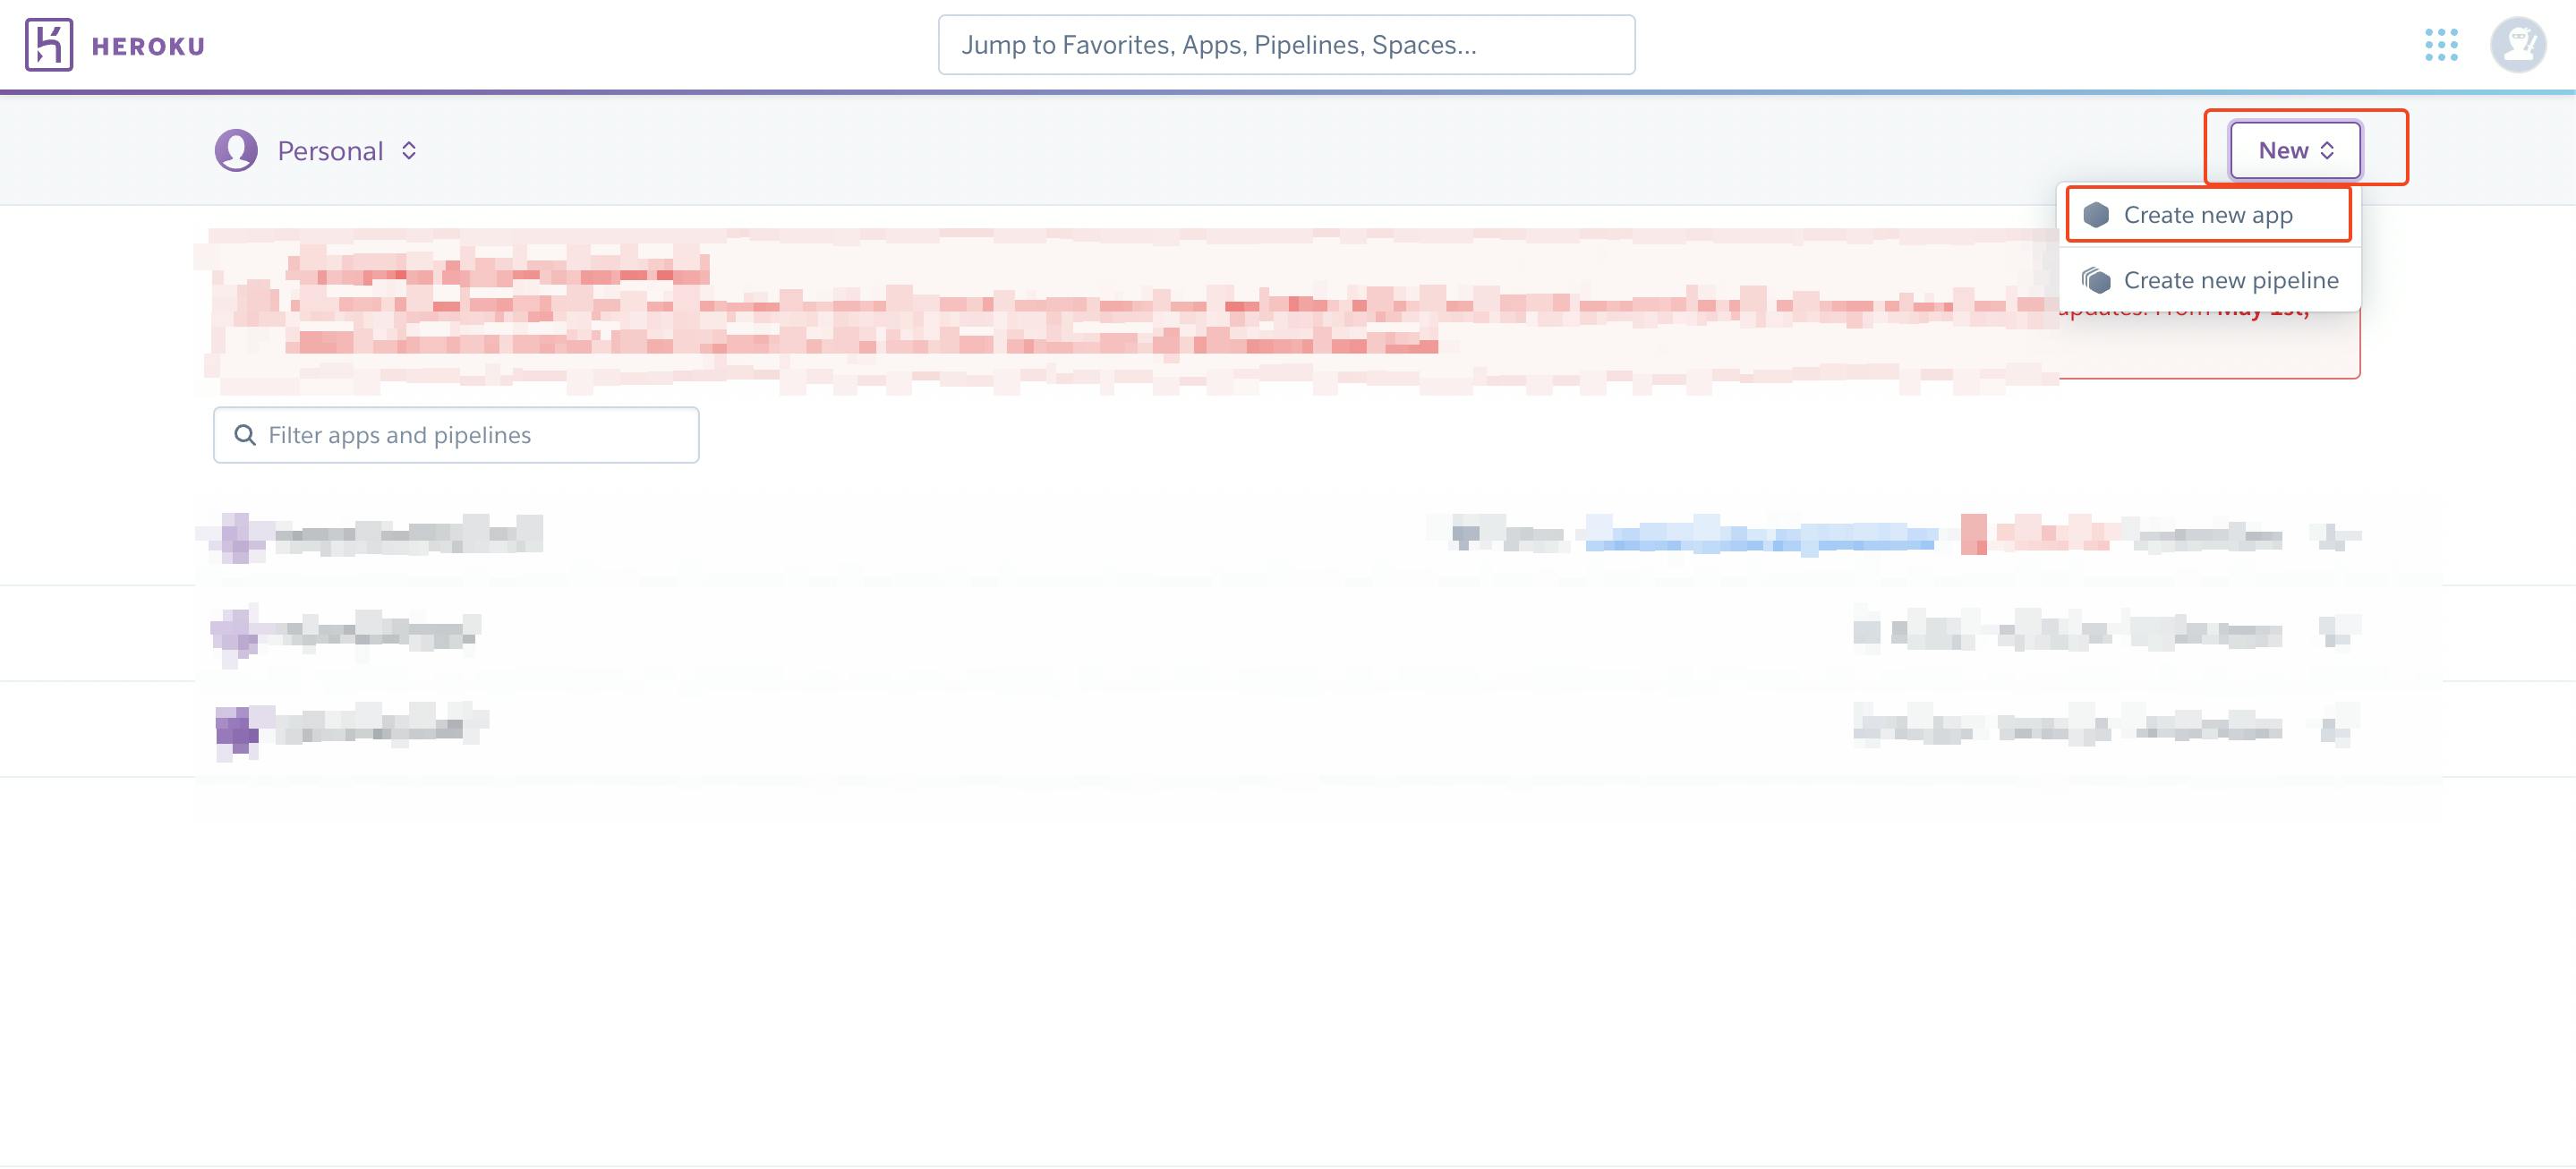
Create and configure the Heroku application
After login, go to the dashboard and from there click on New > Create new app.
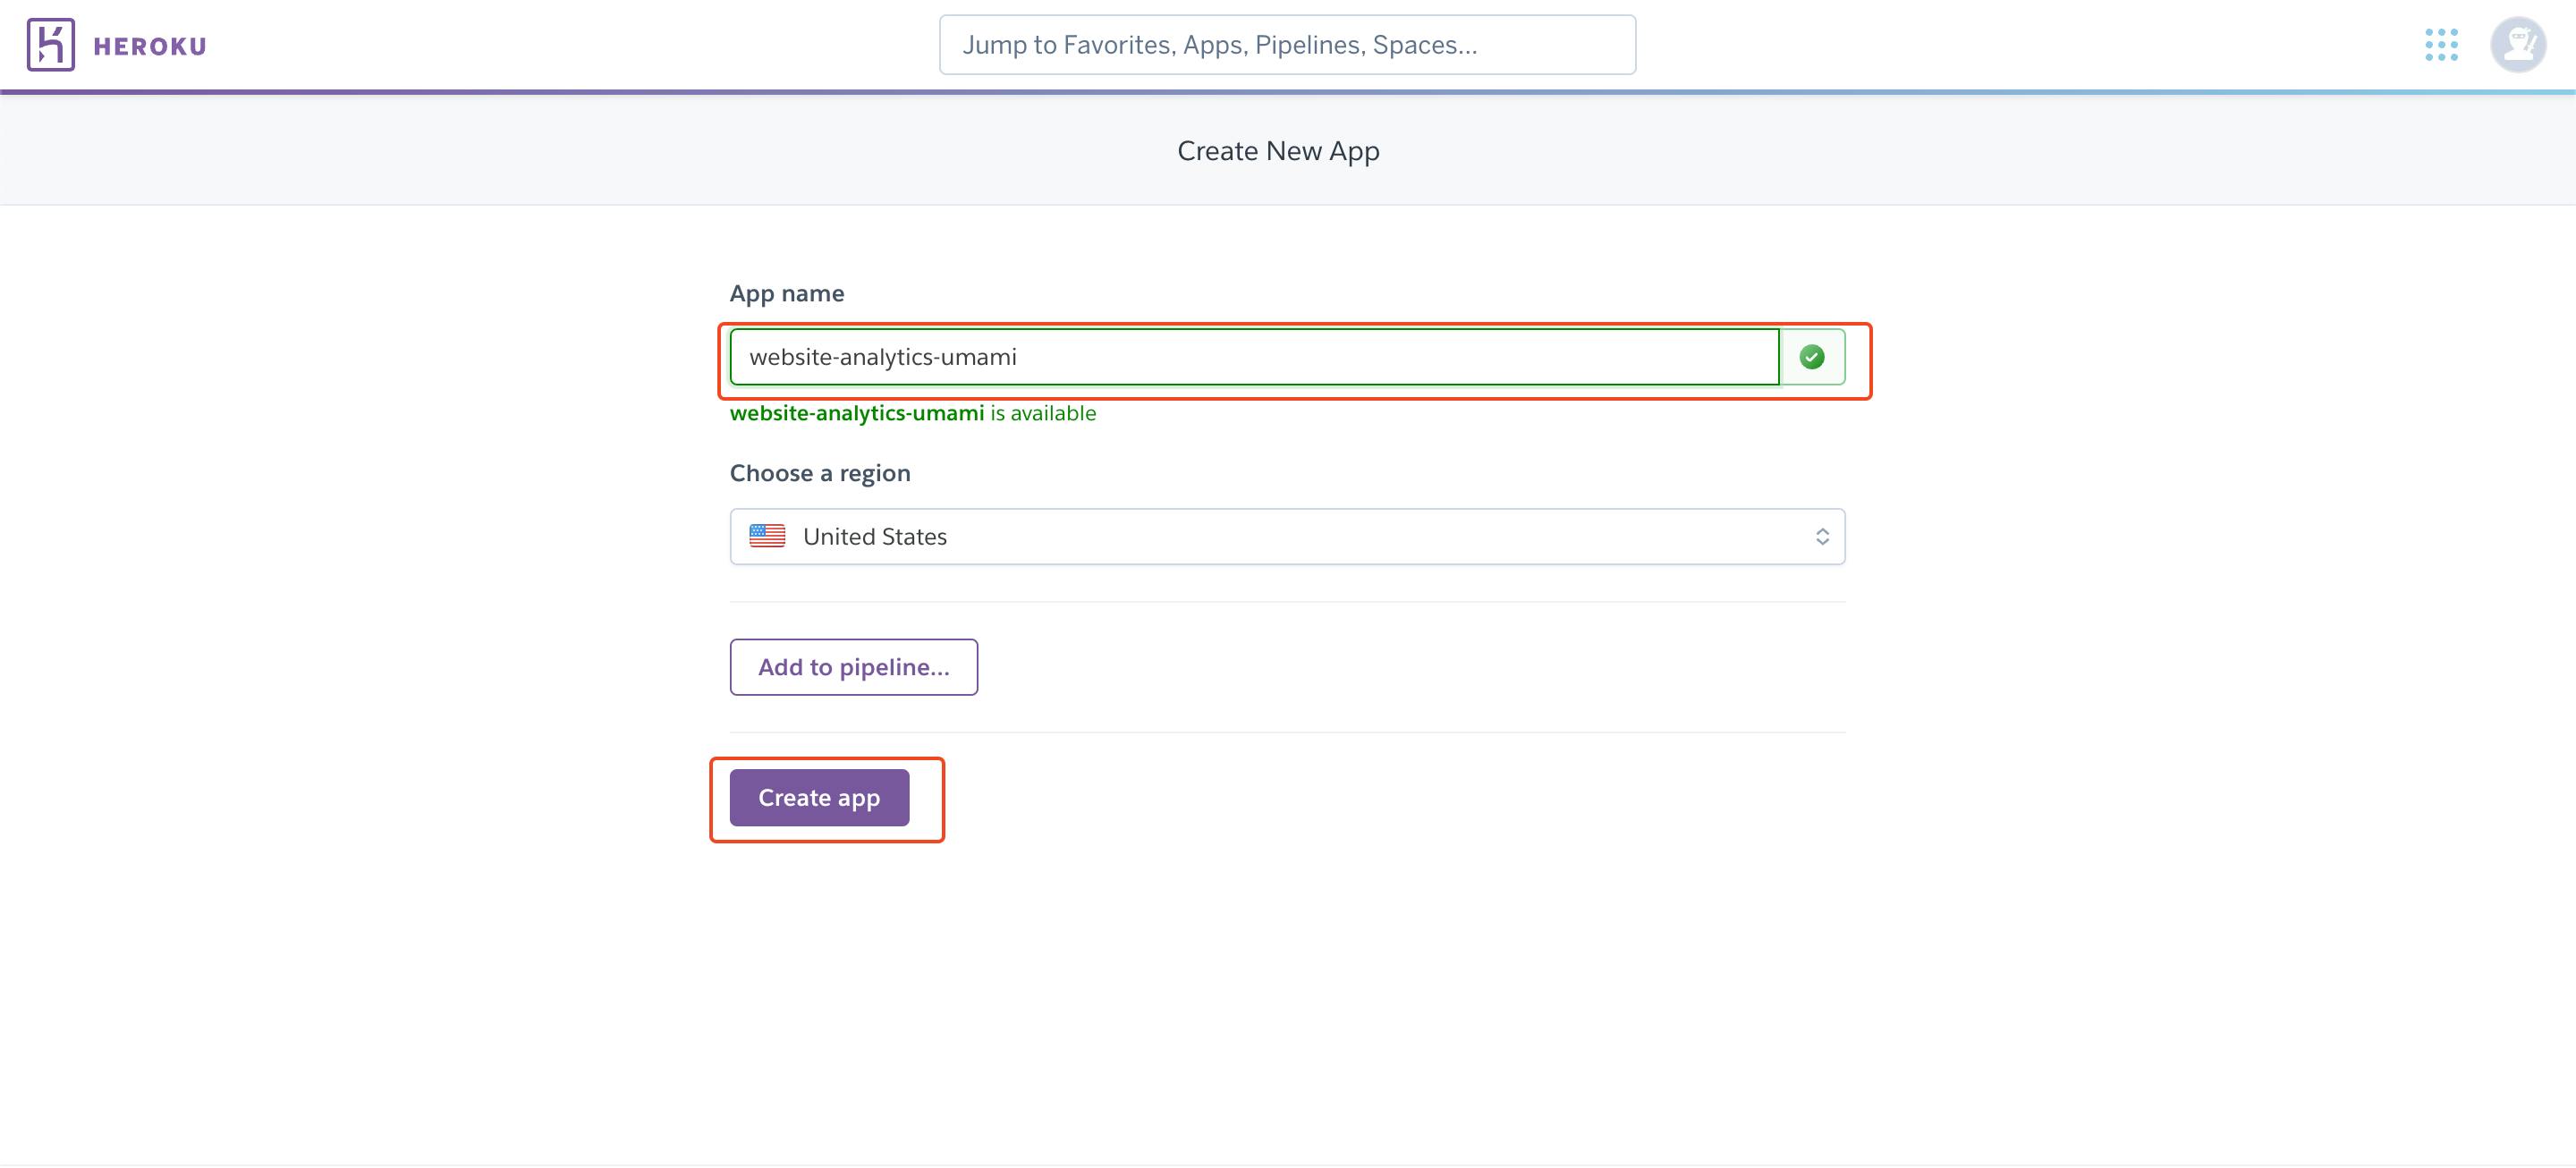
Now give a name to your app and I have given website-analytics-umami. then click on the create app button to create your app.
Connect your Heroku app to your forked umami repository
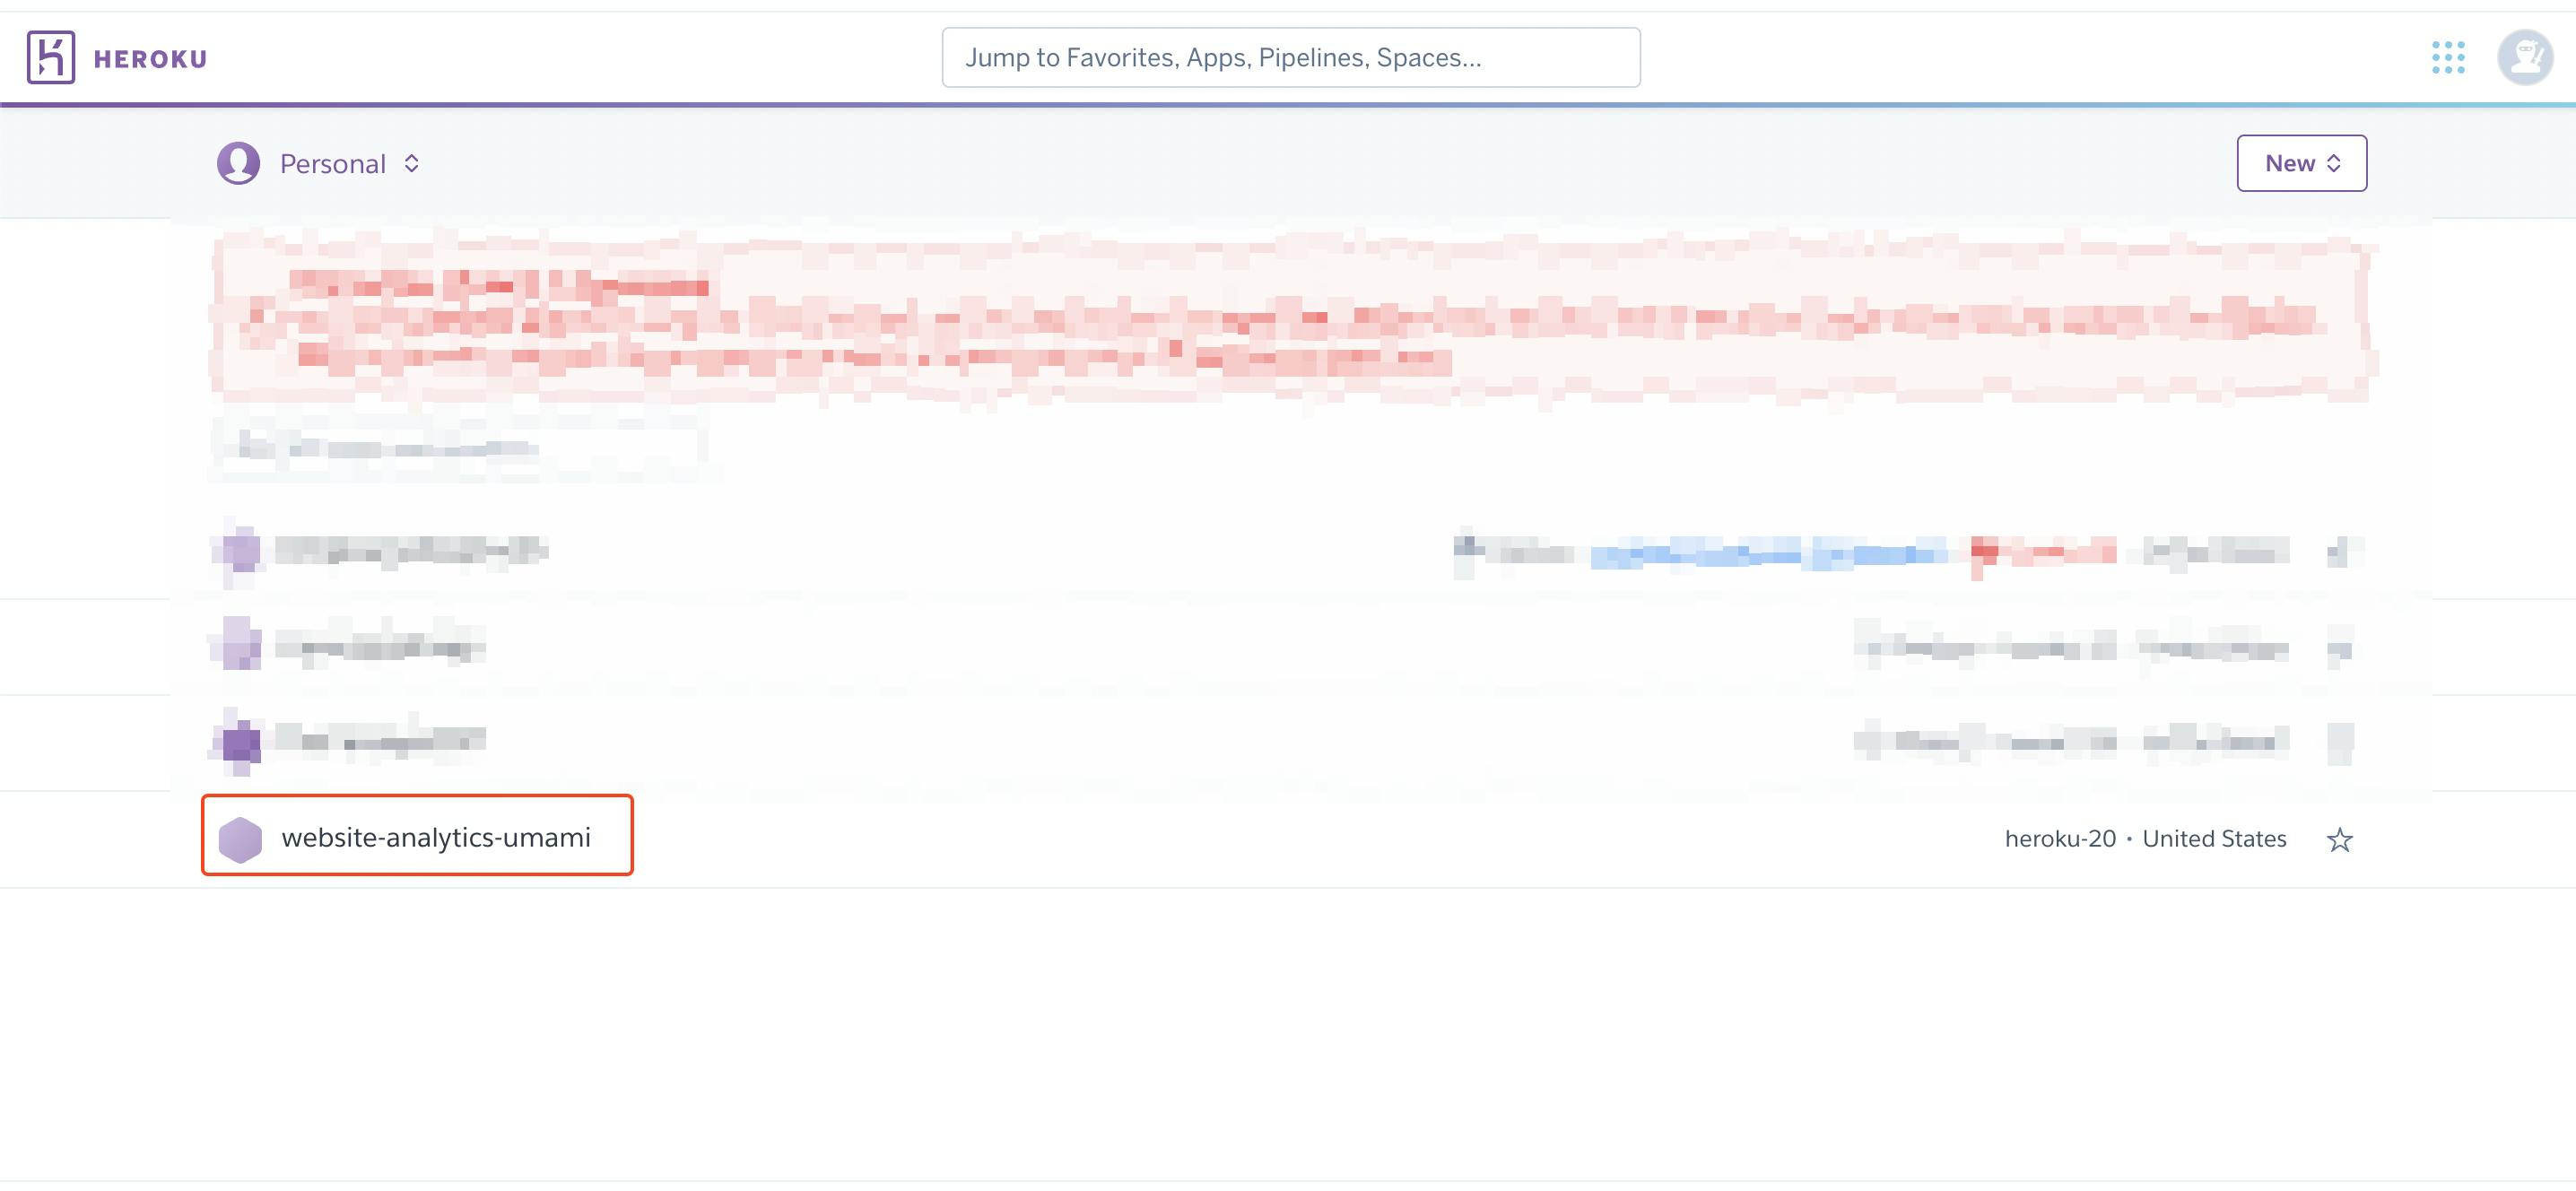
From your dashboard click on the app name that you just created. I will click on website-analytics-umami.
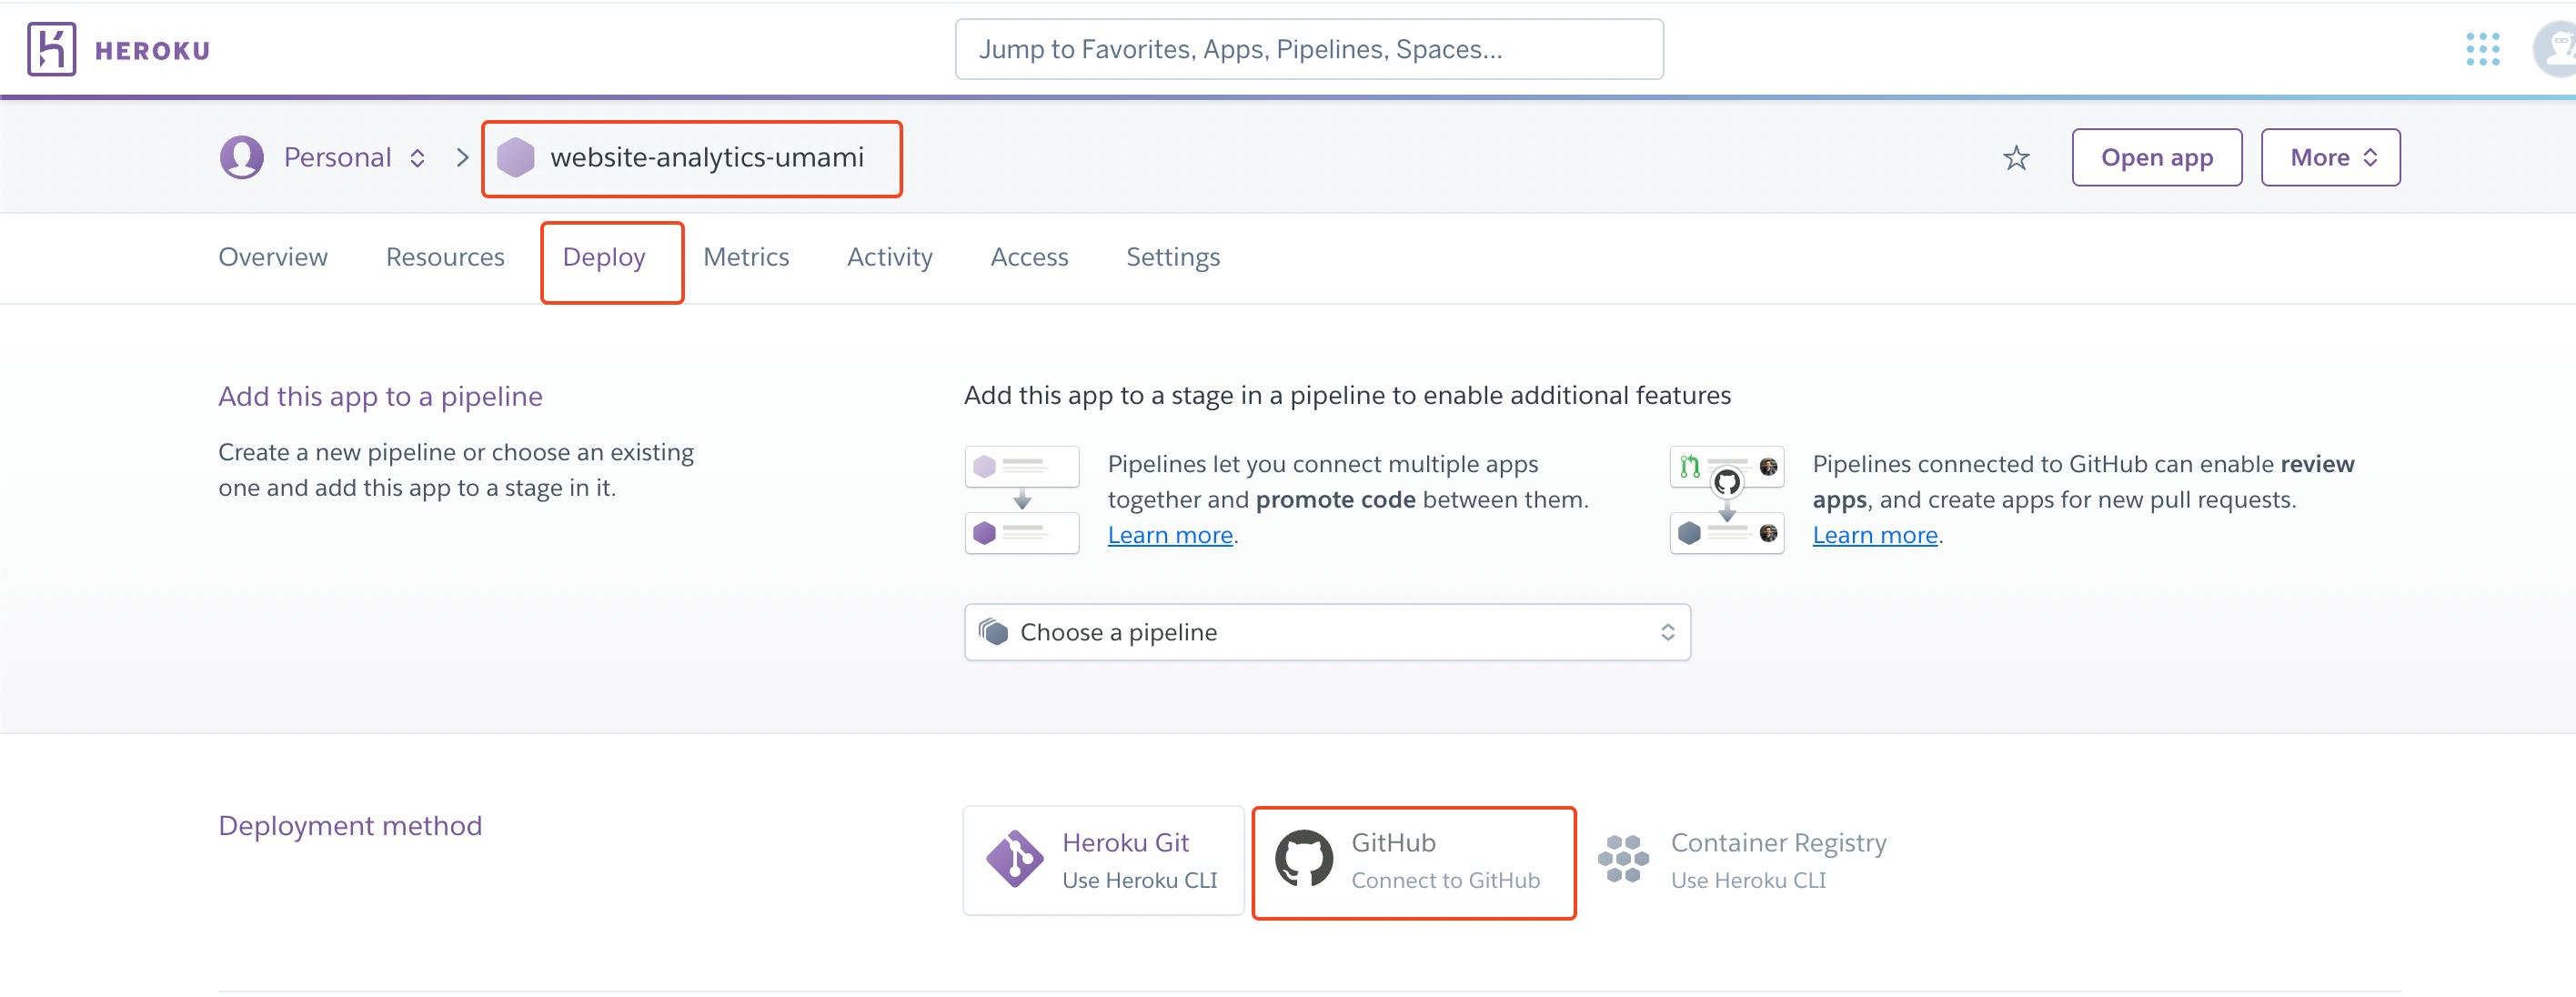
Now navigate to the deploy tab and click on the Connect to GitHub button.
Once you click the Connect to GitHub button, you will have to authorize the Heroku to access your github repositories.
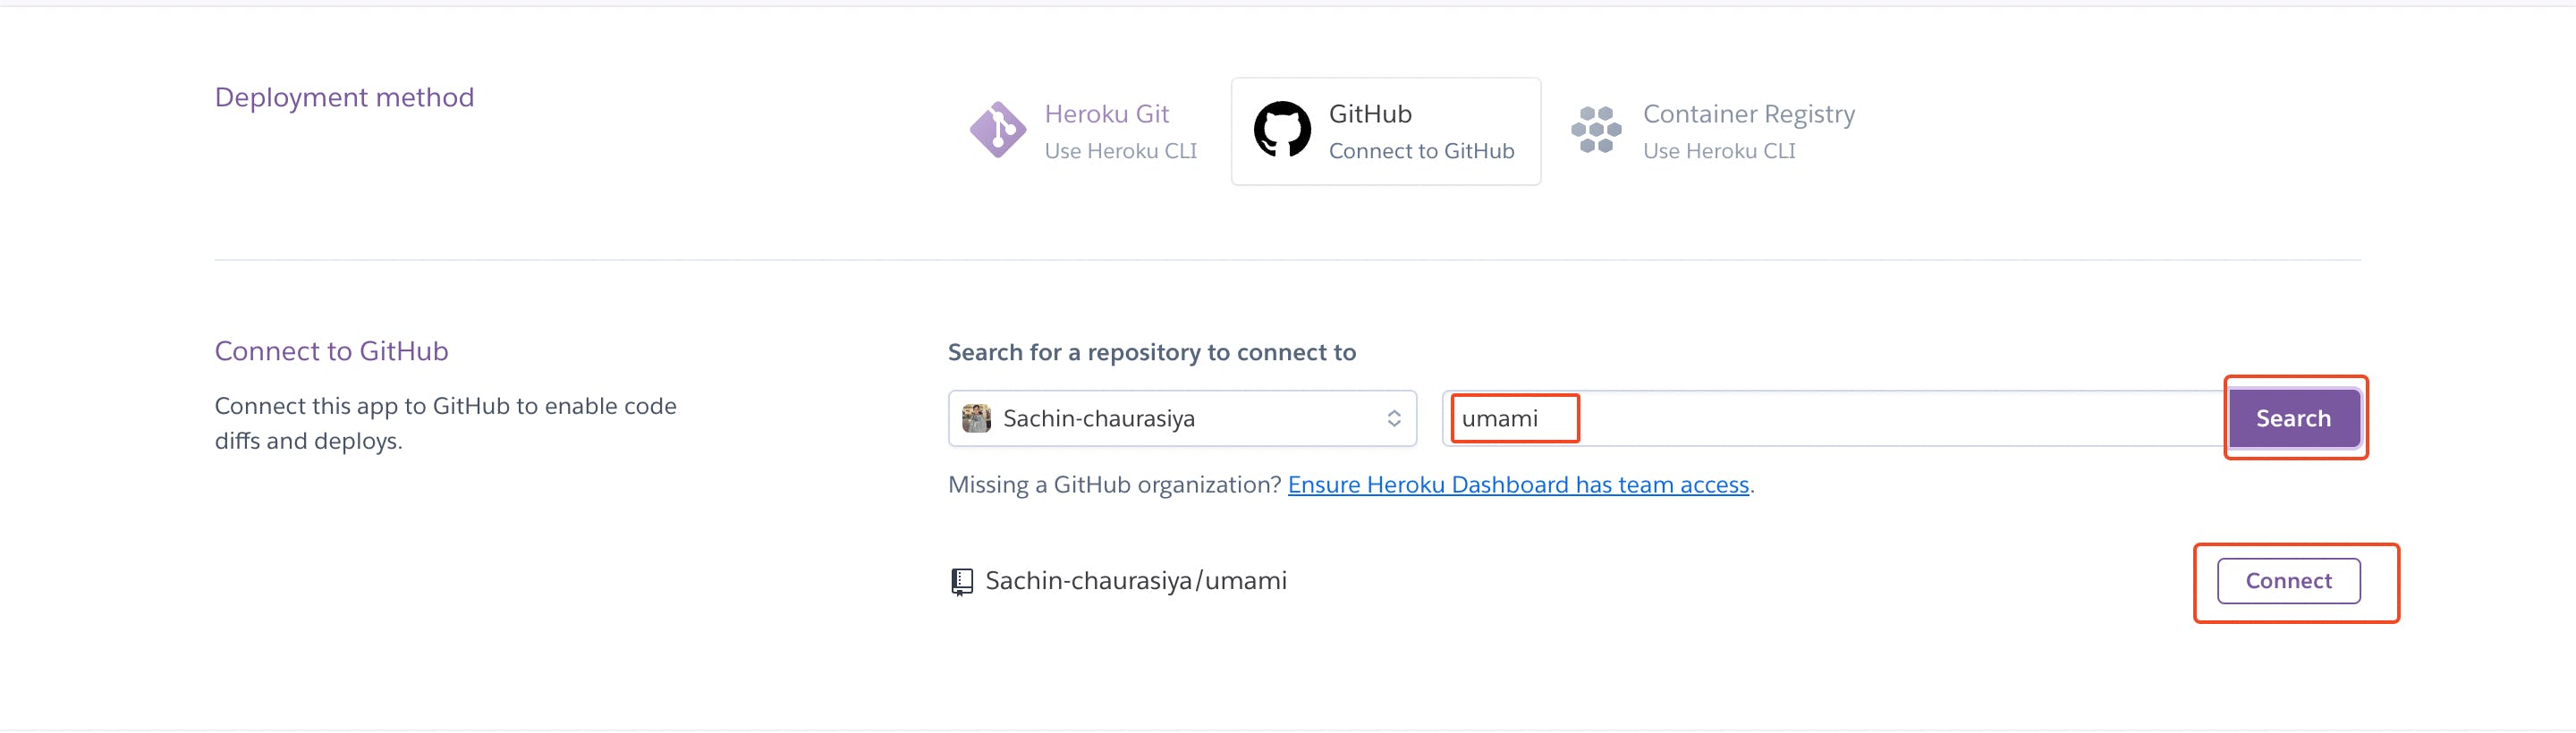
Search for a repository that you want to connect to, that is umami and then click on connect button to connect your Heroku app with the umami repository.
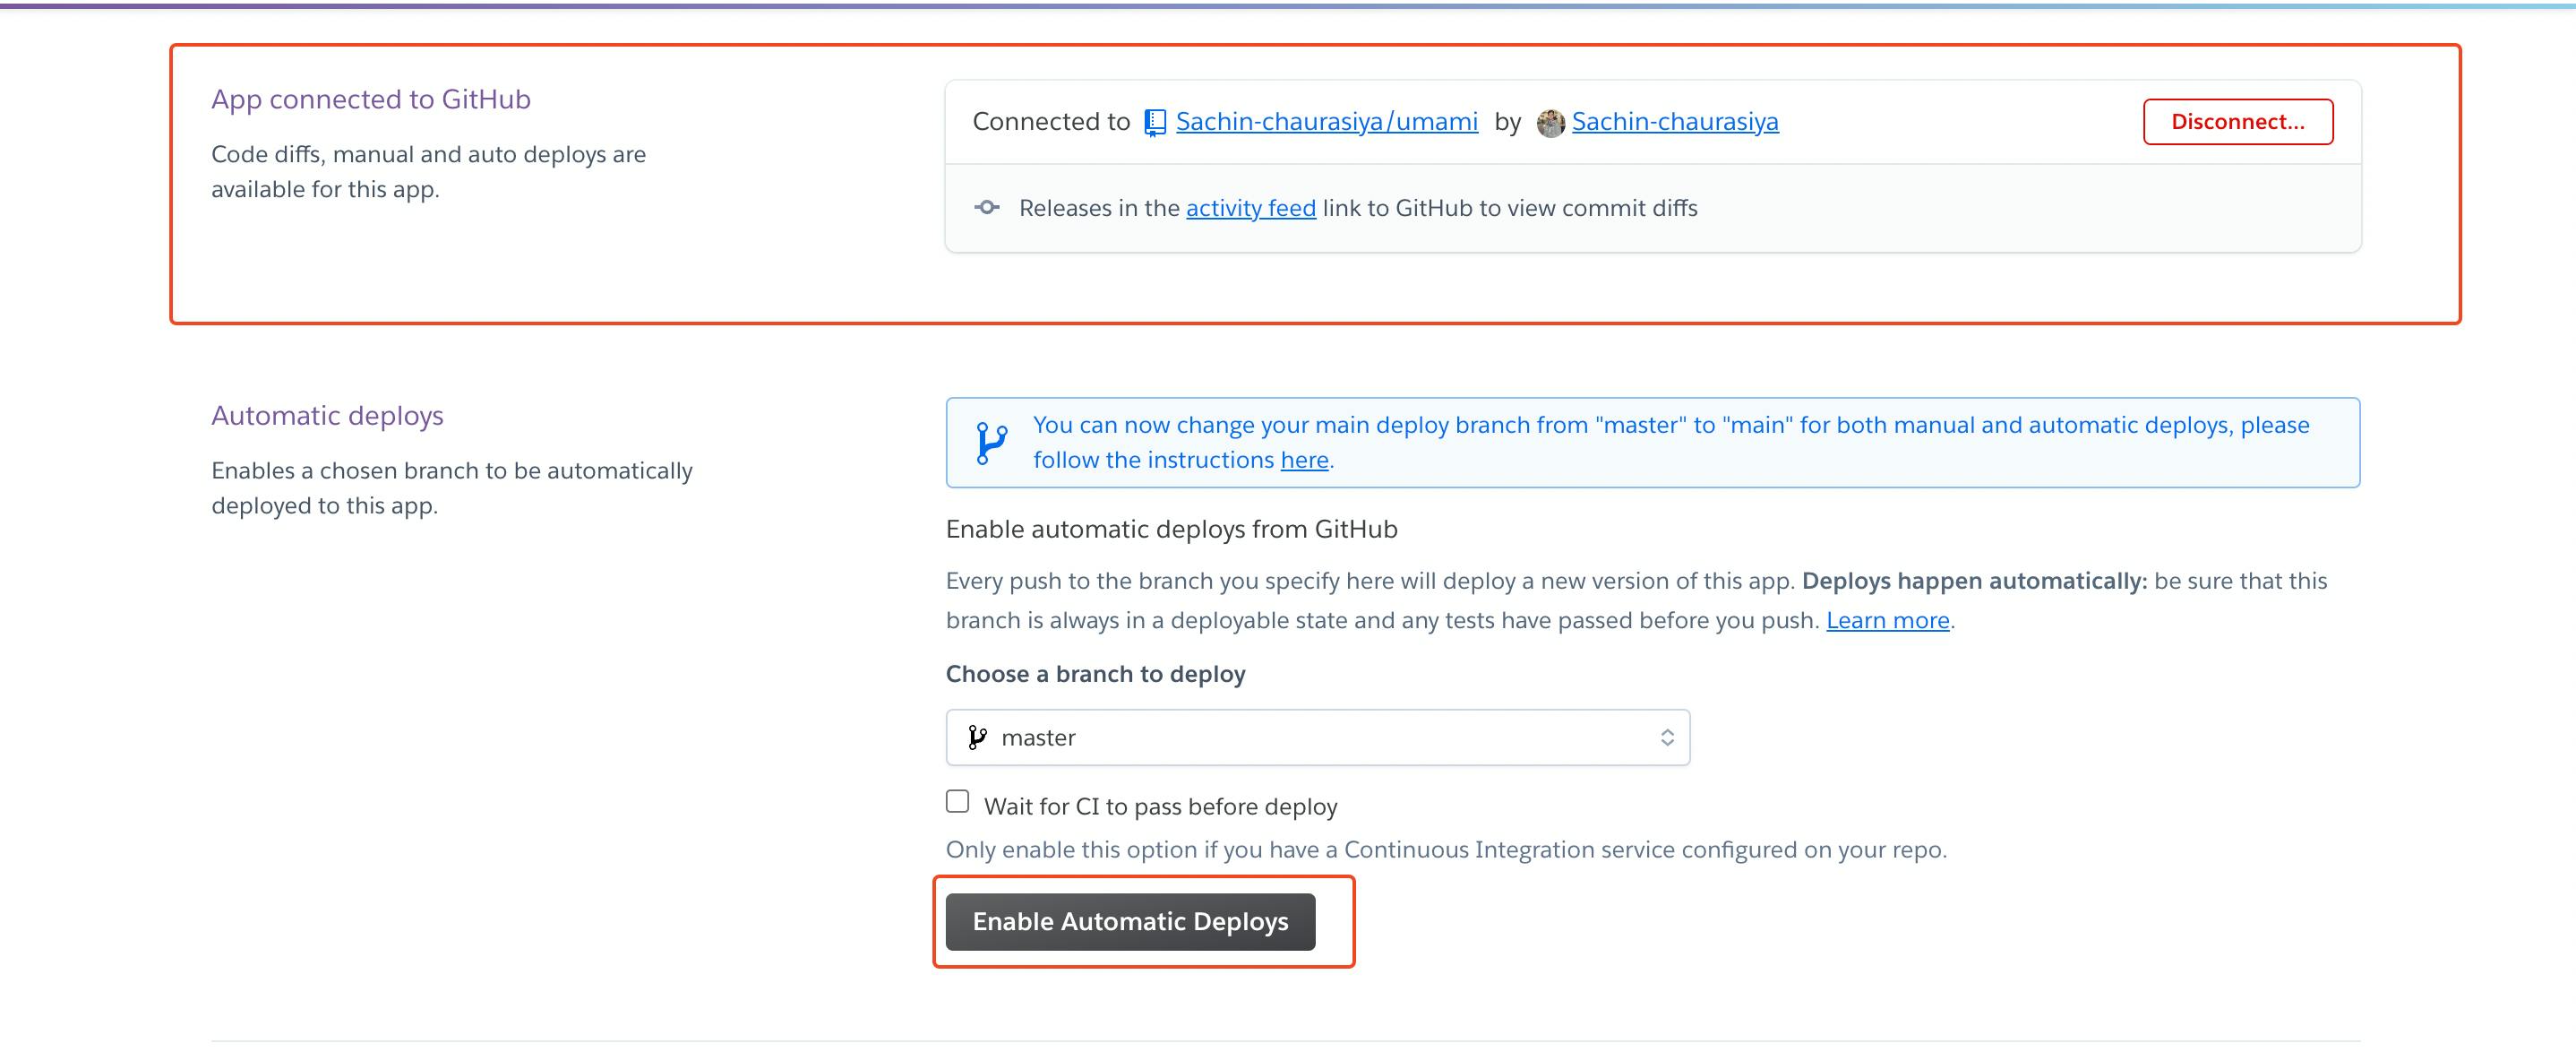
Enable automatic deploys
After connecting your repository, scroll down to the Automatic deploys section and click on Enable Automatic deploys. Heroku will automatically deploy if you make any new changes to this repository.
Setup database
As I mentioned umami is self-hosted so you will have to set up a database to store your analytics data.
Navigate to Resource tab and scroll down to Add-ons section, then search for postgres.
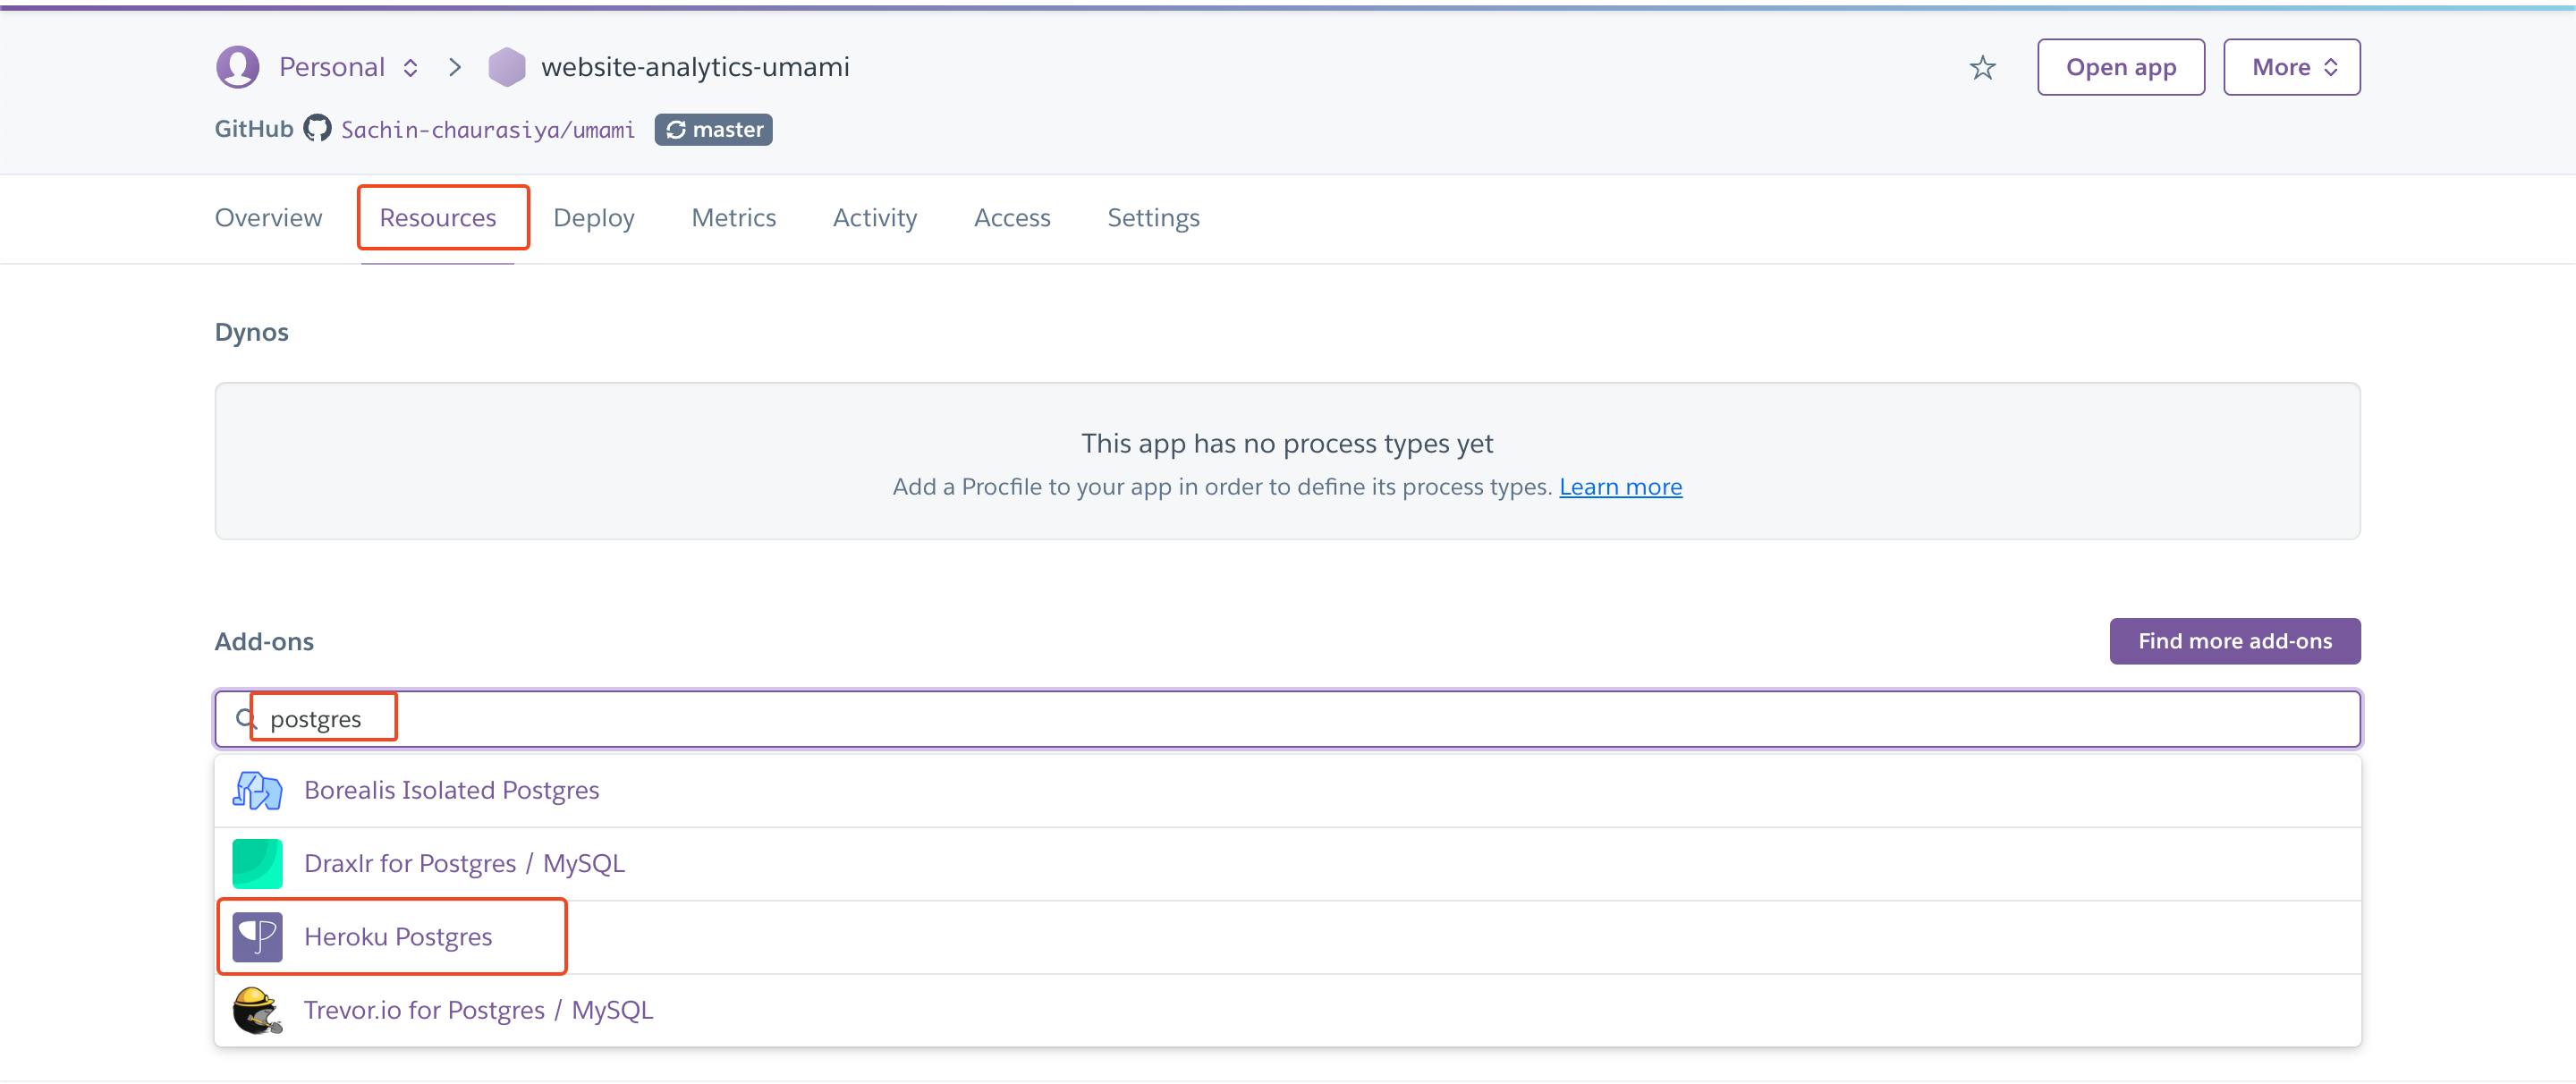
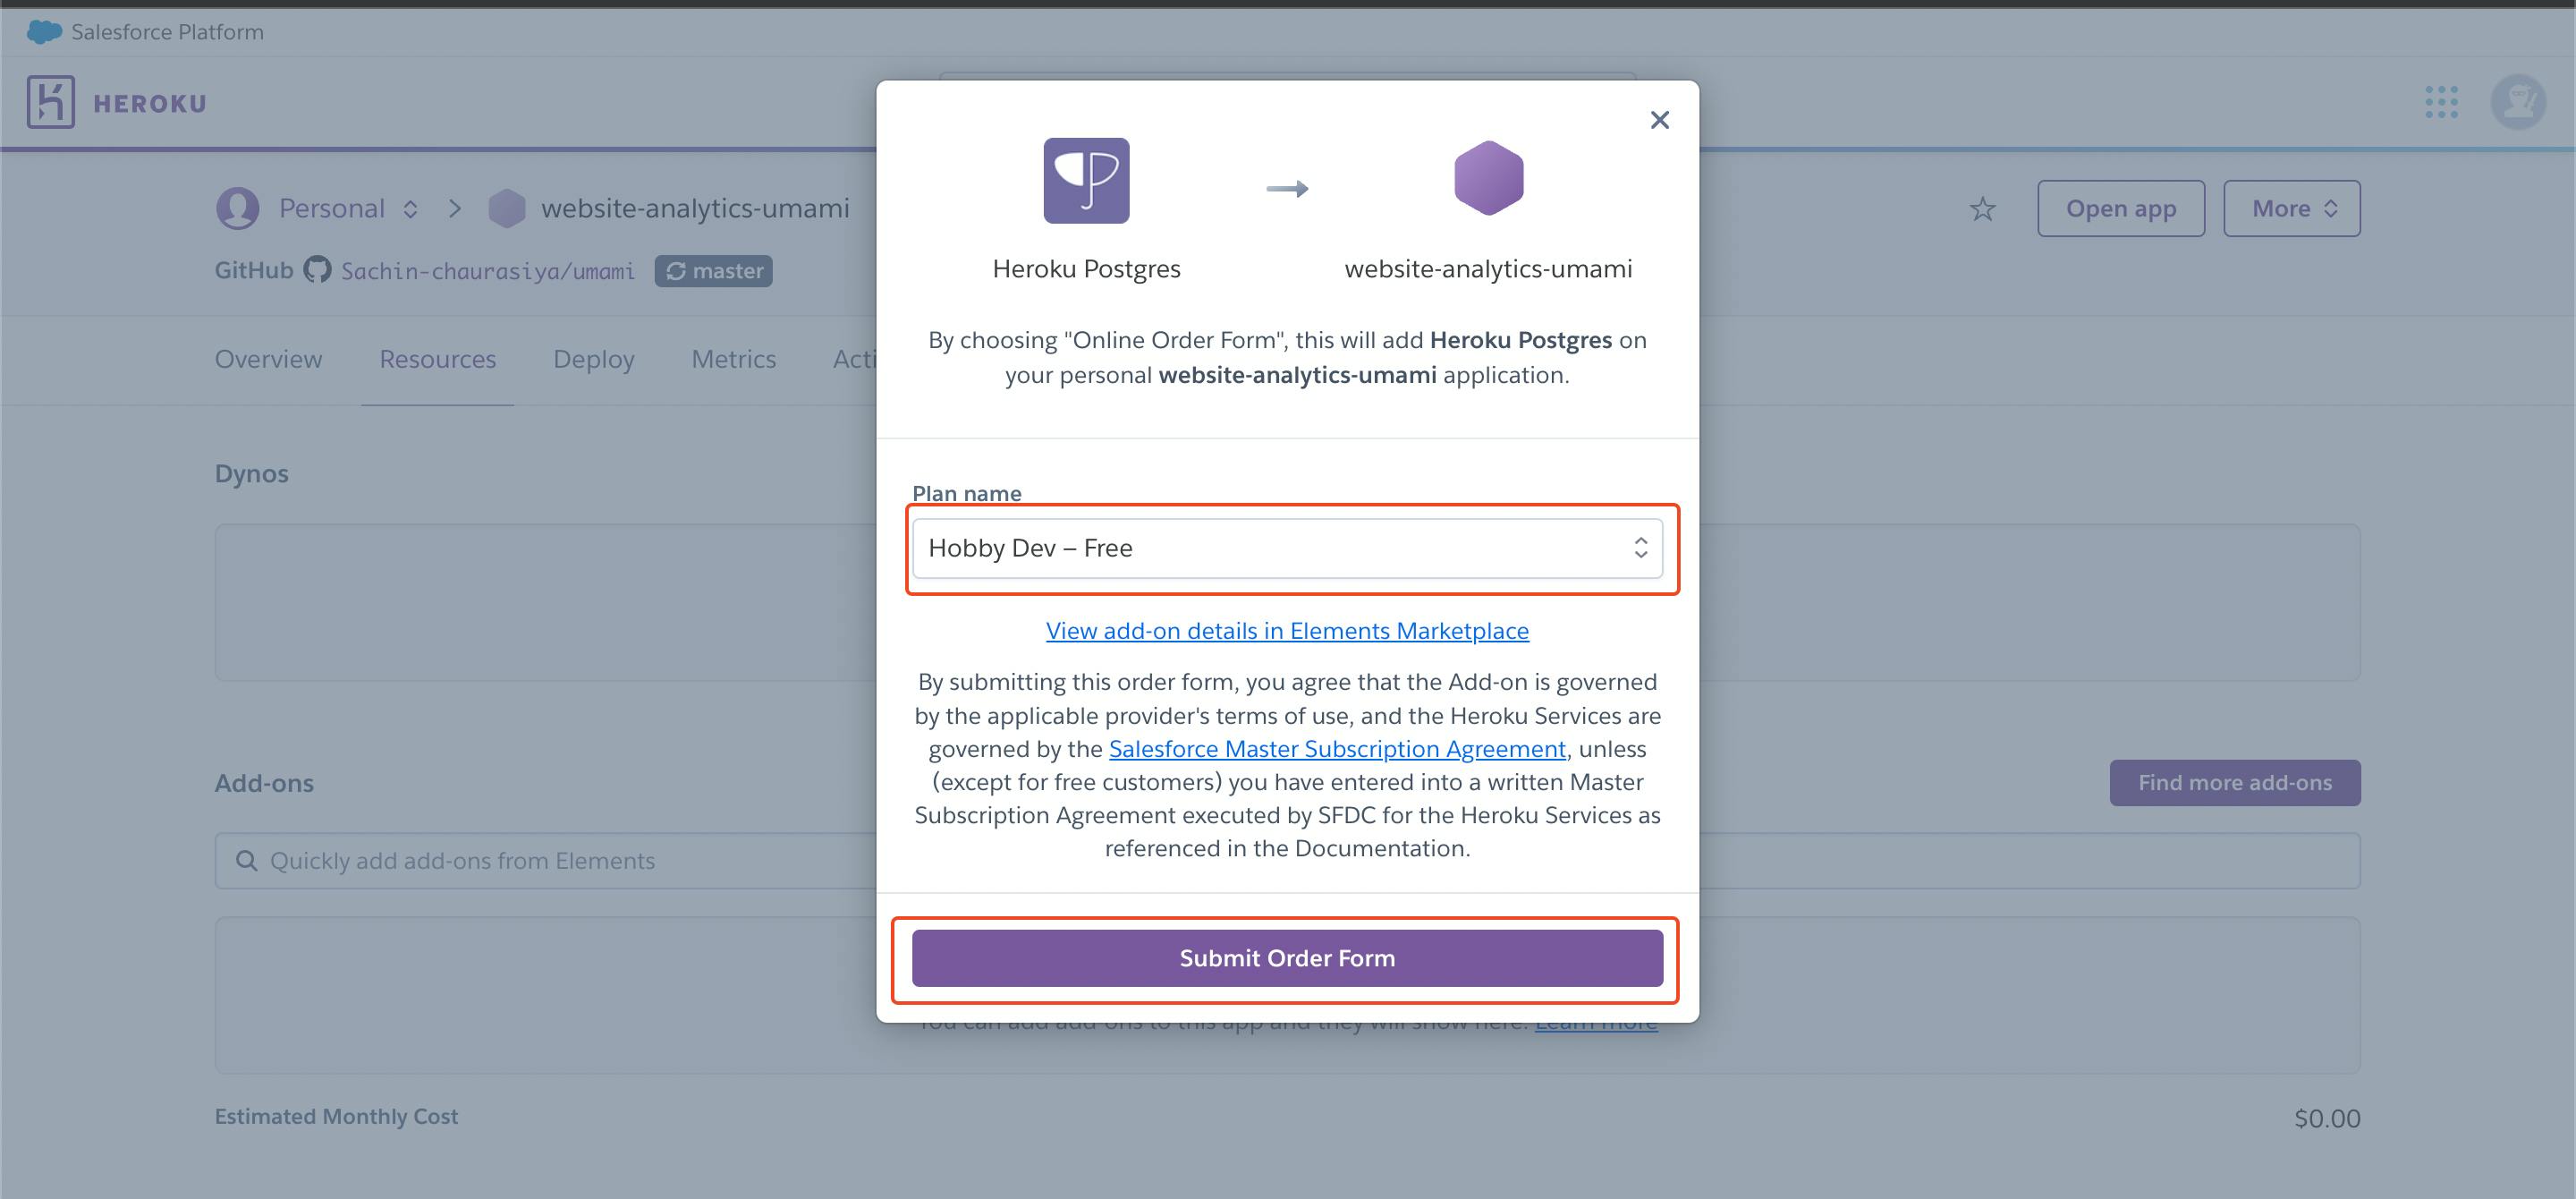
Select the Heroku Postgres option. after selecting you will see a modal like below.
Select a free plan and click on the submit order form to add this add-on to your application.
Umami requires the env variable DATABASE_URL to work with the database. Navigate to the settings tab and scroll down to the Config Vars section and you will see that Heroku has automatically created an env variable DATABASE_URL, so you don't have to set it manually.
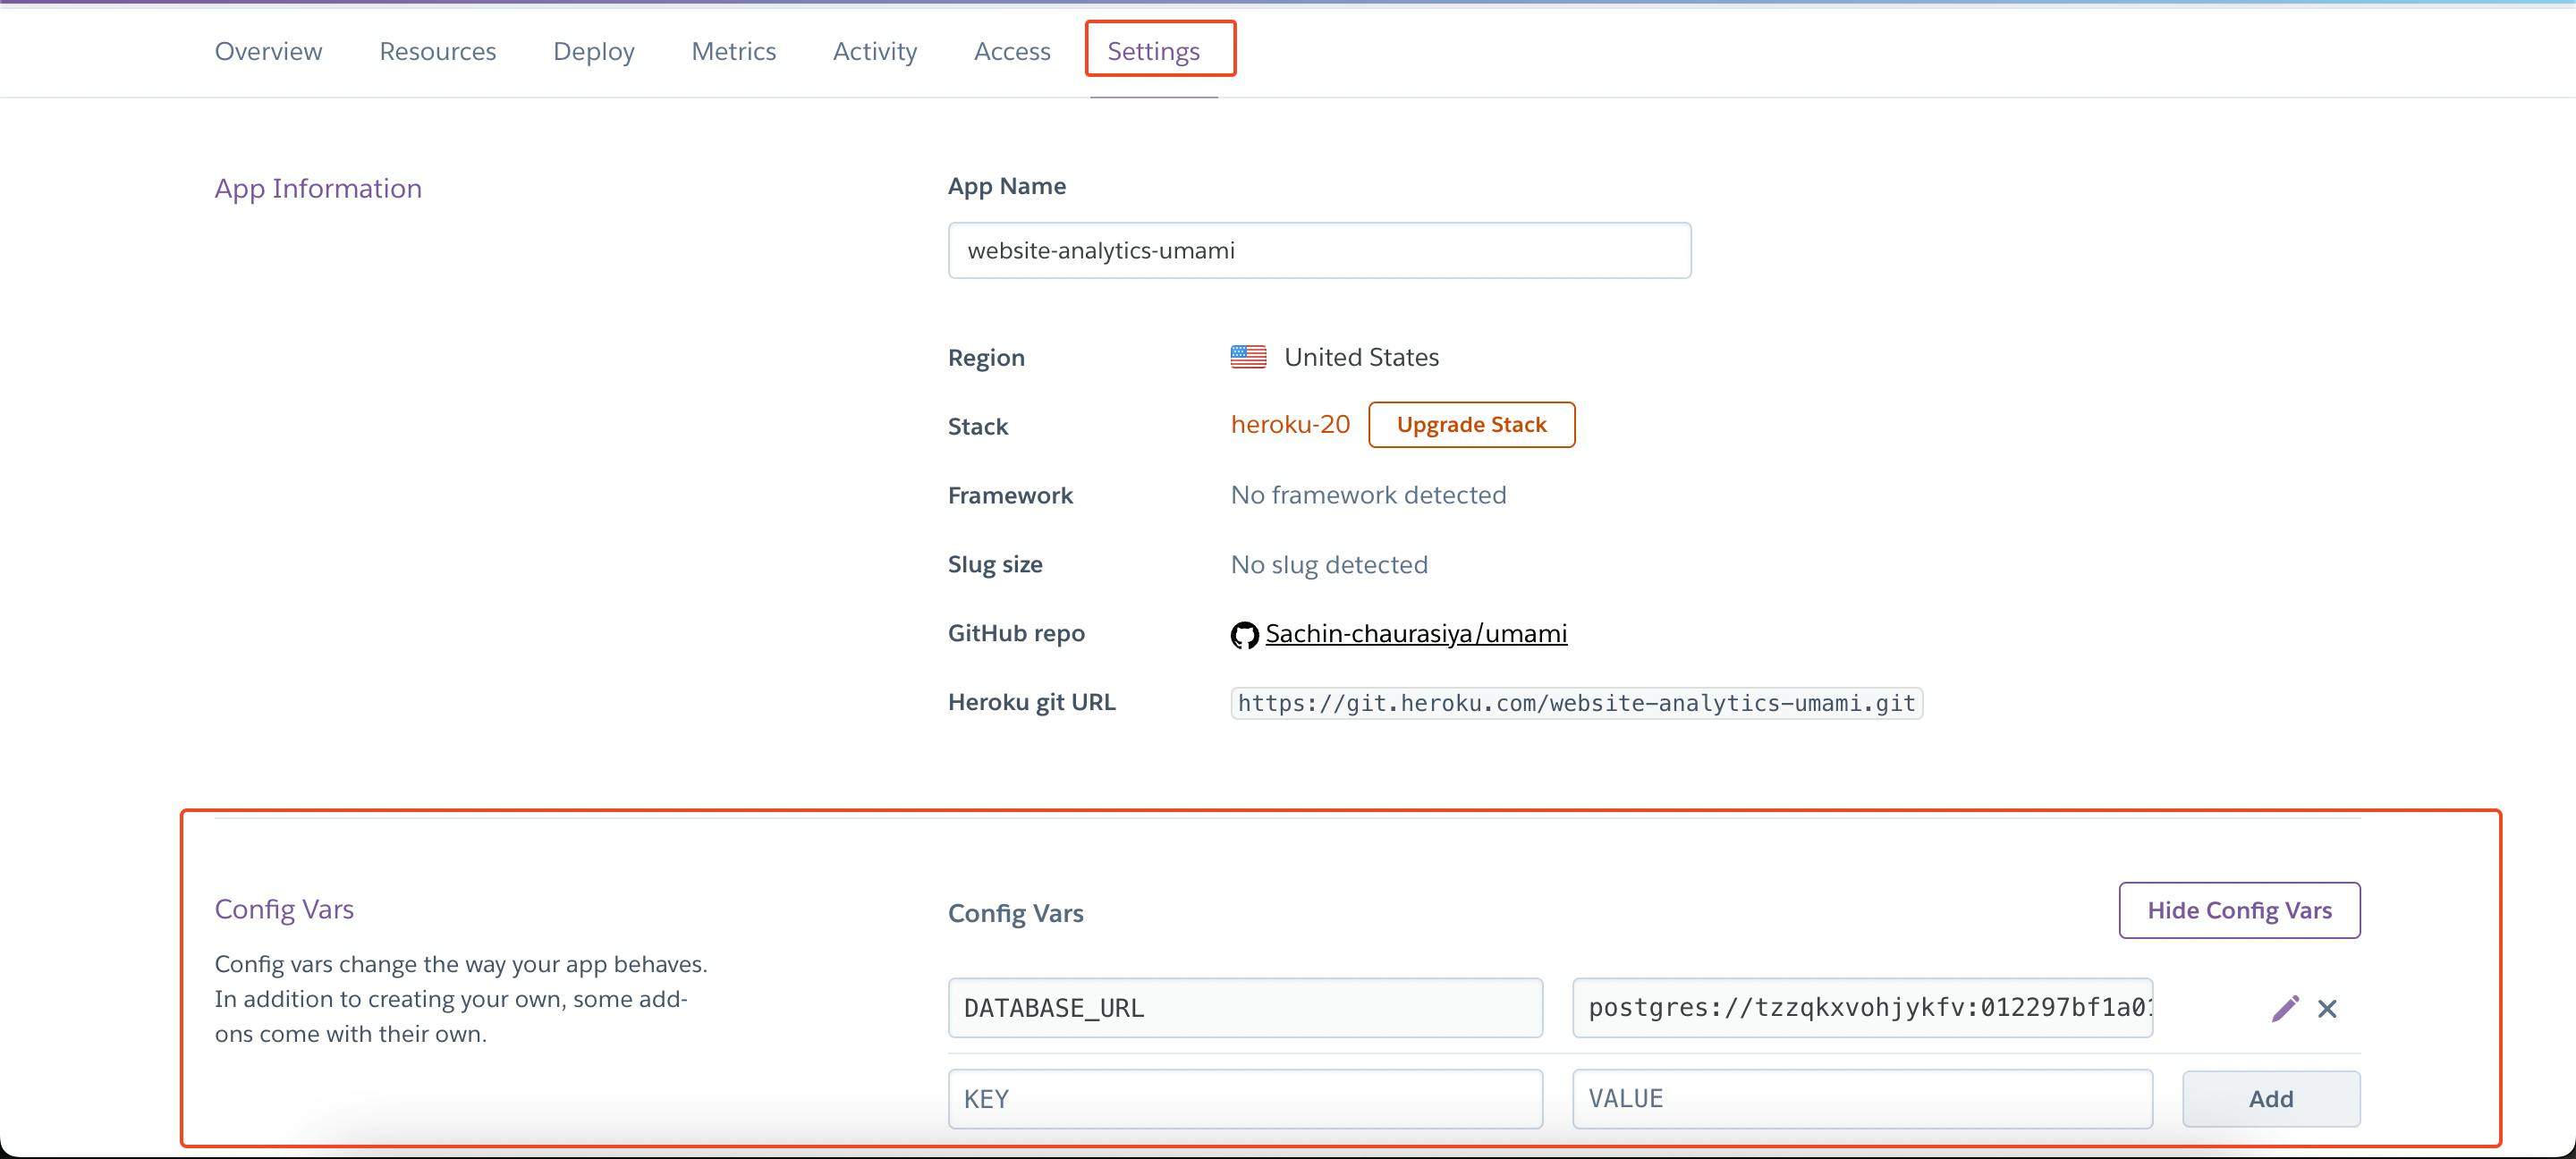
Umami requires one more env variable HASH_SALT and you can add that from the Config Vars section.
Now everything is set up, let's move to the next part which is deploying your application.
Deploy Umami
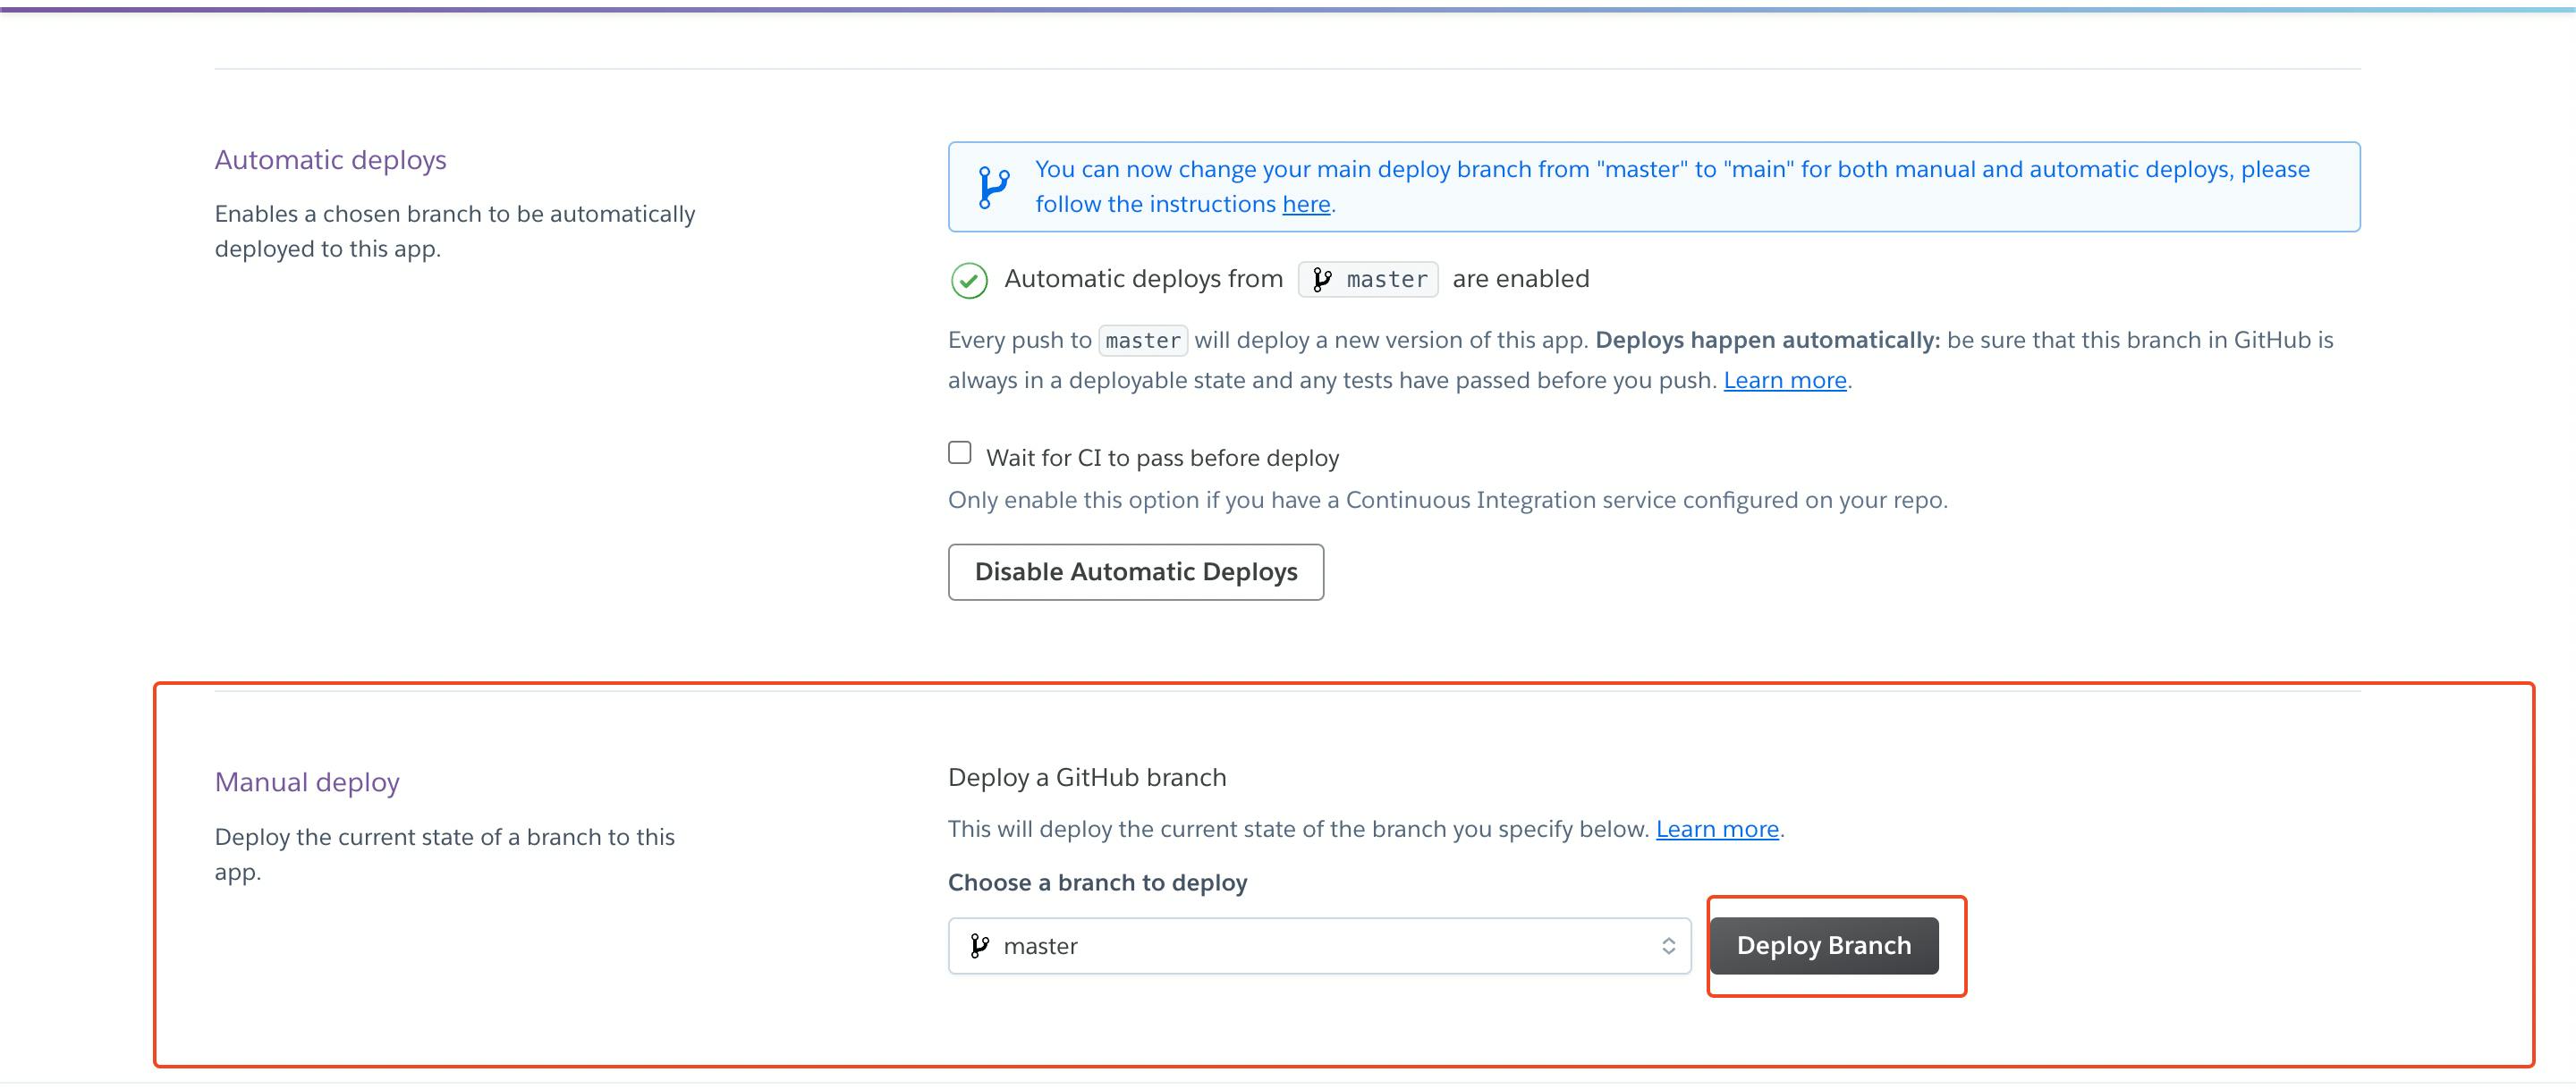
You have enabled the automatic deploys for your app, but for the first time, you will have to deploy it manually.
Navigate to the deploy tab and scroll down to the Manual deploy section and then click on the Deploy Branch button and wait for some time to finish the deployment.
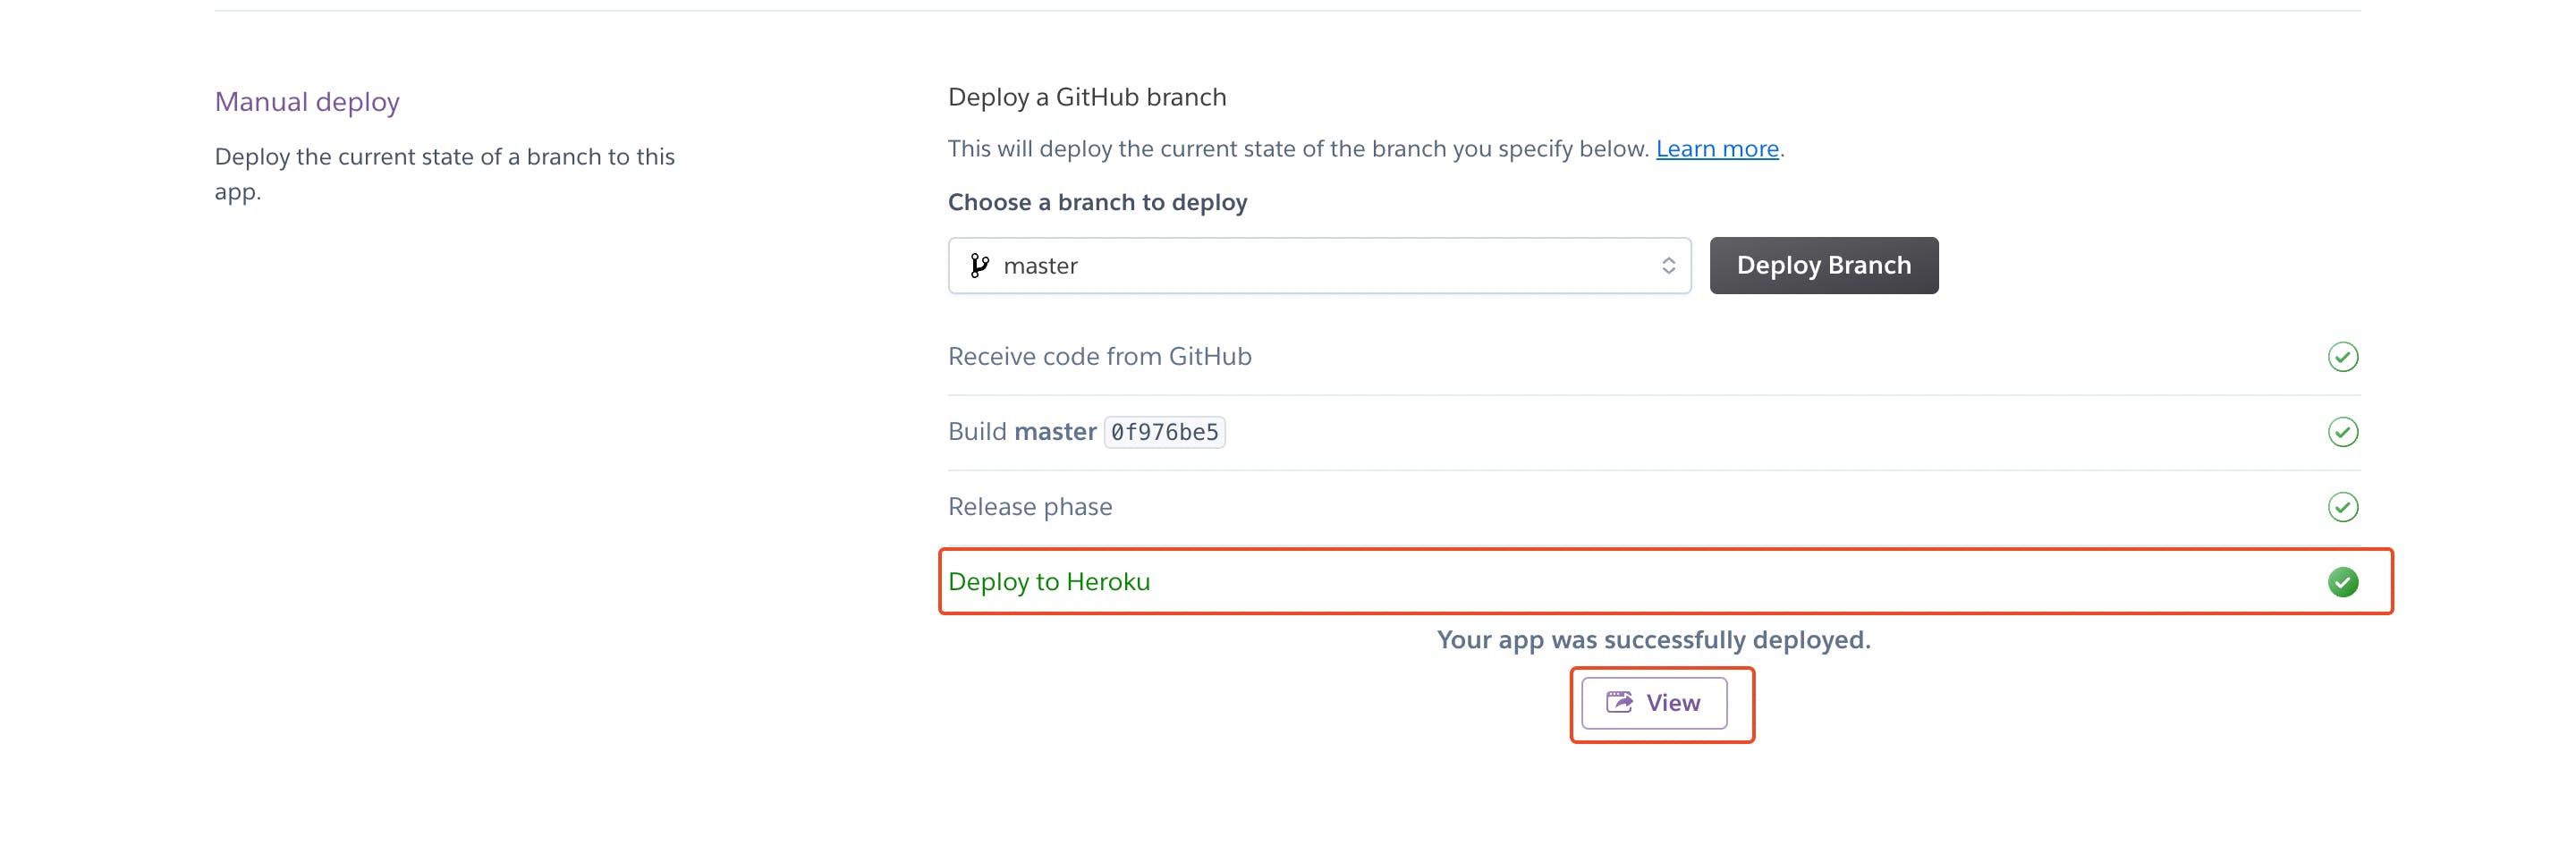
Once your app is deployed you will see a green check for Deploy to Heroku and a message Your app was successfully deployed.
Click on the View button to open the deployed app.
Configure Umami
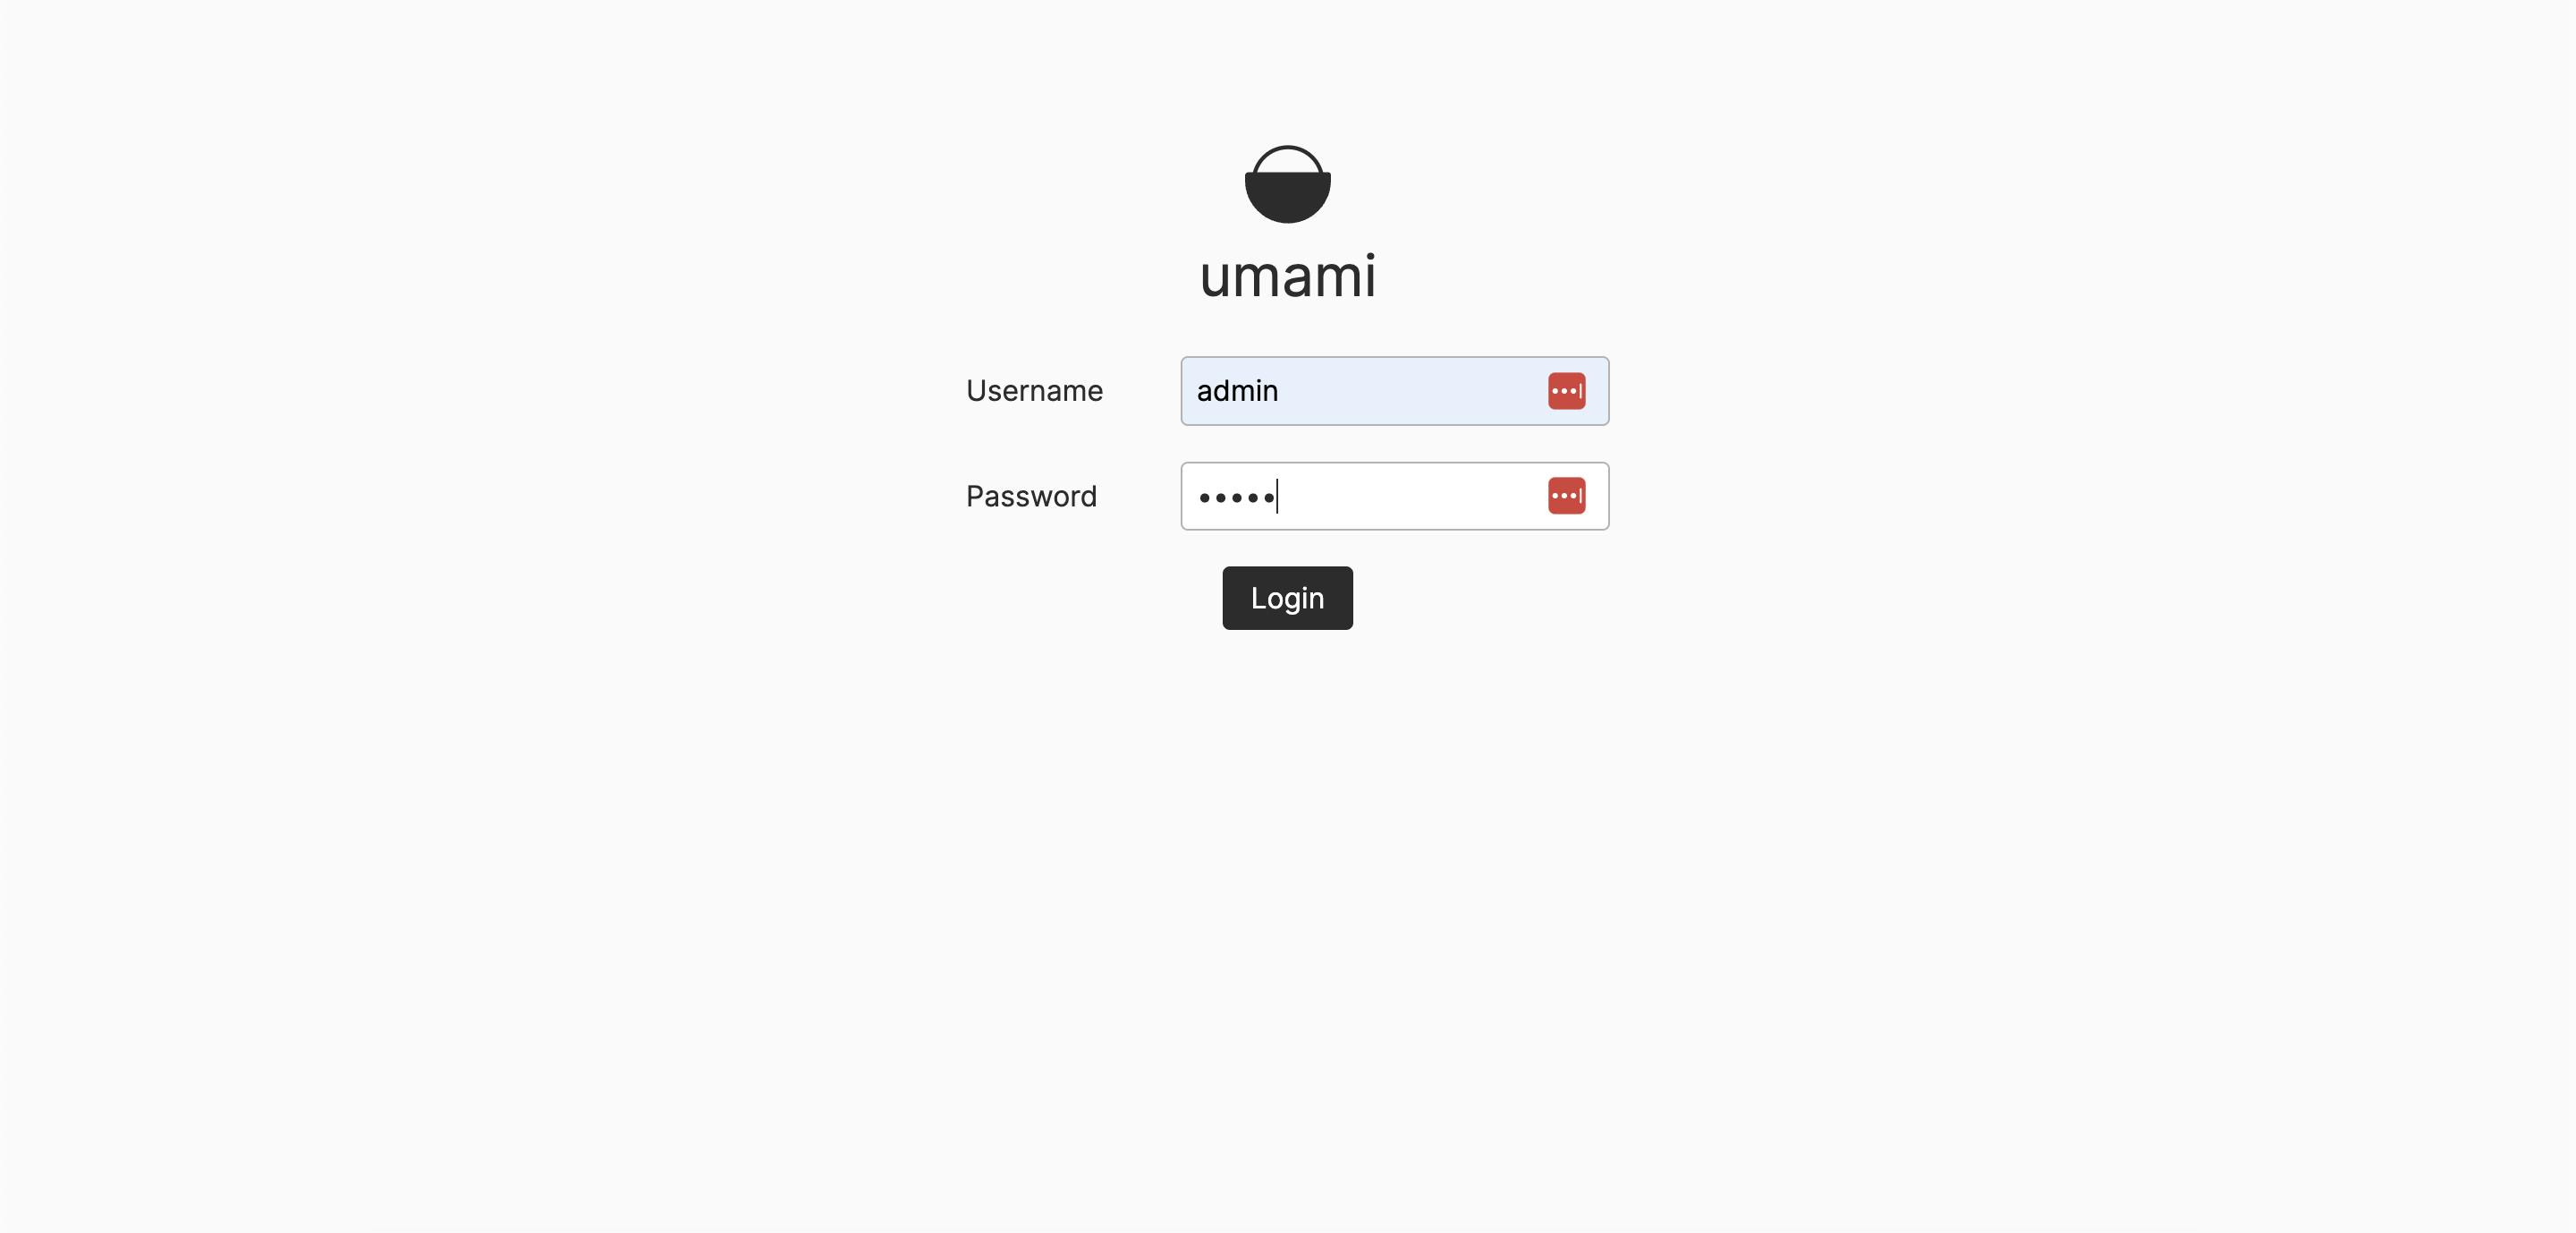
If you open the application you will get to see the login screen like this, by default umami creates one admin user with username admin and password umami.
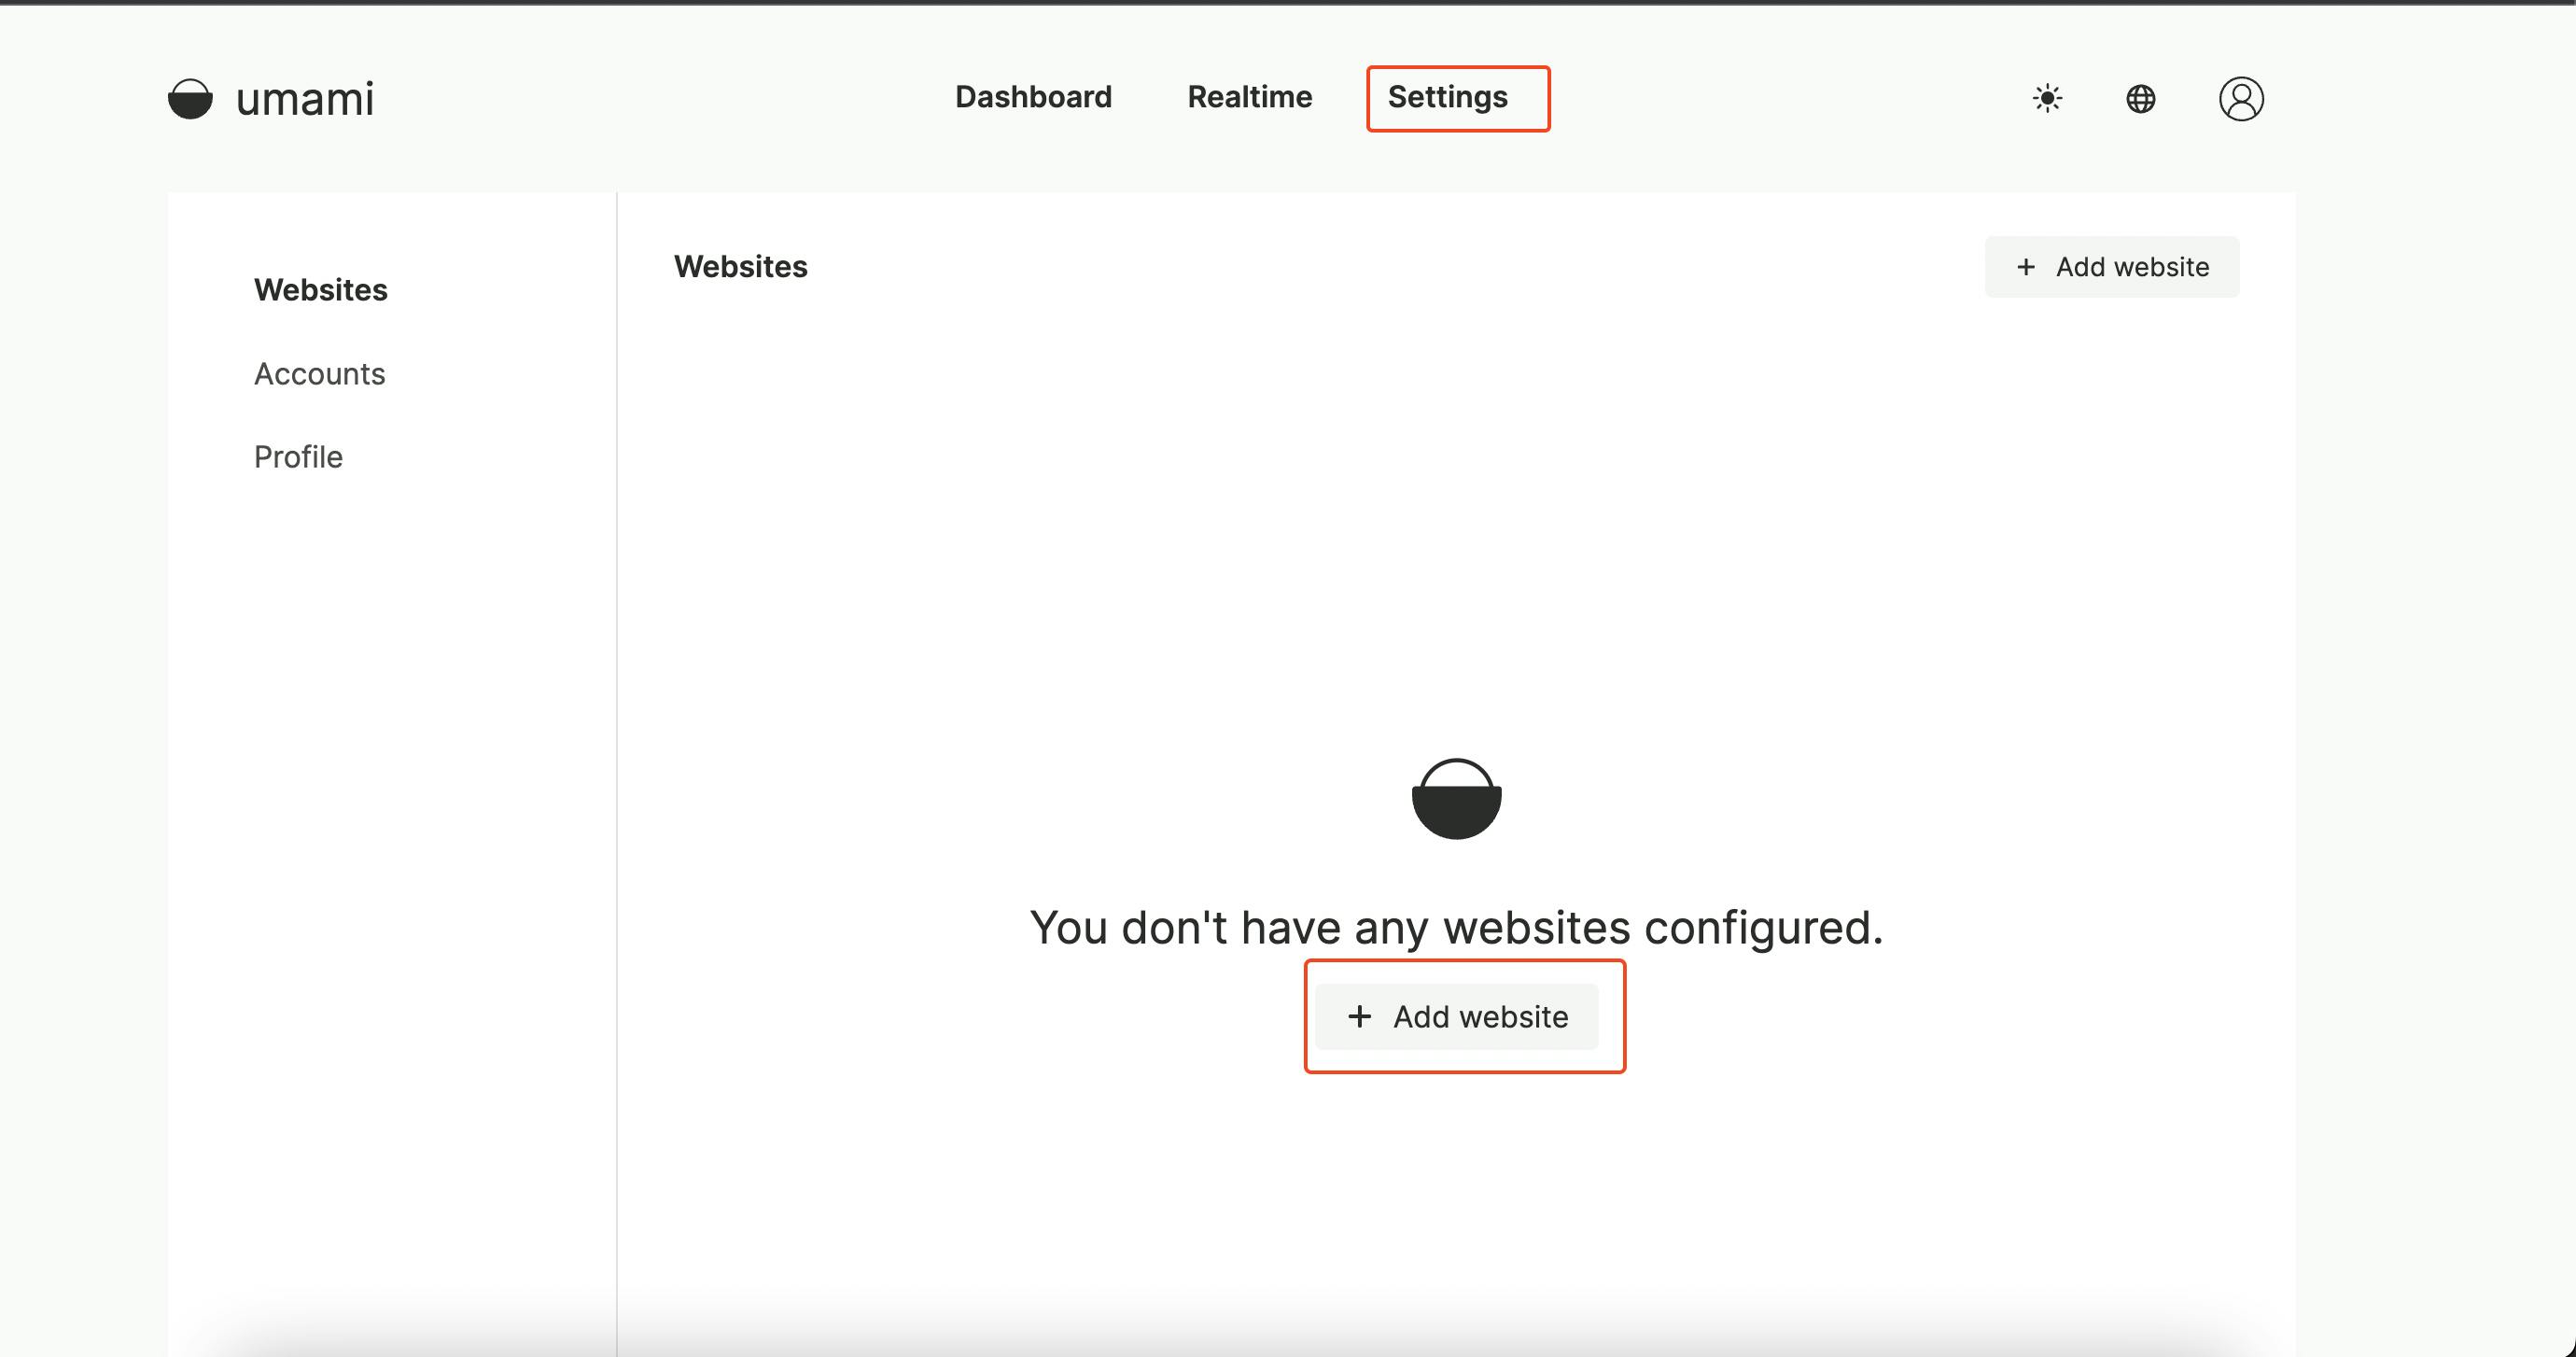
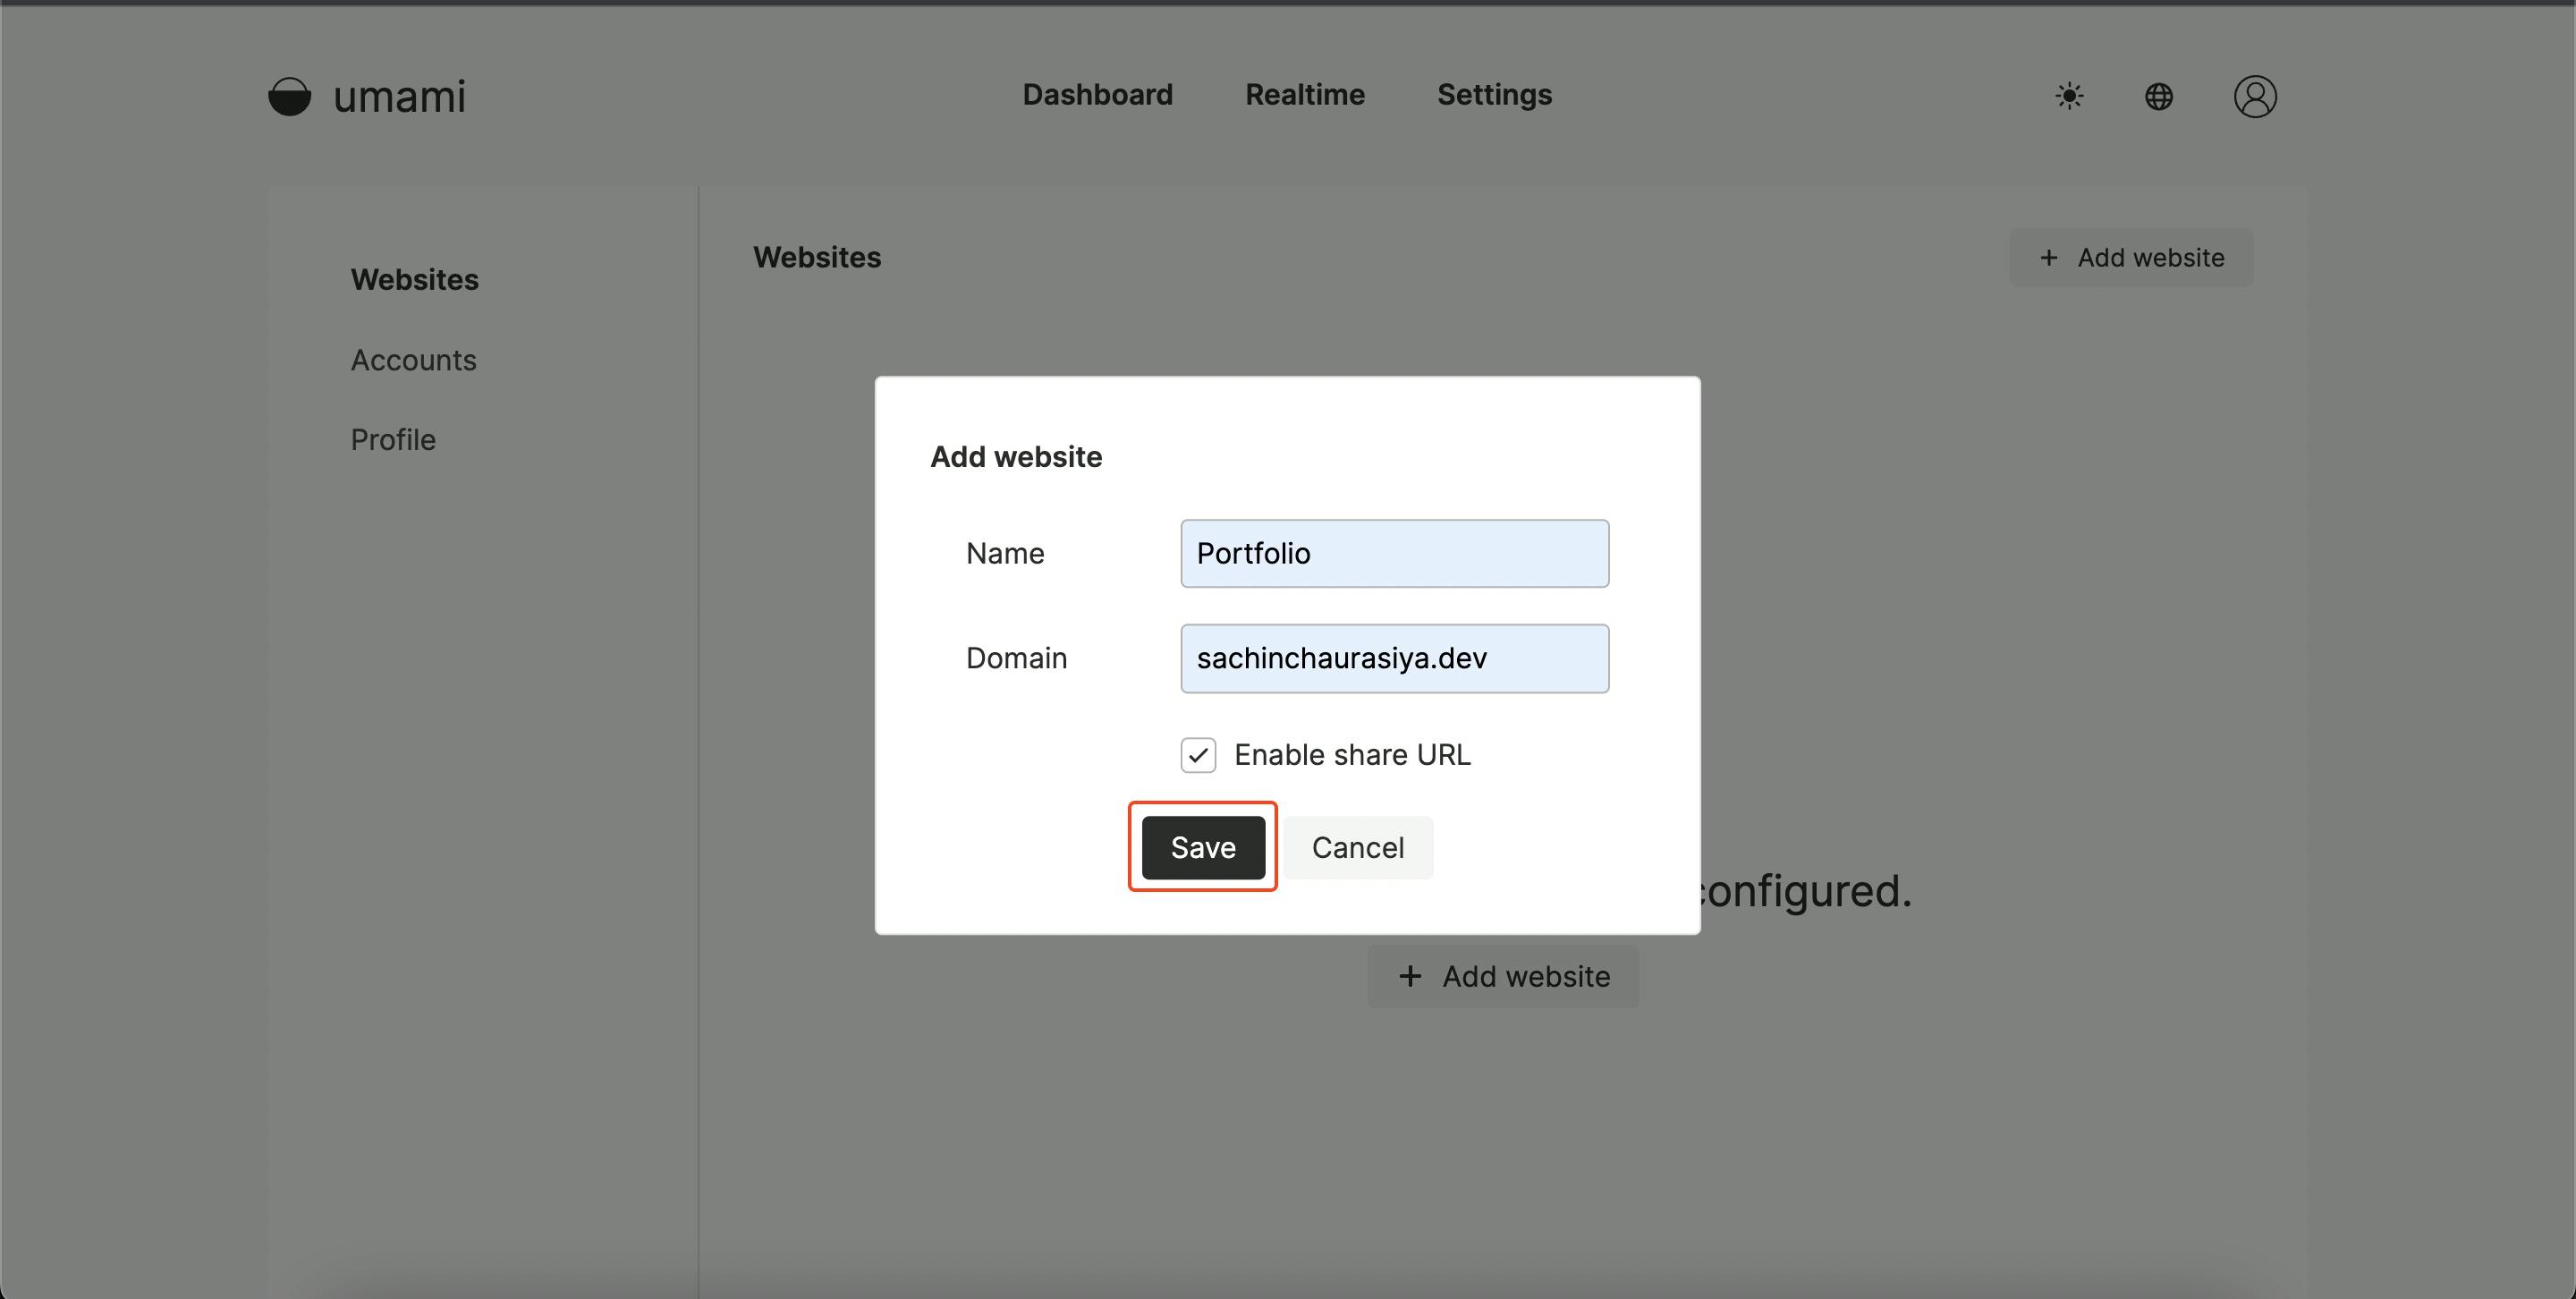
From the dashboard navigate to settings and click on the Add website button.
Give a name to your website and add the domain that you want to track. you can also enable the share URL if you want to share your analytics with someone.
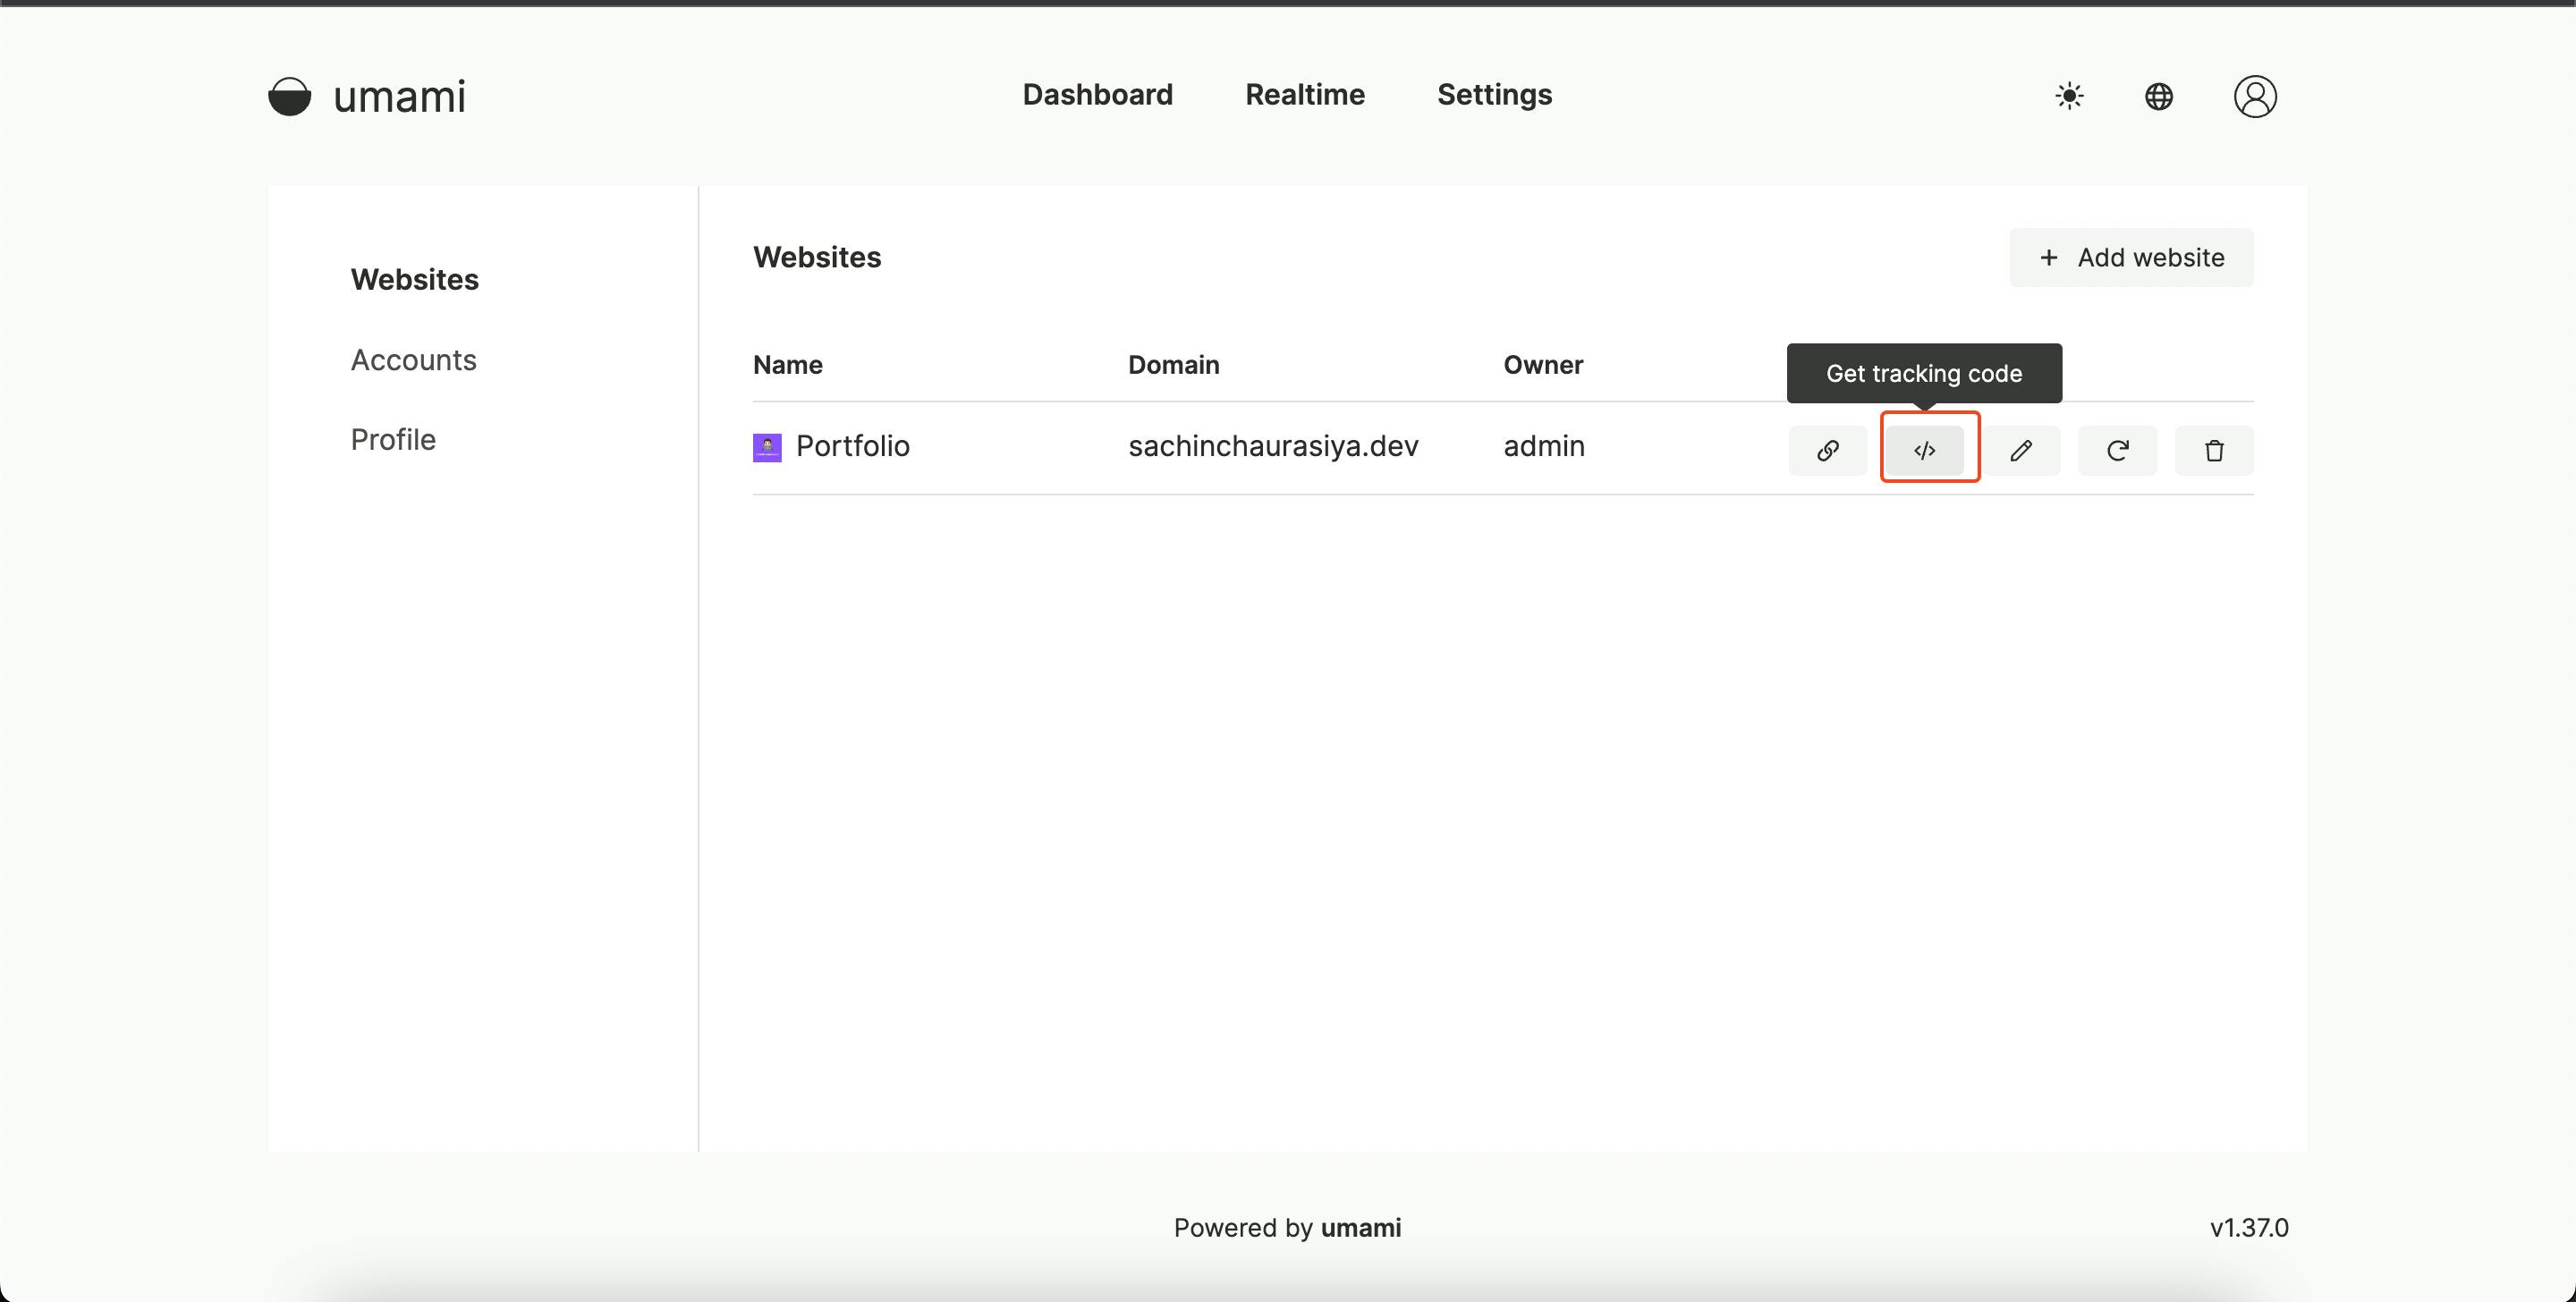
To track stats for your website, you will have to get the tracking code and place it in the <head> section of your website.
<head>
...
<script async defer data-website-id="006299fc-774a-4eda-be0f-8556e629930a" src="https://app-name.herokuapp.com/umami.js"></script>
</head>
Congratulations 🥳, if you've followed along so far, you have successfully self-hosted your own Website Analytics.
View the analytics
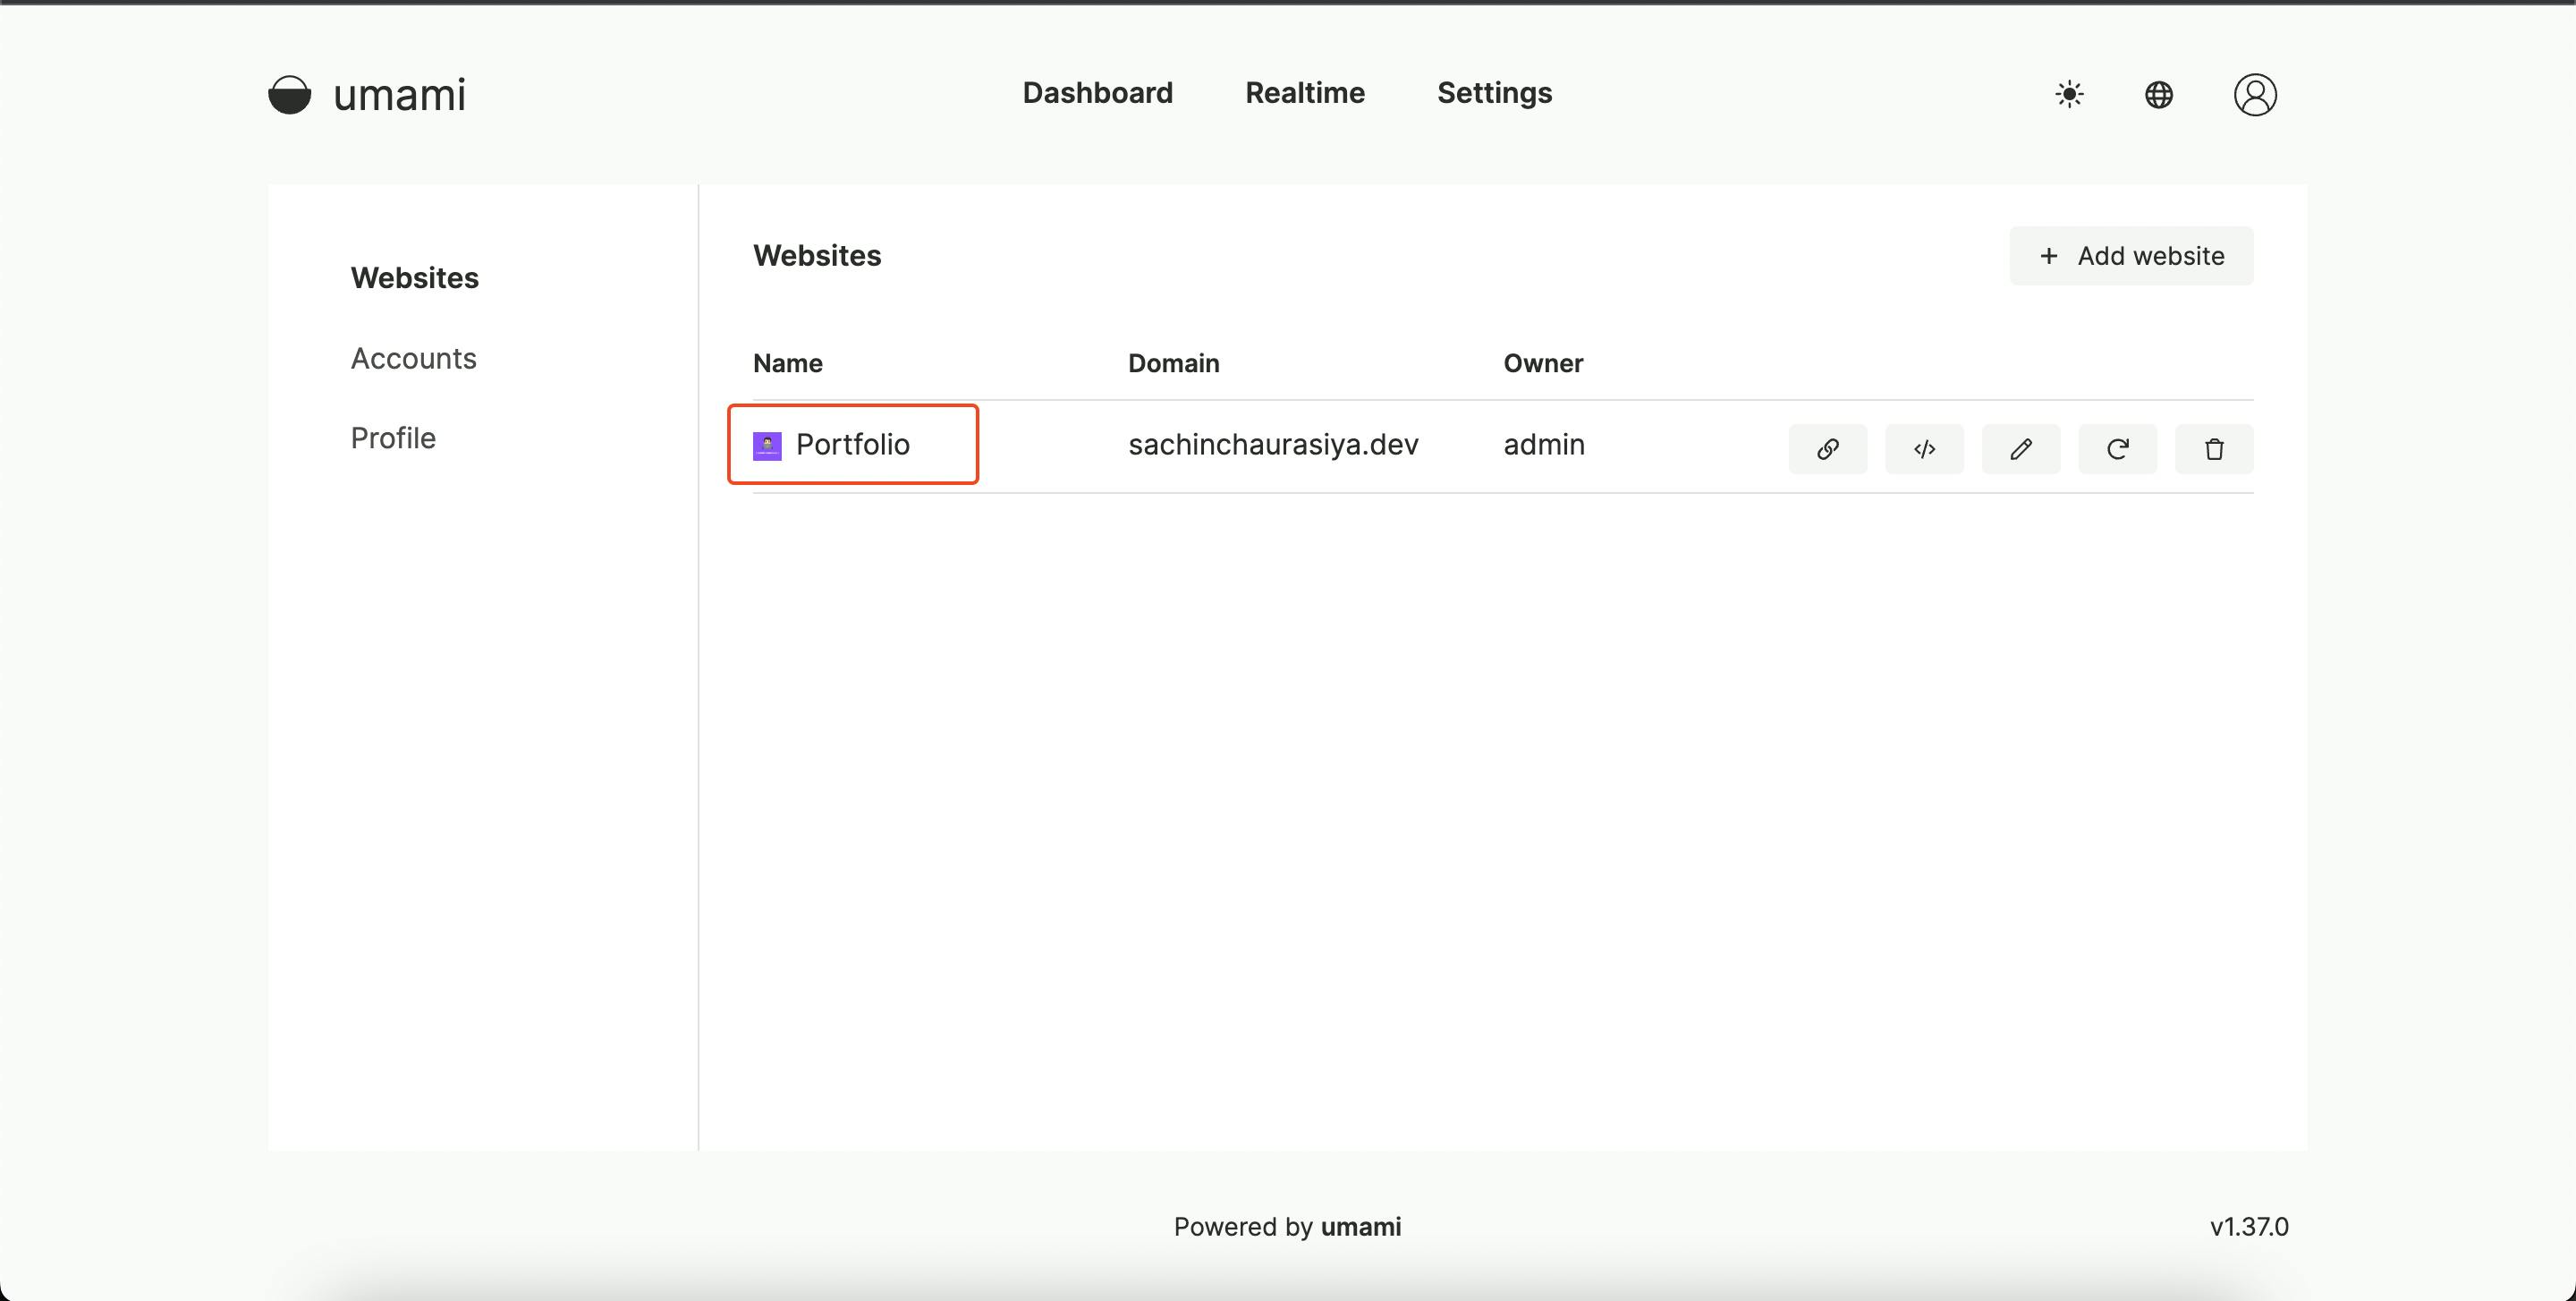
Now from the website's section click on the website that you have added to view the analytics. I will click on my portfolio website.
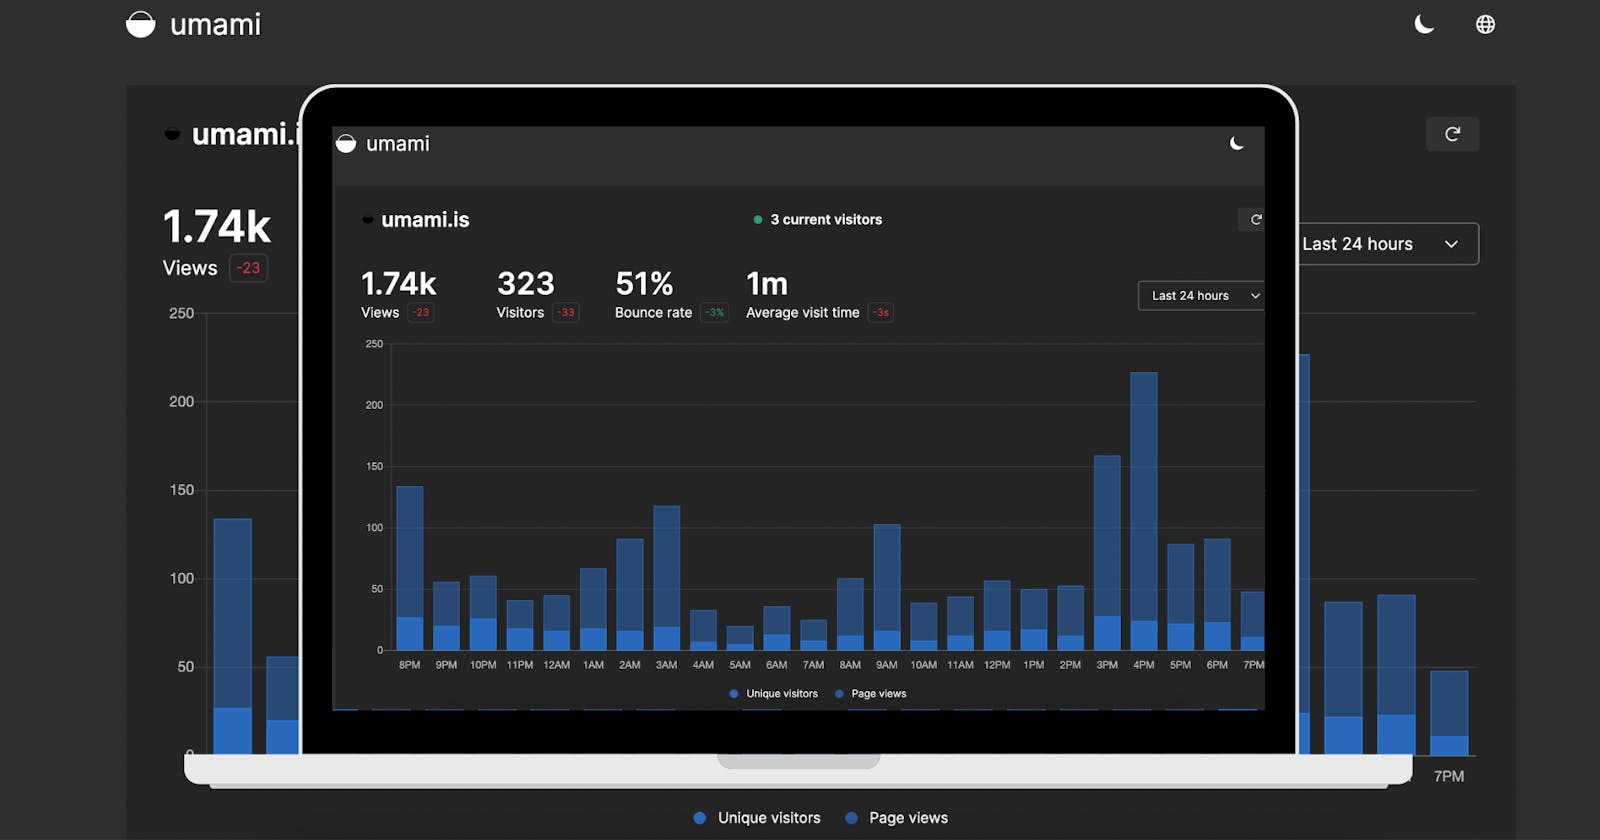
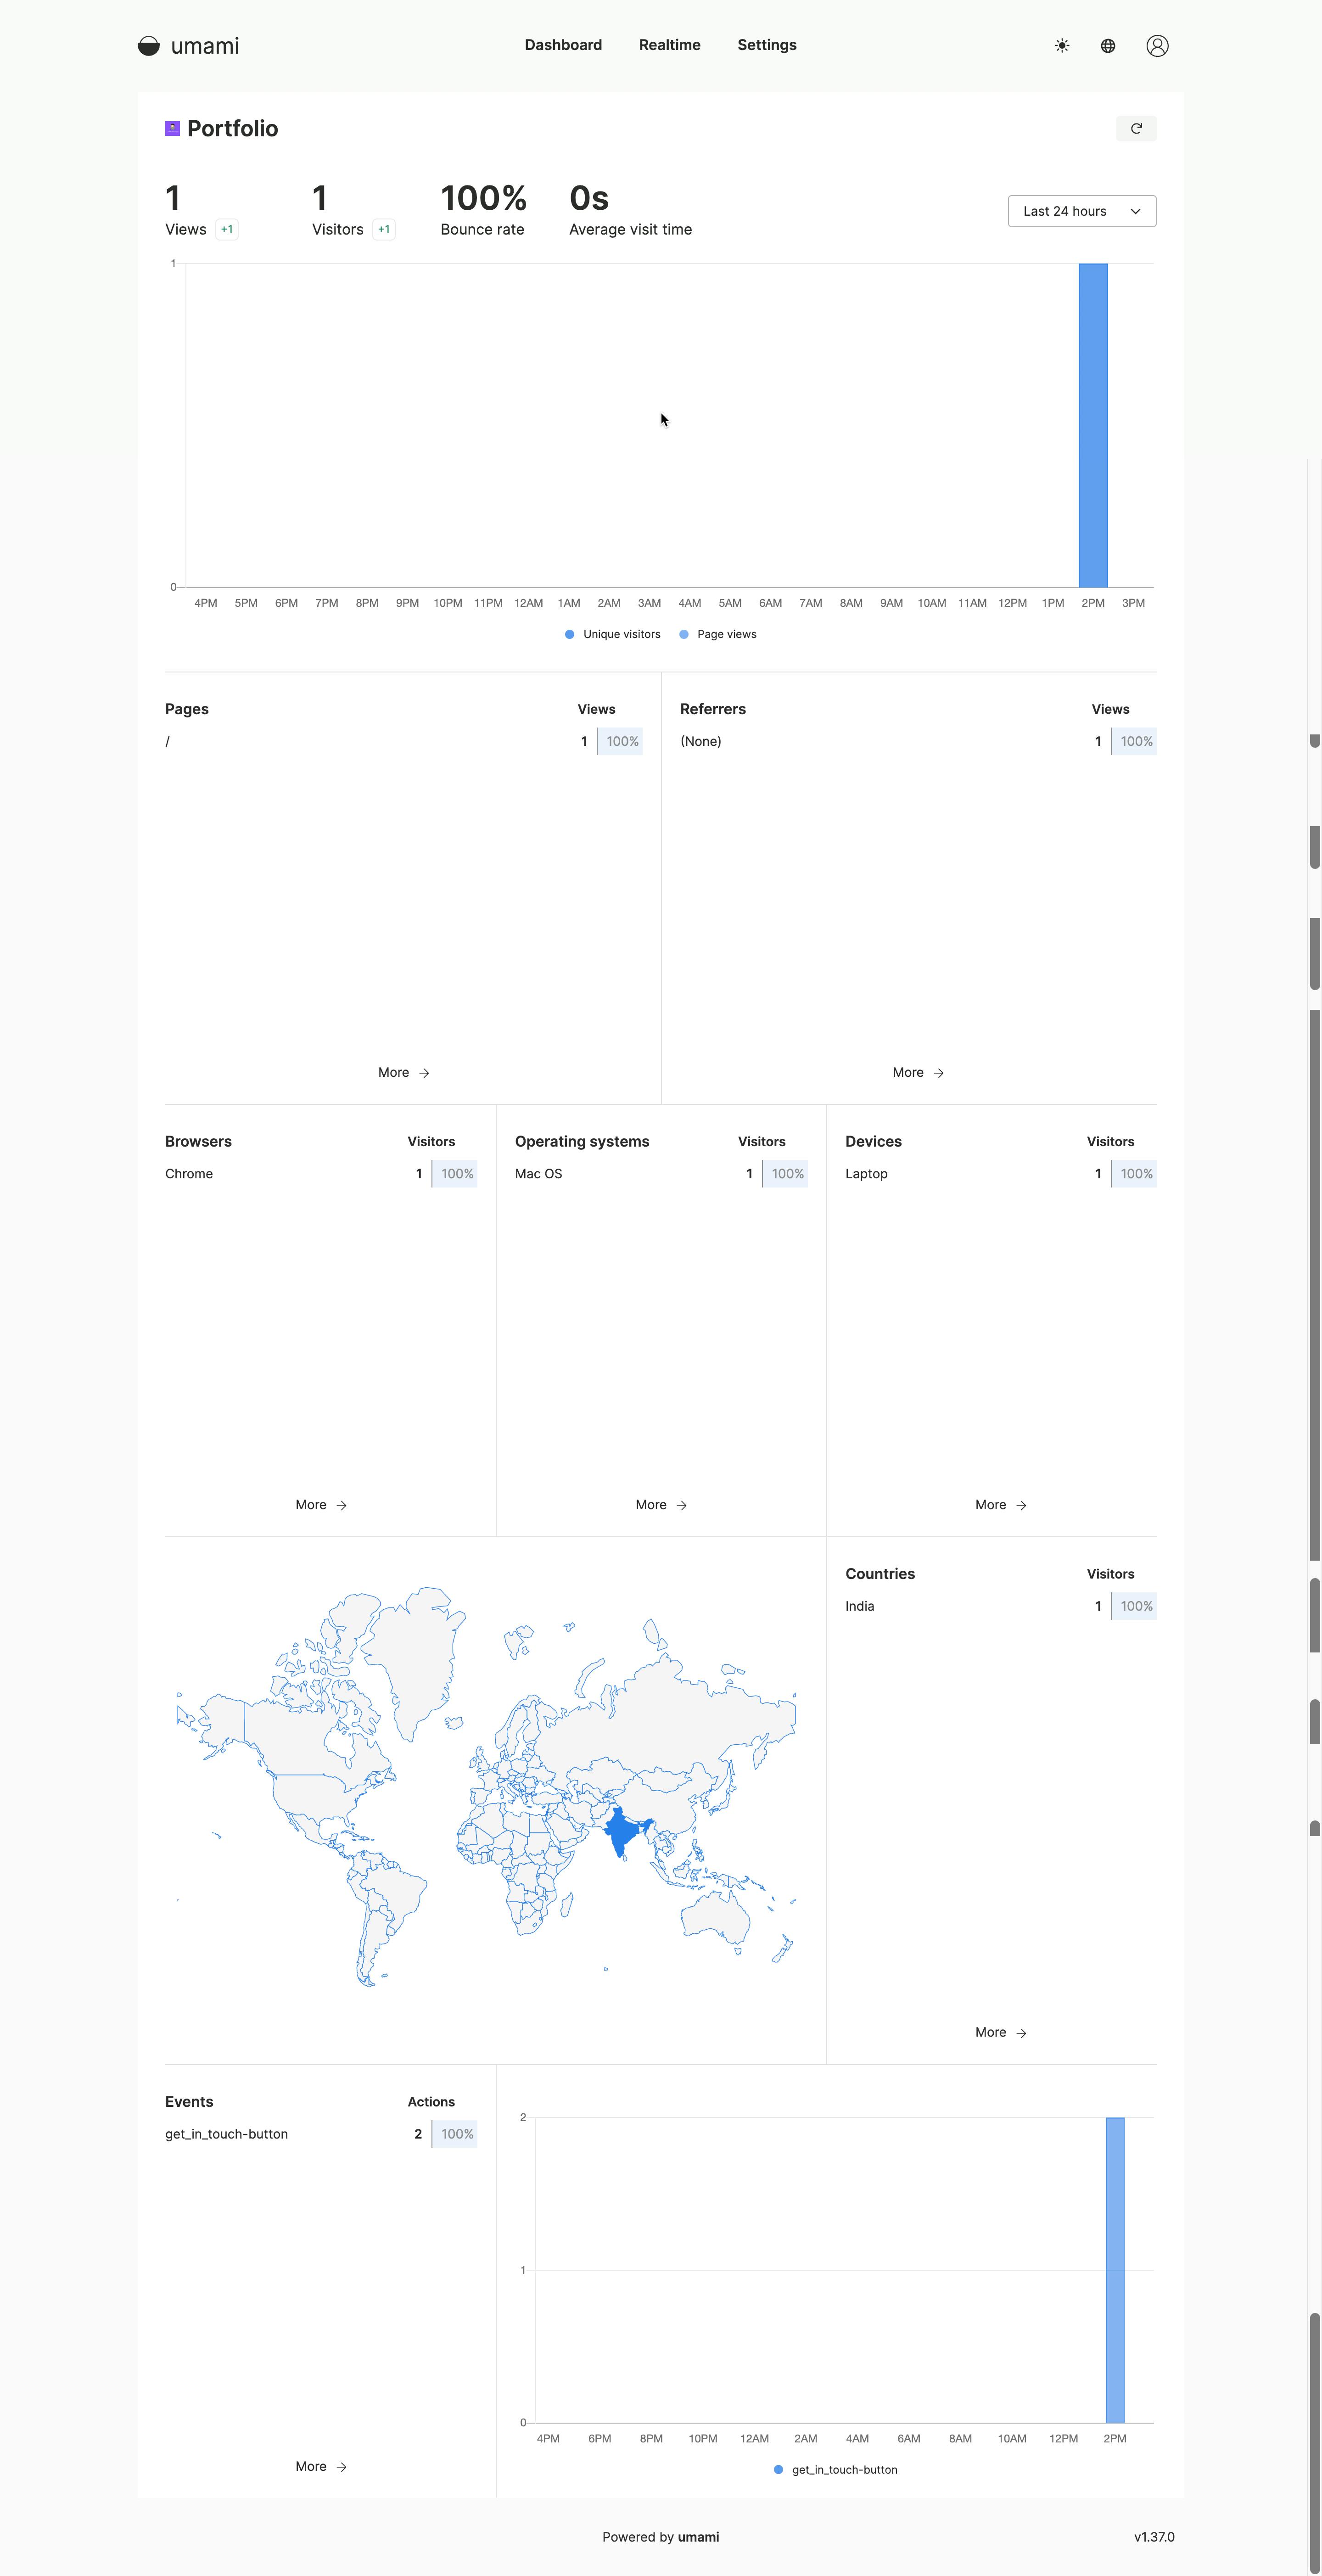
You will be redirected to the dashboard where you will see all the available analytics metrics for your website.
Example:
Summary
In this article, we have discussed how to self-host your website analytics with umami on Heroku and as a final result, you will have the self-hosted analytics for your website with privacy and complete control over your data.
And that’s it for this topic. Thank you for reading.
Useful links
Hashnode Also uses the umami for providing advanced analytics for blogs.